
B3000 SE Regular Cab 4WD V6-3.0L OHV (1998)
5.
Caution
^
Oil-based solvents and cleaners should not be used when cleaning the radiator. Oil-based solvents and cleaners can damage the radiator
end tank seals and cause leaks.
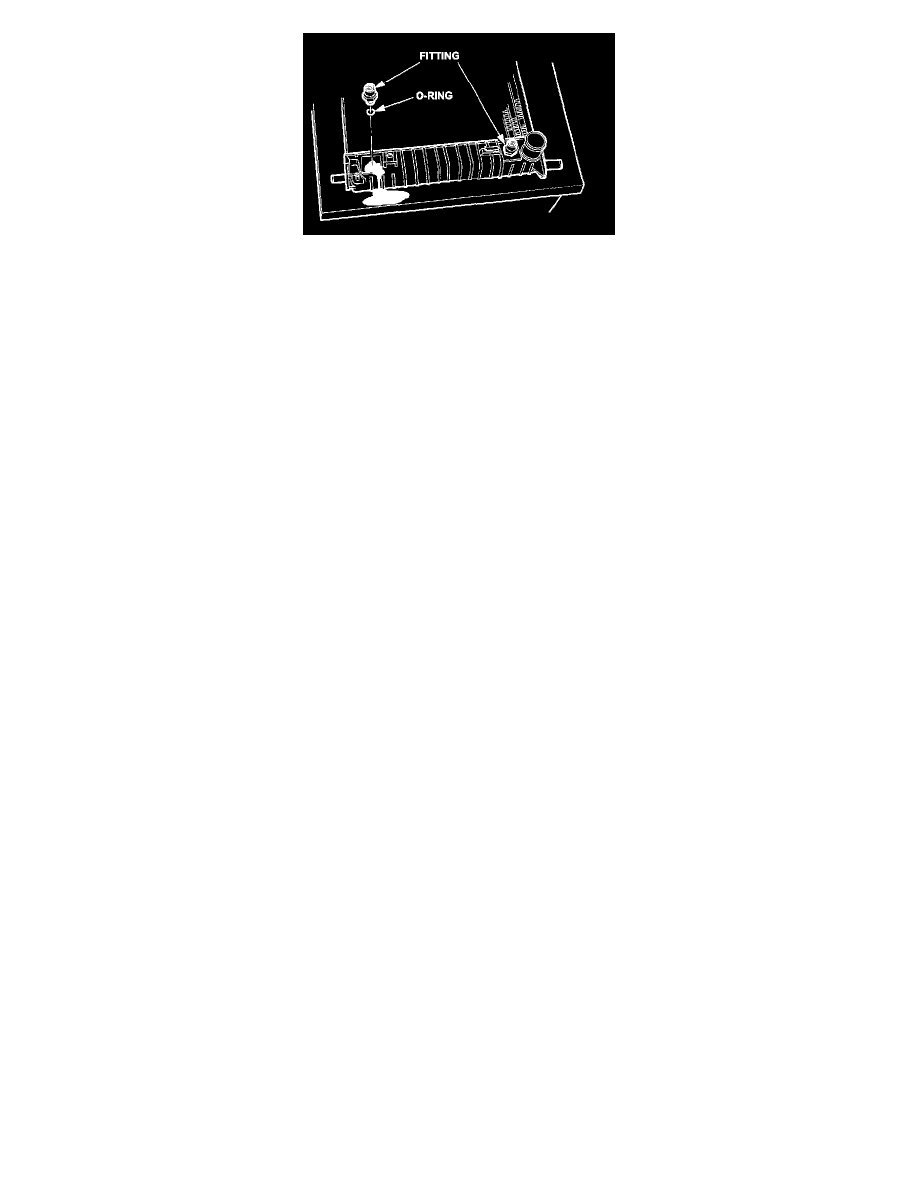
6.
Remove the upper transmission oil cooler fitting.
^
Remove only (1) fitting at a time to prevent cooler from dropping into the radiator.
7.
After fitting is removed, verify that there is a gasket between the transmission oil cooler and the inside of the radiator tank.
^
If there is NO gasket, replace the radiator.
^
If there IS a gasket, proceed to STEP 6.
8.
Inspect oil cooler fittings for damage.
^
If threads are damaged, replace radiator.
^
If threads are not damaged, proceed to STEP 7.
9.
Install 0-ring on the transmission oil cooler fitting.
Caution
^
Thread sealant or tape should NEVER be used on the threads of the transmission oil cooler fitting. The use of such materials will create a
leak path.
10.
Reinstall the transmission oil cooler fitting, ensuring that the gasket between the transmission oil cooler and the inside of the radiator are still in
place.
Tightening torque
38 - 45 Nm (28-33 lb-ft).
Caution
^
Do not use air tools to torque the transmission oil cooler fitting. Only use a hand-operated torque wrench when tightening fittings.
11.
Repeat STEPS 2-9 for the lower fitting.
Note
^
This fitting should have the 0-ring replaced even if it is not leaking.
12.
Reinstall the radiator in the vehicle according to the Workshop Manual (section 01-12A).
Note
^
Make sure that no radiator fluid enters the transmission oil cooler.
13.
Fill both the transmission and engine cooling system to the proper fluid levels; see Workshop Manual (section 05-01 and 01-12A).
14.
Verify repair.