
Windscreen
- Make
- Mini
- Model
- Mini Workshop Manual
- Year
- 1996–2000
- Section
- Screens › Windscreen
BodyWindscreen · page 1 of 2
WINDSCREEN
Service repair no - 76.81.01
Remove
- Fit protective covers to bonnet and wings.
- Remove both windscreen wiper arms. See WIPERS & WASHERS, Repairs.
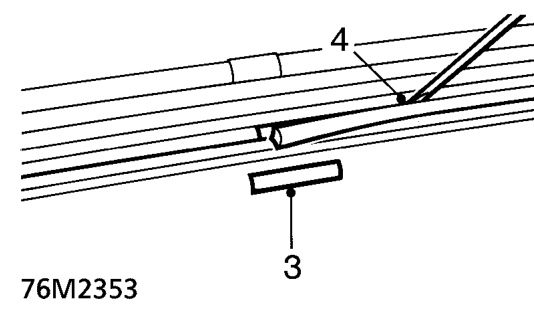
- Remove the chrome finisher plate from the windscreen sealing rubber.
- Use a small screwdriver to extract one end of the finisher strip and withdraw it from the sealing rubber.
- With an assistant supporting the glass from the outside, commencing at the top corner, press the windscreen outwards from the sealing rubber.
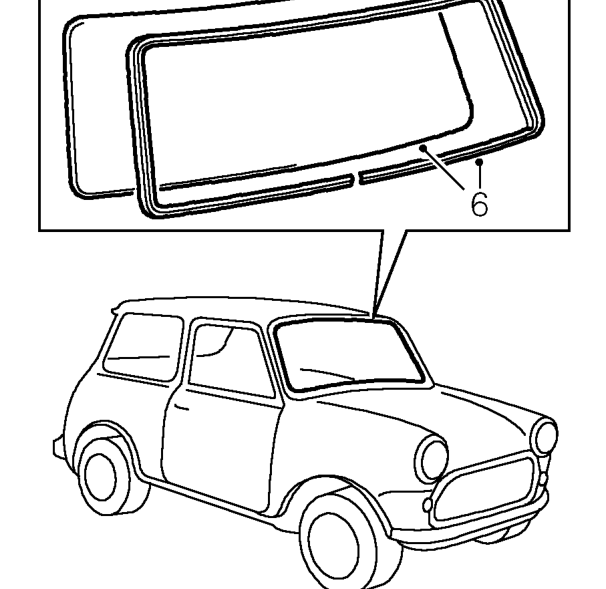
- Remove windscreen and sealing rubber.
Inspection
- Remove any glass particles from sealing rubber channels and examine sealing rubber for cuts and other damage.
- Check body aperture for distortion or damage to flange.
- If windscreen has broken, ensure that all particles of glass have been removed from demister ducts, tubes and apertures.
Refit
- Align windscreen sealing rubber to aperture and secure to body flange.
- Insert a cord into the windscreen groove of the sealing rubber.
- Position windscreen to sealing rubber.
- Apply pressure to outside of screen and use cord to pull lip of seal over the edge of the screen.
NOTE: Apply a soap solution around seal to aid fitment of screen.
Parts & tools for this job For 1996 Mini Mini
- TOOLTrim removal tool kitSearch: trim removal tool kit
- PARTTouch-up paintSearch: Mini touch up paint
- PARTPanel clip assortmentSearch: Mini panel clips assortment
Links open Amazon search results in a new tab. As an Amazon Associate I earn from qualifying purchases.