Eclipse L4-1997cc 2.0L DOHC (1991)

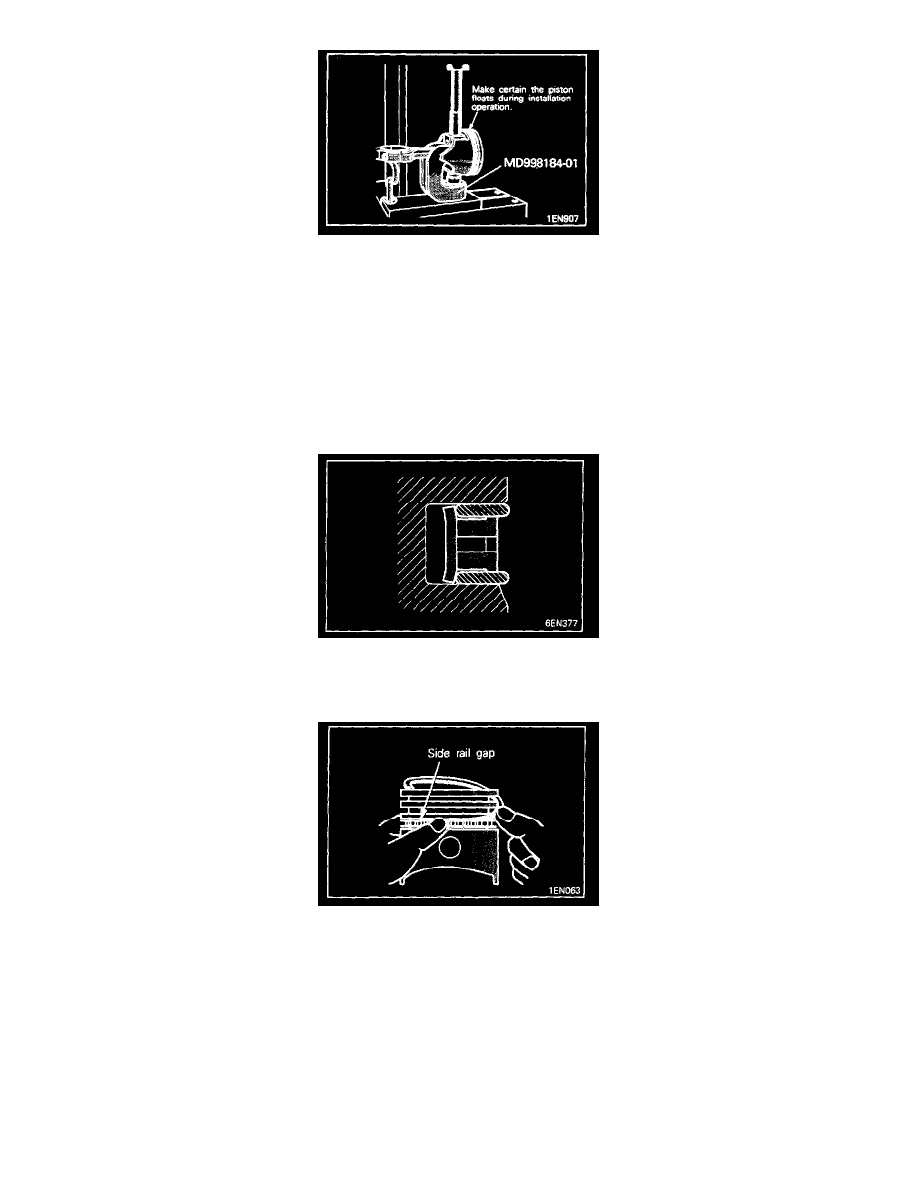
CAUTION: The piston must be free to float during installation; check frequently.
6. Apply hydraulic pressure to pin and adjust stop plug until stop plug comes in contact with spacer.
7. Remove piston and pin assembly from anvil and check piston pin to make sure it is centered. If it is not centered. adjust stop plug up or down
to obtain proper centering. The pin stop is now set for any remaining pistons.
CAUTION: If the required installation load is out of specification replace piston pin and/or connection rod.
Piston pin press in load : 7,500-17,500 N (1,653-3,858 lbs.)
9. INSTALLATION OF OIL RING
1. Fit the oil ring spacer into the piston ring groove.
NOTE: The side rails and spacer may be installed in either direction.
2. Install the upper side rail.
To install the side rail, first fit one end of the rail into the piston groove, then press the remaining portion into position by finger. See
illustration.
Use of ring expander to expand the side rail end gap can break the side rail, unlike other piston rings.
NOTE: Do not use piston ring expander when installing side rail.
3. Install the lower side rail in the same procedure as described in step (2).
4. Make sure that the side rails move smoothly in either direction.
