seat Workshop Repair Guides

SEAT Workshop Service and Repair Manuals

Rear final group > < Haldex Clutch: removing and fitting
Four-wheel drive control unitJ492: removing and fitting
Four-wheel drive control unit -J492-: removing and fitting
Removing → Anchor.
Fitting → Anchor.
Check the tool and equipment equivalence table according to the applicability between Seat / VW / Audi / Skoda → Chapter
Special tools and workshop equipment required
   
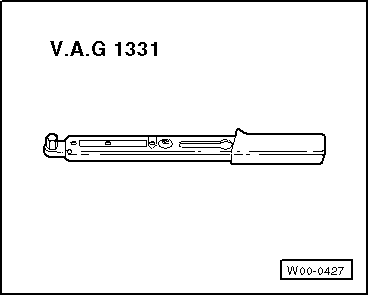
t  Torque wrench -V.A.G 1331-, see equivalent → Anchor
  W00-0427
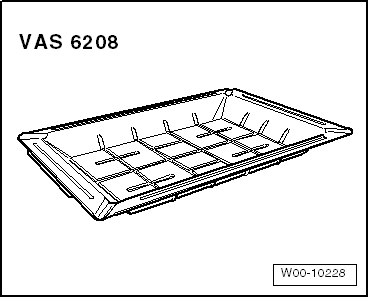
t  Tray -VAS 6208-, see equivalent → Anchor
Removing
  Note
  W00-10228
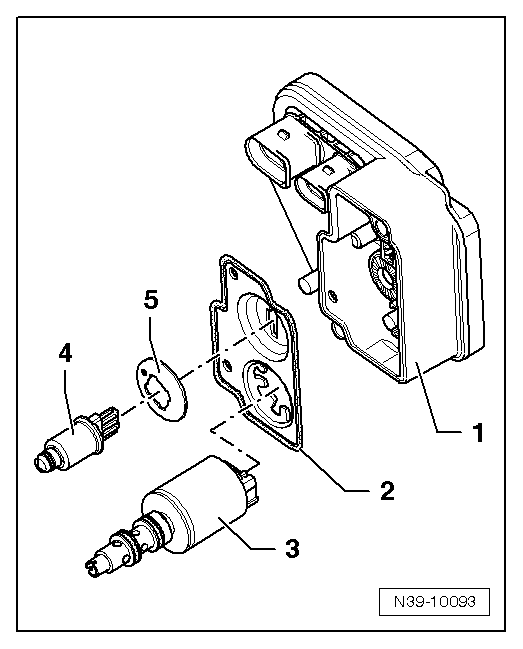
When removing the control unit -1- also remove the cover -2- and the plate spring -5-. Remove the pressure sensor -4- and the valve -3- separately.
–  Switch off ignition.
  N39-10093
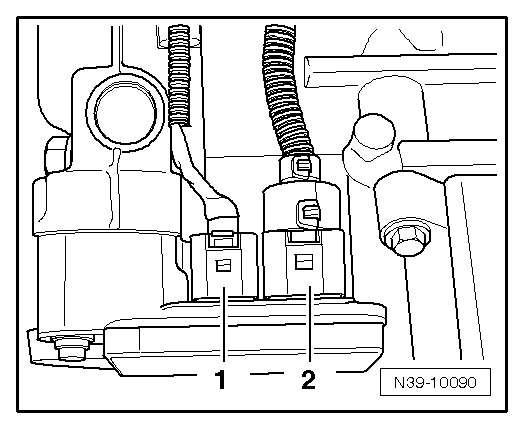
–  Disconnect the connectors -1- and -2- from top of the control unit.
–  Place the drip tray -VAS 6208- under the final group.
  N39-10090
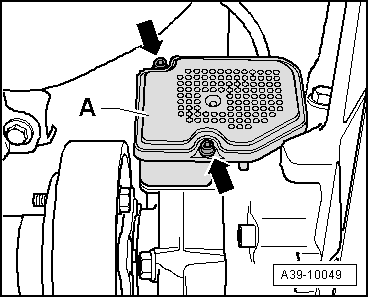
–  Screw out bolts -arrows-.
Ensure that none of the parts fall when removing the control unit.
–  Carefully remove the control unit -A-.
  A39-10049
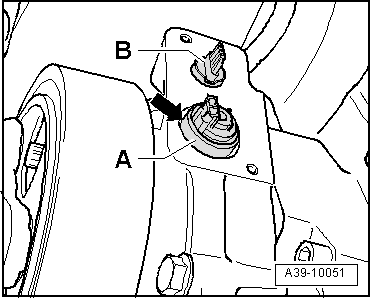
–  Using pliers, carefully grab onto the valve that controls the opening of the clutch -N373--A- by the metal casing -arrow- and remove it.
–  Remove the pressure sensor -B-.
  A39-10051
–  Remove the seal from the casing for the valve that controls the opening of the clutch -N373--arrow-.
Fitting
Installation is carried out in reverse order, noting the following:
  N39-10096
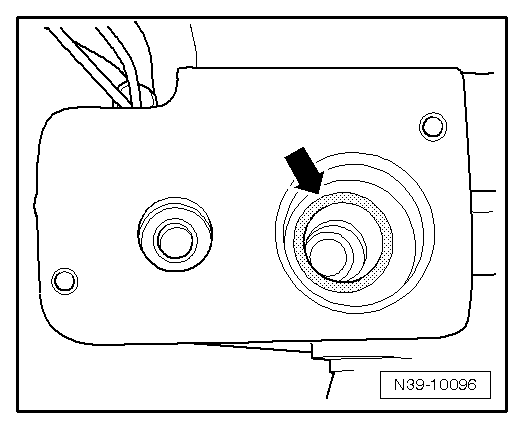
–  Moisten the new seal for the valve that controls the opening of the clutch -N373--arrow- with high performance oil for Haldex clutches and insert it into the casing.
  N39-10096
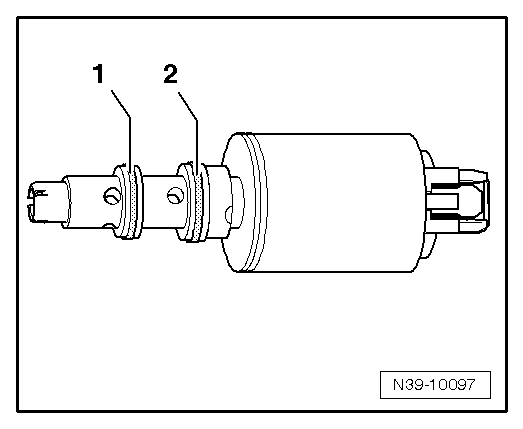
–  Replace the O-rings -1- and -2-.
–  Note the different diameters:
t  Inside O-ring diameter -1- = 11 mm
t  Inside O-ring diameter -2- = 12 mm
  N39-10097
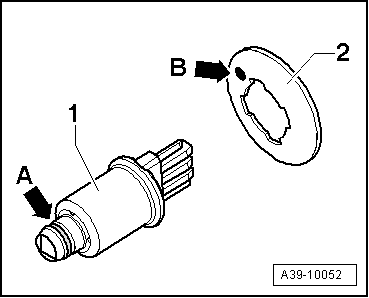
–  Replace the O-ring -arrow A- for the pressure sensor.
  Note
In the installation position, the mark -arrow B- on the convex side of the plate spring -2- must point up towards the pressure sensor -1-.
–  Insert the plate spring -2- with the convex side over the pressure sensor -1-.
  A39-10052
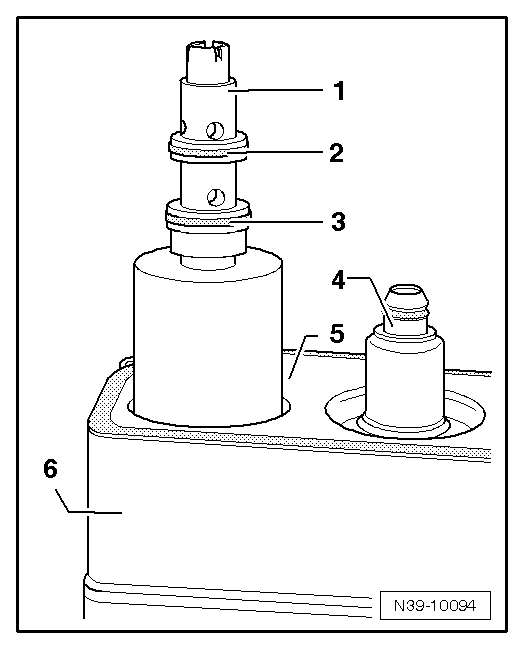
–  Install a new cover -5- on the control unit -6-.
–  Install the pressure sensor -4- with plate spring on the new cover -5- and insert it into the connector. The convex side of the plate spring should face the pressure sensor.
–  Apply a thin layer of high performance oil for Haldex clutches to the new pressure sensor O-ring -4-.
–  Install the valve -1- on the new cover -5- and on the control unit -6- and attach it to the connector.
–  Apply a thin layer of high performance oil for Haldex clutches to the new O-rings -2- and -3-.
  N39-10094
–  Carefully install the control unit -A- and tighten the bolts -arrows- to the prescribed torque → Item.
–  Check the Haldex clutch oil level → Chapter.
  A39-10049

Rear final group > < Haldex Clutch: removing and fitting