seat Workshop Repair Guides

SEAT Workshop Service and Repair Manuals

Detaching/re-attaching a compressor installed on the left of the engine from/to the bracket > < Vehicles with 4 cylinder engine (belt-driven compressor)
Detaching/re-attaching a compressor installed on the right of the engine from/to the bracket
  Note
   
Do not unfasten refrigerant pipes and clamp -D-.
–  Remove noise insulation. → Bodywork, exterior fitting work; Rep. Gr.50
–  Move lock carrier to service position: → General body repairs, exterior; Rep. Gr.50
–  Slacken off and detach poly V-belt. → Engine Mechanics; Rep. Gr.13
–  Unscrew bolts -A- (25 Nm).
  Note
t  Fit one washer -B- at each of the bolts -A-.
t  Before securing compressor, check position of both bushes -C- in holder or compressor.
  A87-0395
t  
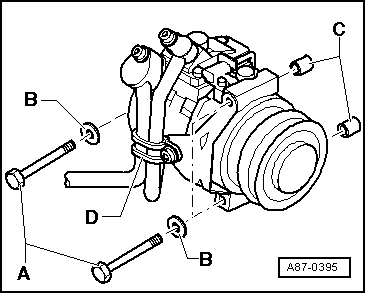
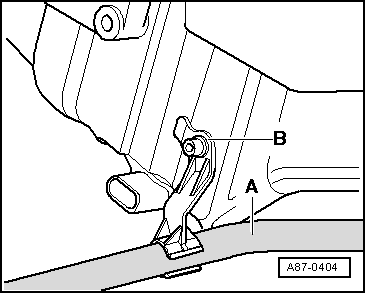
After attaching compressor, check routing of refrigerant pipes -A- (pipes must be inserted in holders -B- provided).
t  After attaching compressor, also check refrigerant pipes and corresponding holders to ensure adequate clearance from other components.
  A87-0404

Detaching/re-attaching a compressor installed on the left of the engine from/to the bracket > < Vehicles with 4 cylinder engine (belt-driven compressor)