
Leon Mk1
|
|

|
|
|
| t | Clutches -K1- and -K3- are snap-fitted one on top of the other. |
| t | Clutch -K1- must only be removed from clutch -K3- for the cleaning or replacement of one of the clutches. |
| t | Disengage clutches -K1- and -K3- → Chapter |
| t | Engage clutches -K1- and -K3- → Chapter |

| 1 - | Safety ring |
| q | Different thicknesses |
| q | Mark it after removal and refit in the same position |
| 2 - | Support disk |
| q | Fit the stepped side facing the safety ring |
| 3 - | Inner disk |
| q | Number of disks → Chapter |
| 4 - | Outer disk |
| q | Number of disks → Chapter |
| 5 - | Thrust plate |
| q | Fit it with the ondulated washer facing the piston |
| 6 - | Ondulated elastic washer |
| q | Sealed with the thrust disc → Item |
| 7 - | Safety ring |
| q | Removing and installing → Fig. |
| q | Different thicknesses |
| q | Mark it after removal and refit in the same position |
| 8 - | Piston cover |
| q | The sealing lips are fixed by vulcanisation to the cover |
| q | Before fitting, apply ATF to the sealing lips |
| q | When fitting the cover, turn it slightly |
| q | To remove and fit, press down and fit safety ring → Item |
| 9 - | Spring |
| q | Fit between the piston and the piston cover |
| 10 - | Piston |
| q | The sealing lips are fixed by vulcanisation to the piston |
| q | Before fitting, apply ATF to the sealing lips |
| q | When fitting the piston, turn it slightly |
| 11 - | Clutch housing with turbine shaft |
| q | It has a different height accoridng to the number of outer and inner disks |
| q | There are two different models → Chapter |
| 12 - | O-ring |
| q | Renew |
| q | Fitting → Fig. |
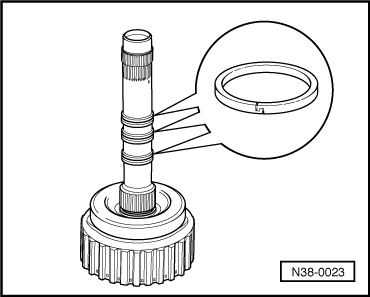
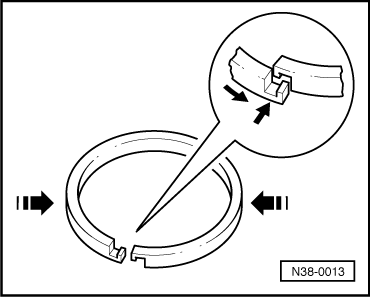
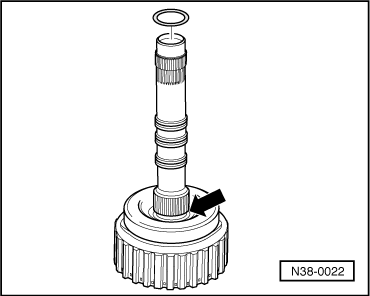
| 13 - | Piston ring |
| q | Check the fitting → Fig. |
| q | Removing and installing → Fig. |
 Note!
Note!
|
|
|
|
|
|