
Leon Mk1
| Slide box: removal and fitting |
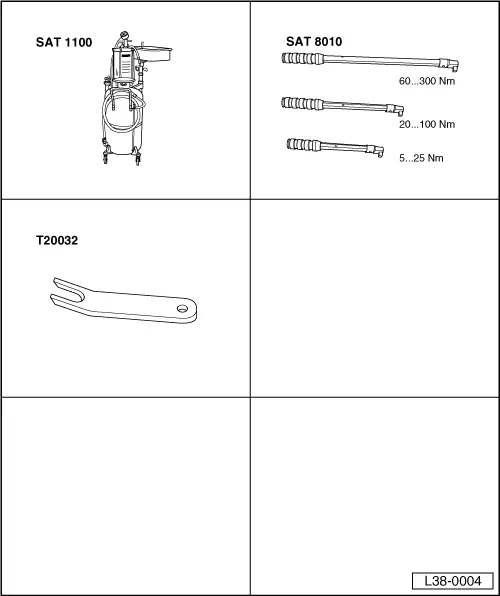
| Special tools and workshop equipment required |
| t | Oil extractor -SAT 1100- |
| t | Torque spanners -SAT 8010- |
| t | Extractor -T20032- |
 Caution
|
| t | The slide box or conducting plate can be removed and fitted with the gearbox installed in the vehicle. The conducting plate can be removed independently. |
| t | After fitting the ATF sump, check the ATF level and, where necessary, fill up → Chapter |
| t | Dirty or faulty slide boxes must always be replaced. |
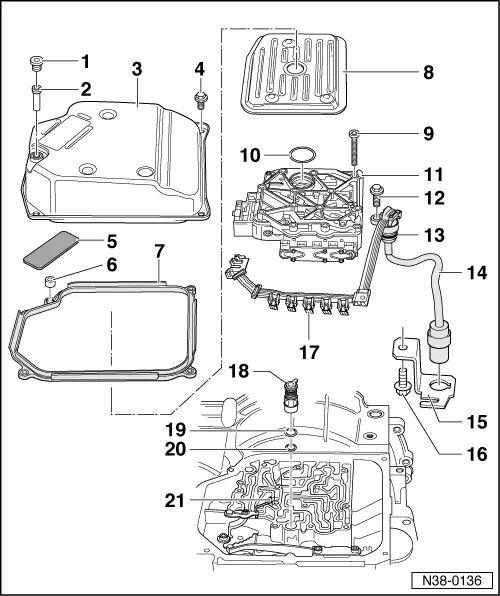
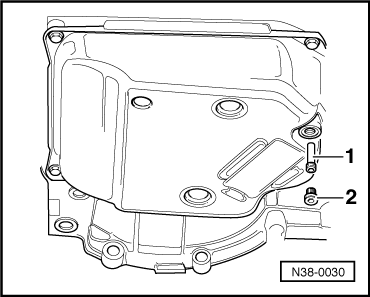
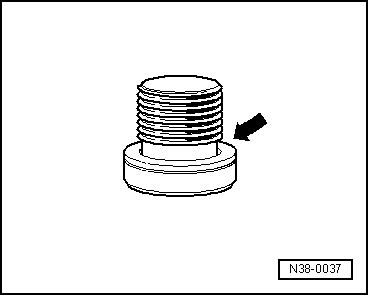
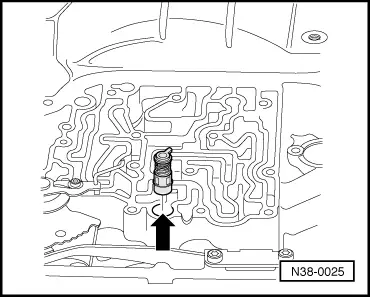
| 1 - | Sealing plug, 15 Nm |
| q | ATF level: checking and filling → Chapter |
| q | Always replace the O ring → Fig. |
| 2 - | Overflow hose |
| q | Remove it to empty the ATF → Fig. |
| q | Screw it in as far as it will go |
| q | ATF level: checking and filling → Chapter |
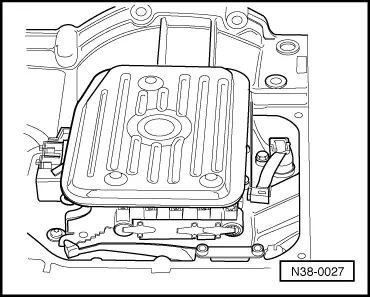
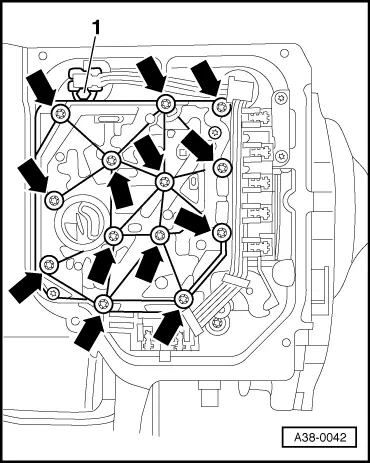
| 3 - | Oil sump |
| 4 - | 12 Nm |
| q | Diagonally tighten the screws for the oil sump at various stages |
| 5 - | Magnet |
| q | Fit it in the oil sump gap |
| 6 - | Spacer |
| q | Fit it in the gasket |
| 7 - | Gasket |
| q | Renew |
| q | Fit the spacers in the gasket |
| 8 - | ATF screen |
| q | Fitting → Fig. |
| 9 - | 5 Nm |
| q | Tighten from centre outwards |
| 10 - | Oil seal |
| q | Renew |
| q | Fit in the slide box |
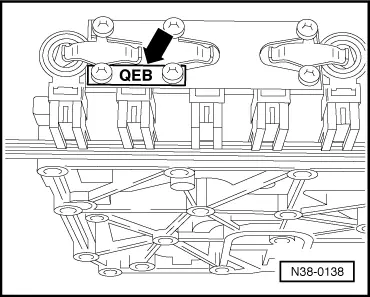
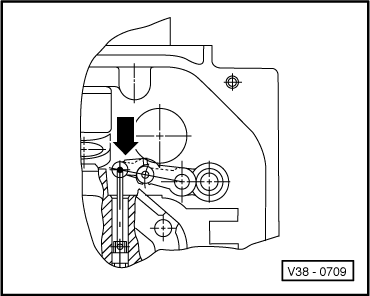
| 11 - | Slide box |
| q | Remove → Fig. |
| q | Location → Fig. |
| q | Identification → Fig. |
| q | Fit the seal → Item |
| q | Start basic adjustments after fitting a new slide box → VAS 5051; Vehicle self-diagnosis |
| 12 - | 10 Nm |
| 13 - | O-ring |
| q | For cable nozzle |
| q | Renew |
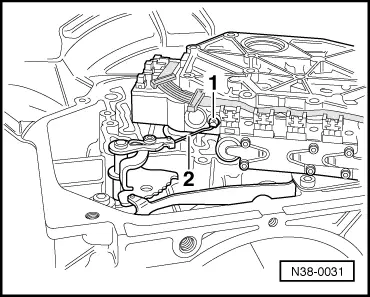
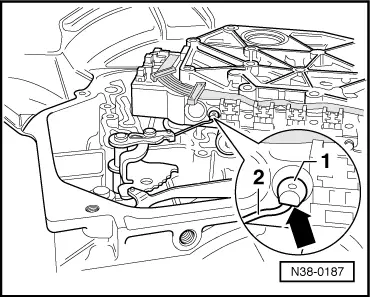
| 14 - | Conducting plate |
| q | With nozzle for cables and connector |
| q | ATF temperature sender -G93-, incorporated into the conducting plate |
| q | Can be removed and fitted with the gearbox in place |
| q | Removal → Fig. |
| q | Fitting → Fig. |
| 15 - | Securing clip |
| q | For the conducting plate connector → Fig. |
| 16 - | 20 Nm |
| 17 - | Connector for solenoid valves |
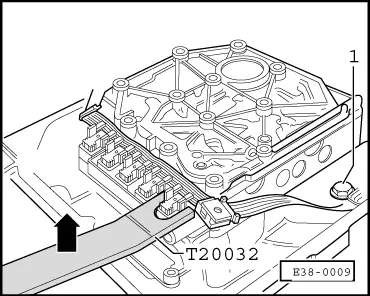
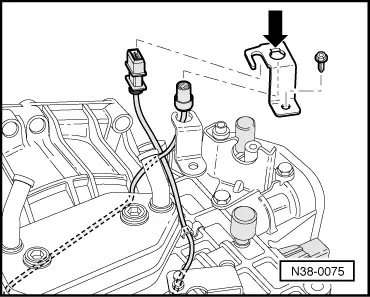
| q | Remove the solenoid valve connectors using tool -T20032- → Fig. |
| 18 - | Union plug |
| q | Remove before fitting and removing the free wheel |
| q | Fit so that the tab fits into the cut-out of the gearbox casing → Fig. |
| q | Place the new O ring on the union plugs |
| 19 - | O-ring |
| q | Renew |
| q | Dampen with ATF and fit |
| q | Fit to union plug → Item |
| 20 - | O-ring |
| q | Renew |
| q | Dampen with ATF and fit |
| q | Fit to union plug → Item |
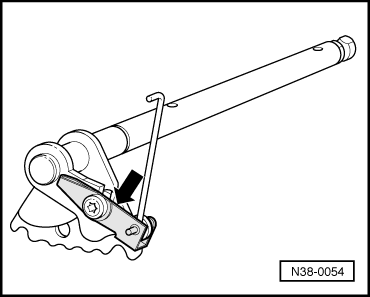
| 21 - | Actioning rod for manual slide |
| q | Unhook → Fig. |
| q | Hook → Fig. |
| q | Adjust → Fig. |
| q | Always replace the actioning rod steel spring and screw for the manual slide → Fig. |
|
|
|
|
|
|
 Note!
Note!
|
|
|
|
Note!
|
|
|
|
Note!
|
|
|

|
|
|
|
|
Note!
|
|