| –
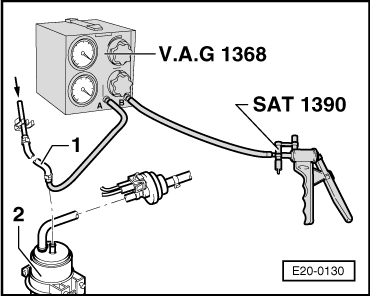
| Pull fuel tank breather hose -1- from the activated charcoal filter -2-. |
| –
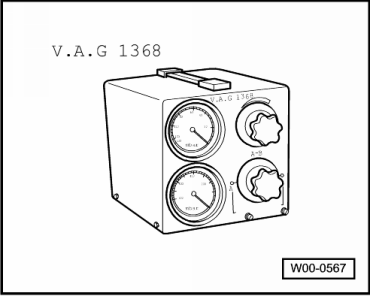
| Using the illustration as a reference, connect hand vacuum pump -V.A.G 1390- and vacuum tester -V.A.G 1368- to hose -1-. |
| –
| Set vacuum tester to position -A/B-. |
| –
| Unscrew fuel filler cap. |
| –
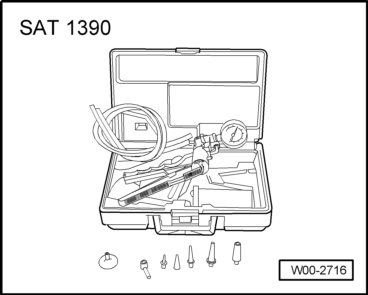
| Operate hand vacuum pump -SAT 1390- several times. Vacuum must not build up. |
| –
| Check gravity/overload valve → Item. |
| –
| Check pipe/hose -1- from fuel tank for blockage. |
| If vacuum does not build up: |
| –
| Refit fuel filler neck. |
| –
| Operate hand vacuum pump several times. Without creating vacuum. |

Note! | If the fuel level in the tank is low, the hand vacuum pump must be operated at least 20…30 times. |
| –
| Replace fuel tank filler neck. |
|
|
|