seat Workshop Repair Guides

SEAT Workshop Service and Repair Manuals

Engine cylinder head, valve gear > < Sealing flange and flywheel/drive plate
Removing and installing ancillary bracket
t  Removing → Anchor.
t  Installing → Anchor.
Consult the equivalence table for tools and equipment according to applicability among Seat / VW / Audi / Skoda → Chapter.
Special tools and workshop equipment required
   
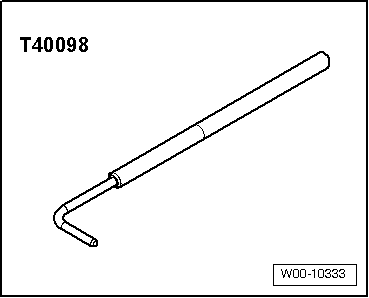
t  Hose clamp -T40098-, see equivalent → Anchor
  W00-10333
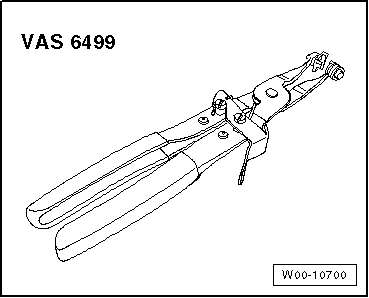
Pliers for spring-loaded band-type clamps -VAS 6499-, see equivalent → Anchor
  W00-10700
Removing
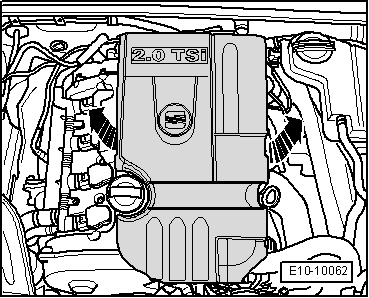
–  Pull off engine cover panel -arrows-.
  Caution
When disconnecting battery, observe safety measures → Electrical system; Rep. gr.27.
  E10-10062
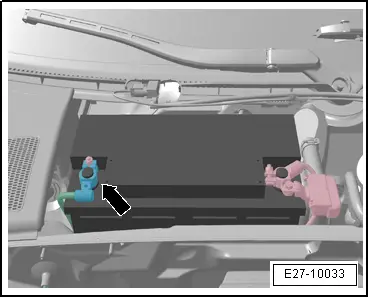
–  With ignition switched off, disconnect earth wire -arrow- at battery.
–  Move lock carrier to service position → Rep. gr.50.
  Note
Before removing the Poly-V belt, mark the direction of rotation using chalk or a marker. If the belt runs in the opposite direction when it is refitted, this can cause breakage
–  Mark running direction of poly V-belt.
  E27-10033
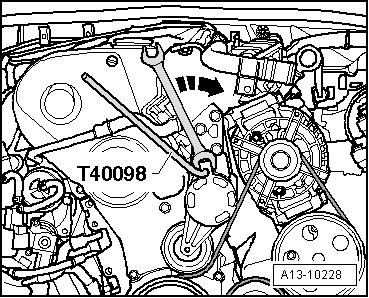
–  Swivel in the direction -arrow- to loosen the ribbed V belt .
–  Lock tensioner with retention tool -T40098-.
–  Take off poly V-belt.
  A13-10228
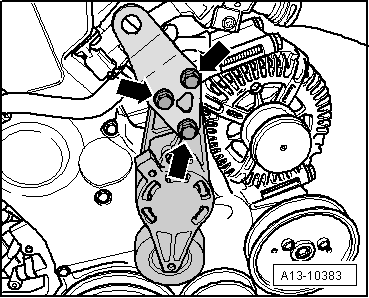
–  Unscrew the tension device for Poly-V belt -arrows-.
–  Remove the alternator → Electrical system; Rep. gr.27 .
  A13-10383
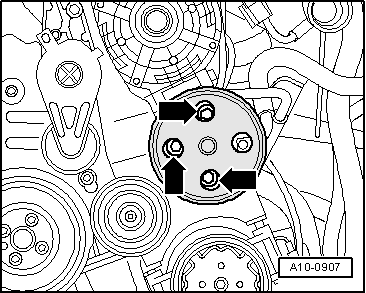
–  Thread off the front screws -arrows- of the pump for steering assist.
  A10-0907
–  Thread off the front screws -arrows- of the pump for steering assist.
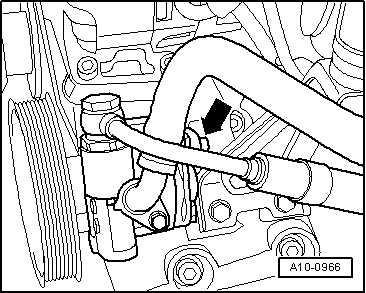
–  Move power steering pump aside and place onto longitudinal member. Lines remain connected.
  A10-0966
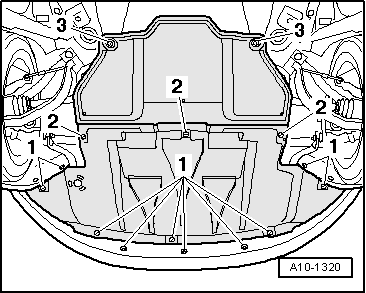
–  Release quick-fasteners -1- and -2- and take off front noise insulation.
  A10-1320
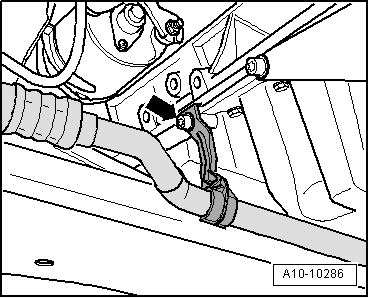
–  Unscrew the bracket of the refrigerant line -Arrow- from the oil sump.
  A10-10286
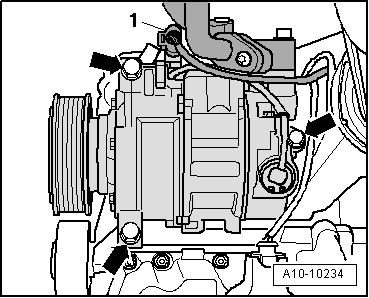
–  Unplug the connector -1- of the line to the magnetic clutch of the air conditioning compressor.
  Caution
The air conditioning refrigerant circuit must not be opened.
–  Unbolt air conditioner compressor from bracket -arrows-.
  Note
In order to avoid damage to the condenser or the pipes/hoses of the refrigerant, avoid pulling, bending or twisting excessively.
–  Tie up air conditioner compressor to bottom of vehicle, with lines attached.
  A10-10234
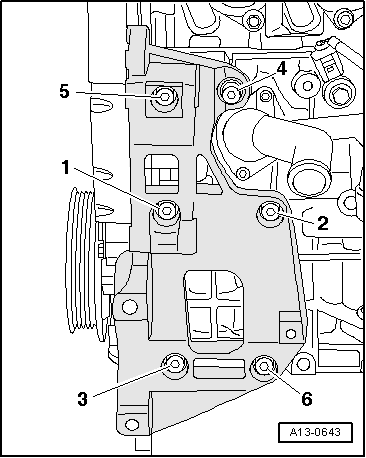
–  Extract bolts -1... 6- and remove bracket for auxiliary components
Installing
Reassembly is carried out in the reverse order; note the following:
  A13-0643
–  Tighten bolts in the specified sequence:-1 ... 6- Initially tighten to 45 Nm.
–  Remove the alternator → Electrical system; Rep. gr.27.
–  Fit the pump for steering assist: → Running gear, shafts, direction; Rep. gr.48.
–  Install the air conditioner compressor → Heating, air conditioning; Rep. gr.87.
–  Install poly V-belt → Chapter.
–  Connect battery. Note the following → Electrical system; Rep. gr.27
Tightening torques
  A13-0643
Components: Nm
Bracket for auxiliary units on engine block45 → Remark
Ribbed belt tensioner to ancillaries bracket23

1)  Fit with locking fluid; locking fluid → Parts catalogue
   

Engine cylinder head, valve gear > < Sealing flange and flywheel/drive plate