| t
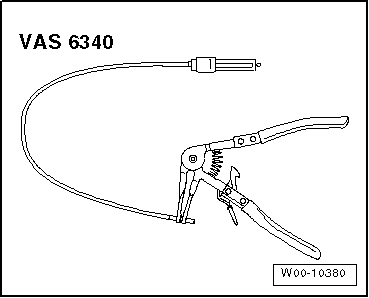
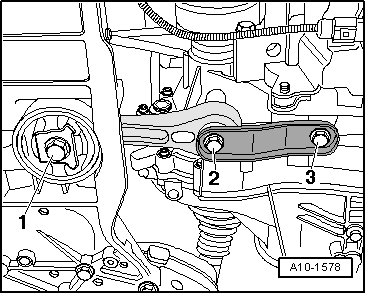
| Pliers -VAS 6340-, see equivalent → Anchor |

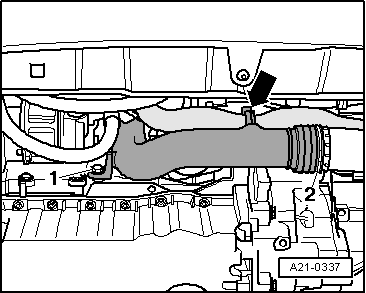
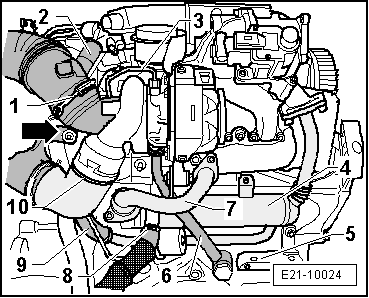
Caution | If a mechanical fault is detected on the turbocharger, for example, a broken blade wheel, changing the turbocharger is not enough. To avoid subsequent damage, carry out the following operations: |
| t
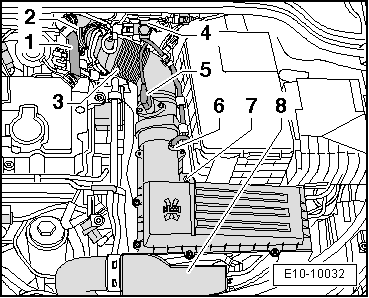
| Ensure that the air filter housing, the cartridge and the vacuum hoses are not dirty. |
| t
| Ensure that there are no foreign bodies in the supercharger air circuit and the intercooler. |
| If foreign bodies are found in the supercharger air system, the supercharger air circuit should be cleaned and, if necessary, the intercooler replaced. |
|
|
|
|


 WARNING
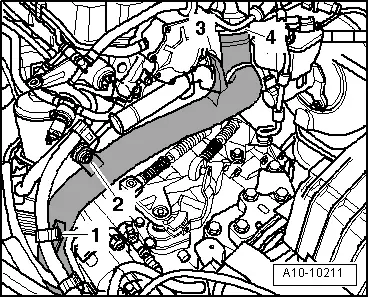
 Note
Note