| –
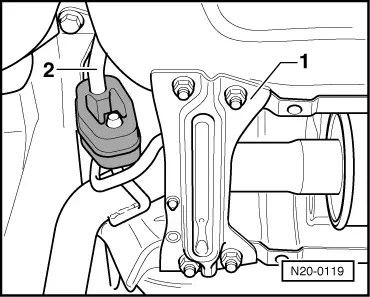
| Release the connector -2- and the fuel return line -1- from the flange. |
| –
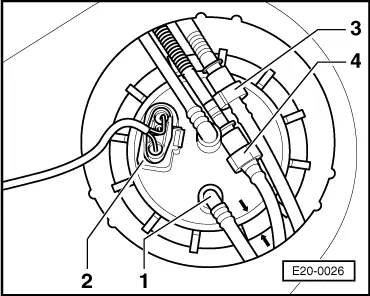
| Remove the fuel supply line -3- and the breather pipe -4- by the connecting hoses. |

Note! | To do so, press the hose lock buttons. |

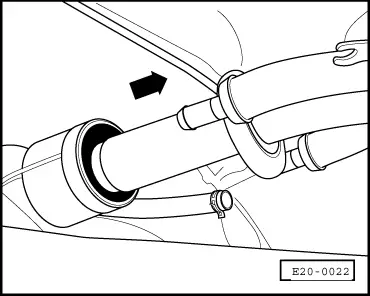
Caution | The fuel supply lines are under pressure. Before loosening the hose connections, place a cloth round the connection point. Then eliminate the pressure carefully removing the hose. |
|
|
|
|