
Leon Mk1
 Note
Note |
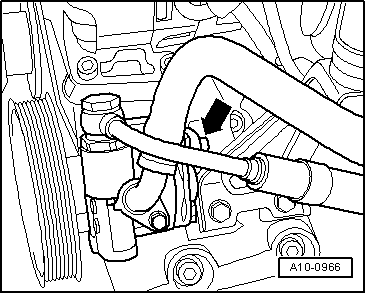
 Caution
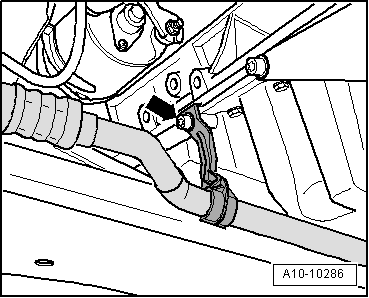
|
|
|
|
|
|
|
|
|
|
|
|
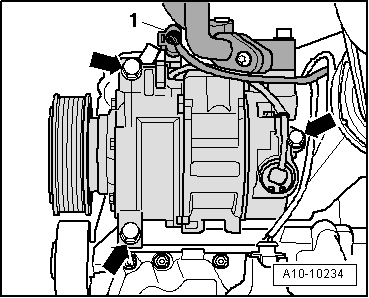
Note
|
|
Note
|
|
|
|
|
|
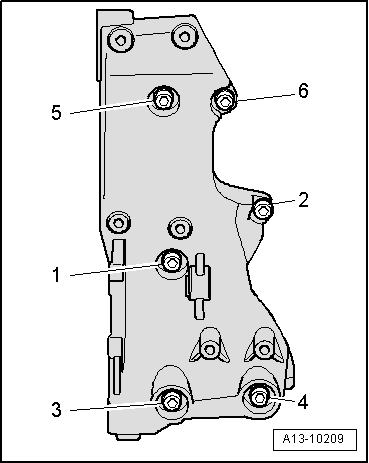
| Component | Nm | |
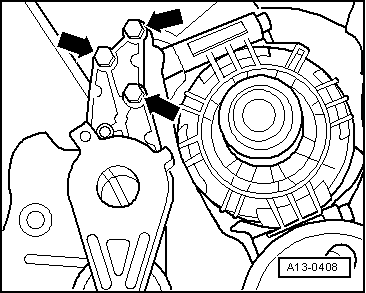
| Bracket for auxiliary units on engine block | 40 → Remark | |
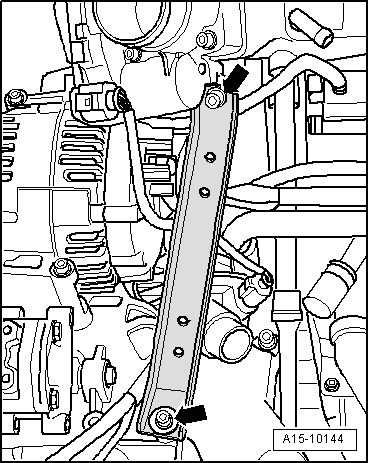
| Support for | Bracket for ancillary mechanical units | 23 |
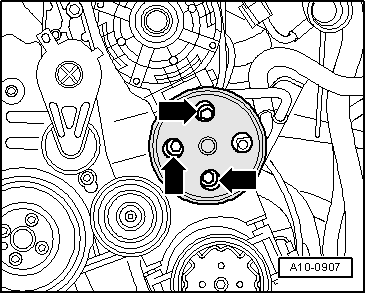
| Intake manifold to | Intake manifold | 23 |
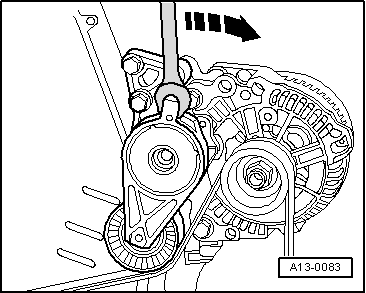
| Return roller to ancillaries bracket | 25 | |
| Ribbed belt tensioner to ancillaries bracket | 23 | |
|