seat Workshop Repair Guides

SEAT Workshop Service and Repair Manuals

Exhaust turbocharger, G-charger > < Active carbon filter system (Ibiza)
Removing and installing fuel tank
t  removing → Anchor
t  installing → Anchor
Consult the equivalence table for tools and equipment according to applicability among Seat / VW / Audi / Skoda → Chapter.
Special tools and workshop equipment required
   
t  Torque wrench -VAG 1331-, see equivalent → Anchor.
  W00-0427
t  
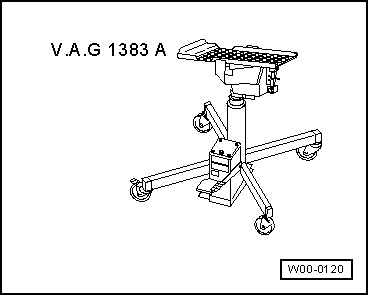
Hydraulic jack -VAG 1383A-, see equivalent → Anchor
removing
–  Note safety precautions before starting installation work → Chapter.
–  First check whether a coded radio is fitted. If so, obtain anti-theft coding:
–  With the ignition switched off, disconnect battery earth strap.
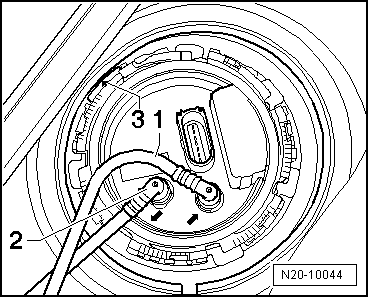
–  Extract the securing bolt of the fuel tank cap unit and remove the unit.
–  Drain fuel tank, clean fuel filler and surrounding area.
–  Remove bench seat → General body repairs, interior; Rep. gr.72.
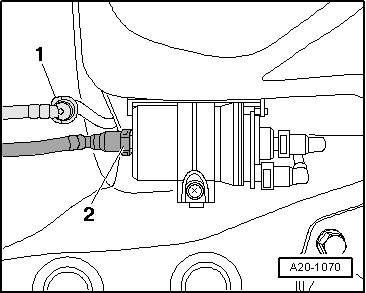
–  Remove cover from fuel delivery unit.
  W00-0120
–  Disconnect the connector and the fuel pipes -1 and 2- from the flange.
–  Remove right rear wheel.
–  Remove the rear right-hand side wheel housing moulding: → Bodywork, exterior fitting work; Rep. gr.66
  N20-10044
–  Remove the fuel filler neck from the bodywork -arrows-.
–  Remove all the rear section supports of the exhaust system from the bodywork. Then secure the exhaust pipe with a a piece of wire to a somewhat deeper position on the bodywork.
  WARNING
Fuel supply line is pressurised. Wear safety goggles and appropriate clothing to avoid injury and contact with skin. Before loosening hose connections, wrap a cloth around the connection. Then release pressure by carefully pulling hose off connection.
  N20-0705
–  Disconnect the breather pipe -1- (white) and the fuel pipe -2- (black) at their connections.
  Note
Press in securing ring to release fuel lines.
–  Remove the support straps and the securing bolts. In doing so, support the fuel tank using the engine and gearbox jack -VAG 1383A-.
–  Lower fuel tank.
installing
Installation is carried out in the reverse order; note the following:
  Note
Only use screws with loose washers for fixing the retaining straps of the fuel tank. This avoids the retaining straps from being bent when the bolts are tightened.
t  Tightening torque of the fuel tank filling neck on the bodywork: 10 Nm
t  Tightening torque of the retaining strap bolts: 25 Nm
t  Install breather and fuel lines free of kinks.
t  Ensure that line connections are tight.
t  After installing fuel tank, check that the supply, return and breather lines are still clipped onto the fuel tank.
  A20-1070

Exhaust turbocharger, G-charger > < Active carbon filter system (Ibiza)