seat Workshop Repair Guides

SEAT Workshop Service and Repair Manuals

Adjusting vacuum unit for turbocharger > < Checking vacuum unit for turbocharger
Removing and installing vacuum unit for turbocharger
Special tools and workshop equipment required
   
t  Torque wrench -V.A.G 1331-
Removal:
–  Release vacuum hose on vacuum reservoir -arrow- and pull it off.
  W00-0427
–  Lift off engine cover panel at points -1- and pull it forwards in direction of -arrow-.
  N10-10281
–  Unbolt heat shield over turbocharger -arrows-.
  N21-10220
–  Pull hose -1- from pressure pipe and unscrew securing bolts -2- for pressure pipe.
–  Remove pressure pipe.
  N21-10117
–  Pull hose -arrow- from vacuum unit.
–  Remove sealing paint from securing nut -2-.
  N21-10118
–  Pull off retaining clip -1- and loosen securing nut -2- on vacuum unit linkage.
–  Unscrew knurled nut from vacuum unit stud.
  N21-10119
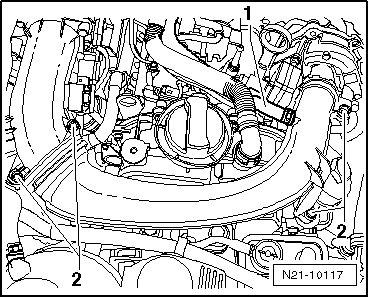
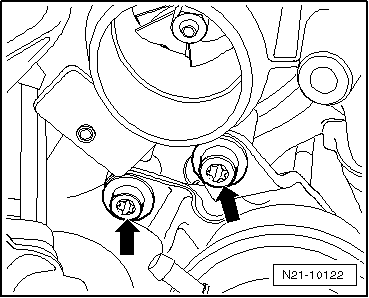
–  Unscrew securing bolts -arrows- for vacuum unit and remove vacuum unit from turbocharger.
Installation
Installation is carried out in the reverse sequence; note the following:
t  
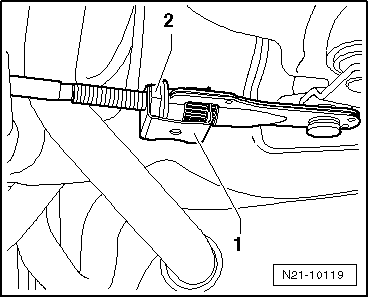
Linkage must be adjusted after installing vacuum unit → Chapter.
t  Tightening torque of the pressure capsule on the exhaust turbocharger: 10 Nm
t  Renew seals, gaskets and self-locking nuts.
t  
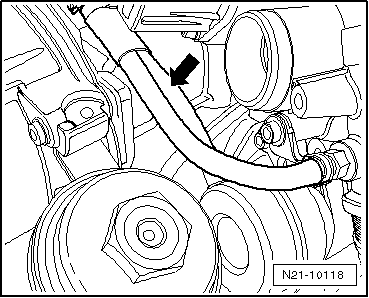
Hose connections and hoses for charge air system must be free from oil and grease before fitting.
t  Secure all hose connections with hose clips which conform to production standard.
  N21-10122

Adjusting vacuum unit for turbocharger > < Checking vacuum unit for turbocharger