seat Workshop Repair Guides

SEAT Workshop Service and Repair Manuals

Fuel supply, gas operation > < Radiator and radiator fans
Removing and installing coolant pipes (front)
Special tools and workshop equipment required
   
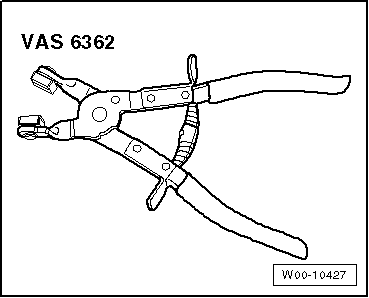
t  Hose clip pliers -VAS 6362-
  W00-10427
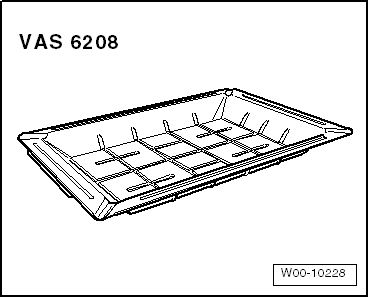
t  Drip tray for workshop hoist -VAS 6208-
Removing:
  WARNING
When the engine is warm, the cooling system is under pressure!
Hot steam/hot coolant can escape - risk of scalding.
Cover filler cap on coolant expansion tank with a cloth and open carefully to dissipate pressure.
–  Open filler cap on coolant expansion tank.
–  Remove the air filter housing → Chapter.
  W00-10228
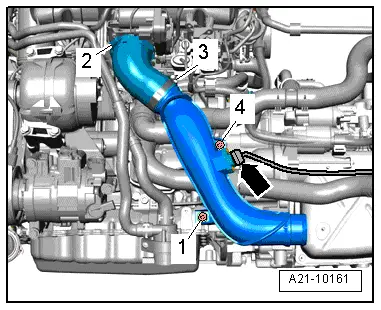
–  Release hose clip -2-.
–  Remove bolt -4-.
–  Disconnect electrical connector -arrow- and move wiring clear.
–  Remove noise insulation → Bodywork, exterior fitting work; Rep. gr.50
  A21-10161
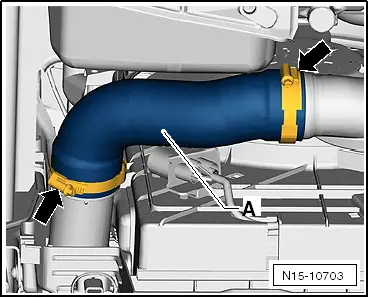
–  Remove charge air hose -A- and seal charge air cooler with a clean cloth.
  N15-10703
–  Remove bolt -1- and take out air pipe downwards.
  A21-10161
–  Place drip tray for workshop cranes -VAS 6208- beneath engine.
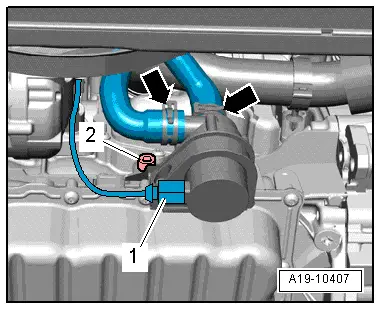
–  Disconnect coolant hoses from continued coolant circulation pump -V51--arrows-.
  A19-10407
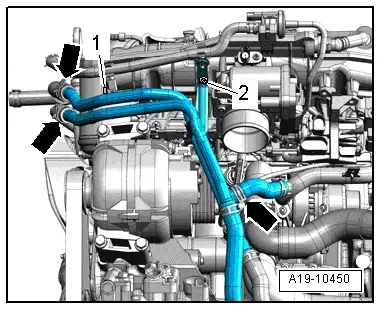
–  Unscrew bolts -1 and 2- and disconnect coolant pipes (front) from coolant hoses -arrows-.
Installing:
l  Tightening torques → Chapter
Installation is carried out in the reverse order; note the following:
  Note
t  Renew gaskets and seals.
t  Secure all hose connections with the correct type of hose clips (same as original equipment) → ETKA (electronic parts catalogue).
–  Assembly of charge air hoses → Chapter.
  A19-10450

Fuel supply, gas operation > < Radiator and radiator fans