Leon Mk1
|

| Special tools and workshop equipment required |
| t | Torque wrench -SAT 8010- |
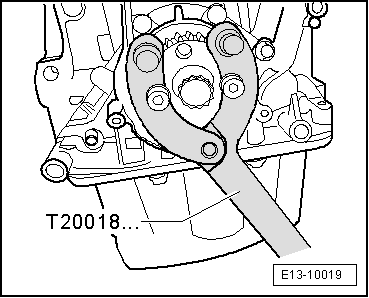
| t | Counterhold tool -T20018B- |
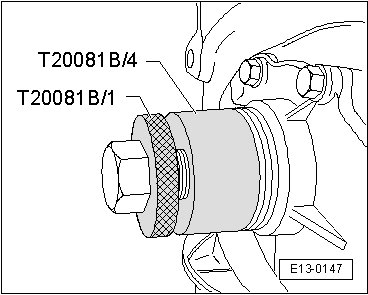
| t | Guide sleeve -T20081B- |
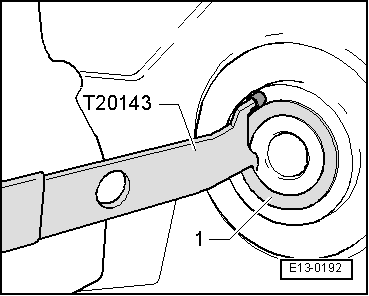
| t | Extractor -T20143- |
|
|
|
|
|
 Note
Note
|
|

|
| Special tools and workshop equipment required |
| t | Torque wrench -SAT 8010- |
| t | Counterhold tool -T20018B- |
| t | Guide sleeve -T20081B- |
| t | Extractor -T20143- |
|
|
|
|
|
Note
|
|