
Leon Mk1
 Note
Note
|
|
|
|
|
|
|
|
|
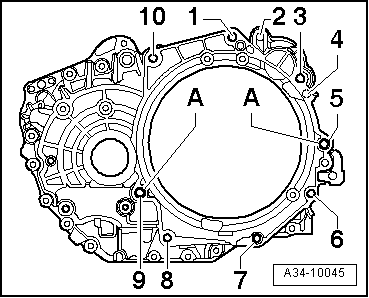
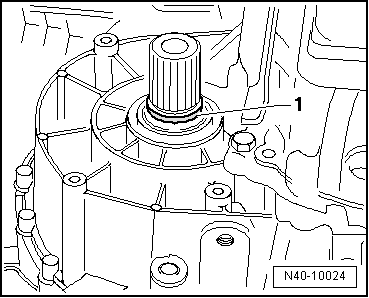
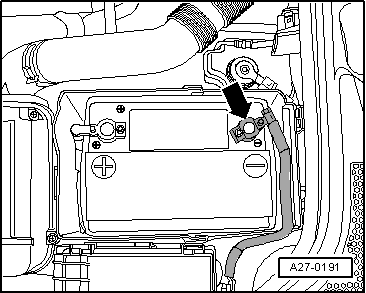
| Screws -1- | 50 Nm + 90° (1/4 turn) |
|
 WARNING
|
|
|

|
|
|
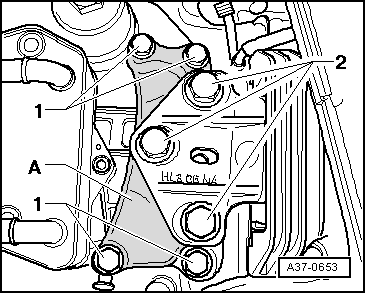
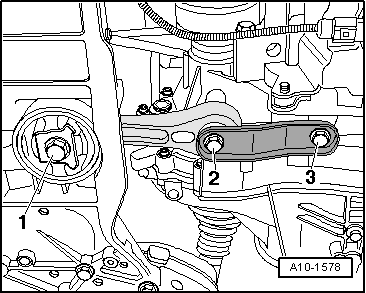
| 2 bolts -1-, M8 | 20 Nm + 90° (1/4 turn) |
|
|
|
|
|
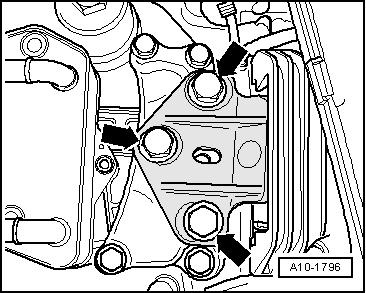
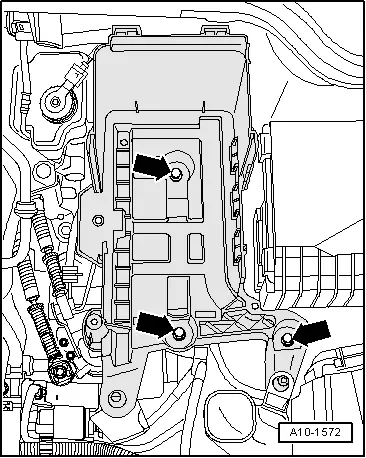
| Bolts -arrows- | 100 Nm |
Note
|
|

|
|
|
|
|