Octavia Mk1
| Summary of components - slide valve body |

| 1 - | AFT screw plug, 15 Nm |
| q | Always replace gasket ring → Electronic Catalogue of Original Parts |
| q | Inspecting ATF level and if necessary topping up → Chapter |
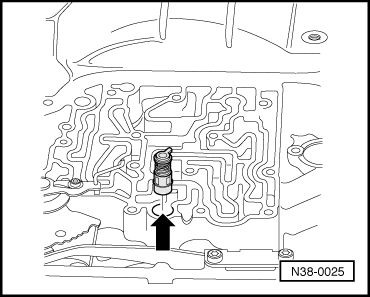
| 2 - | Overflow tube |
| q | remove to drain ATF → Chapter |
| q | screw in up to the stop (2 Nm) |
| q | Inspecting ATF level and if necessary topping up → Chapter |
| 3 - | Oil pan |
| q | removing and installing → Chapter |
| 4 - | 12 Nm |
| 5 - | Magnet |
| q | position in the recess of the oil pan |
| 6 - | Spacer bush |
| q | press into the gasket Pos. 7 |
| 7 - | Gasket |
| q | always replace → Electronic Catalogue of Original Parts |
| q | Press spacer bushes Pos. 6 into the gasket |
| 8 - | ATF strainer |
| q | removing and installing → Chapter |
| 9 - | 5 Nm |
| q | 13 pieces |
| q | observe the order of tightening up → Chapter |
| 10 - | Gasket |
| q | always replace → Electronic Catalogue of Original Parts |
| q | press onto the intake collar of the ATF strainer by hand, remove and install ATF strainer → Chapter |
| 11 - | Slide valve body |
| q | Identification → Fig. |
| q | removing and installing → Chapter |
| q | after installing a new slide valve body, carry out the basic setting → Chapter |
| 12 - | 10 Nm |
| q | for cable bushing |
| 13 - | O-ring |
| q | for cable bushing |
| q | always replace → Electronic Catalogue of Original Parts |
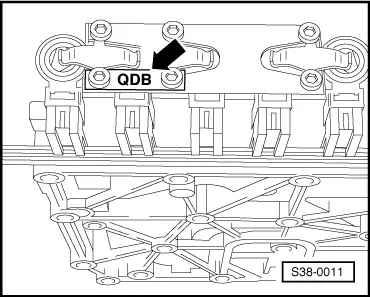
| 14 - | Conductor foil with plug for solenoid valves |
| q | removing and installing → Chapter |
| q | with cable bushing and connector |
| q | Gearbox oil temperature sender -G93- integrated in the conductor foil |
| q | can be installed or removed on installed gearbox |
| 15 - | Bracket for connector of conductor foil |
| q | there are different versions of brackets |
| 16 - | 20 Nm |
| q | for bracket |
| 17 - | Plug for solenoid valves |
| q | remove with lever for conductor foil -3373- from the solenoid valves → Chapter |
| 18 - | Plugs |
| q | remove before installing and removing the free wheel |
| q | insert in such a way that the peg is fitted in the groove at the housing → Fig. |
| q | Position O-ring on the plug |
| 19 - | O-ring |
| q | always replace → Electronic Catalogue of Original Parts |
| q | moisten with ATF and place on the plug -Pos. 18- |
| 20 - | O-ring |
| q | always replace → Electronic Catalogue of Original Parts |
| q | moisten with ATF and place on the plug -Pos. 18- |
| 21 - | Actuator rod for manual slider |
| q | adjust → Chapter |
| q | Always replace steel spring and screw for actuation of manuel slider → Chapter |
|
|