| Removing and installing oil pan |
| Special tools and workshop equipment required |
| t
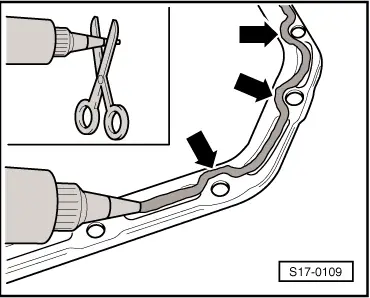
| Sealant remover gasket stripper (bearing code GST, bearing article no. R 34402), manufacturer Retech s.r.o. |
| t
| Cleaning and degreasing agent, e.g. -D 009 401 04- |
| t
| Protective goggles and gloves |
| t
| Silicone sealant -D 176 600 A1- |
| t
| Catch pan, e.g. -VAS 6208- |
| For the vehicles Fabia II, Roomster |
| –
| Remove catalytic converter with pre-exhaust pipe → Chapter. |
| For the vehicles Octavia II, Yeti |
| Continued for all vehicles |
| –
| Disconnect plug at oil level and oil temperature sender -G266-. |
|
|
|
 Note
Note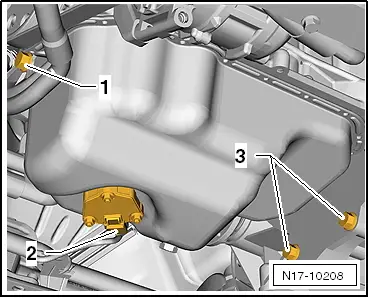
 WARNING