| Filling/bleeding the high pressure pump and the fuel system |
| Special tools and workshop equipment required |
| t
| Cleaning and degreasing agent, e.g. -D 009 401 04- |
| t
| Protective goggles and gloves |

Caution | Risk of damage to the high pressure pump through running dry. |
| After installing a new high pressure pump, the high pressure pump must be filled up with fuel before the first engine start. Avoid the high pressure pump to run dry. |
|

Note | t
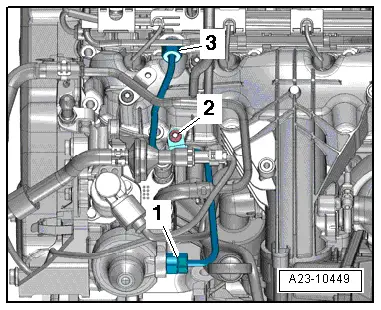
| When installing the high pressure pump, ensure that no dirt penetrates the fuel system. |
| t
| Only remove the screw plug immediately before installing the fuel lines. |
| l
| On vehicles with automatic gearbox the selector lever must be in position „P“. |
| l
| The vehicle must be filled up. |
| l
| The temperature of the fuel system is ≥ 15 °C. |
| In order to fill up the high pressure pump with fuel, proceed as follows: |
| –
| Connect vehicle diagnosis, measurement and information system -VAS 505x-. |
| –
| Select the „Engine electronics“ in the self-diagnosis. |
| –
| Then select „006 - Initiate basic setting“. |
| –
| Enter the display group „35“ via the ten-key pad and confirm with „Q“. |
| –
| Then press on „activation“. |
| t
| The fuel pumps start running for approx. 60 seconds. |
| –
| Repeat this work procedure 3x. |
|
| This ensures that the high pressure pump is adequately filled up with fuel. |

WARNING | Wear protective gloves and protective googles when working with grease remover! |
|
|
|
|