
Impreza L Sedan F4-2.2L SOHC (1997)
b. Move the piston rod to the center of its entire stroke.
c. While holding the piston rod end with fingertips, move the rod up and down.
d. If the piston rod moves at least 10 mm (0.39 inch) in step c., purge air from the strut.
3. Air purging procedure
a. Place the strut vertically with the piston rod facing up.
b. Fully extend the piston rod.
c. With the piston rod fully extended, place the piston rod side down. The strut must stand vertically.
d. Fully contract the piston rod.
e. Repeat steps a. through d. above 3 or 4 times.
NOTE: After completely purging air from the strut, be sure to place the strut with the piston rod facing up. If it is laid down, check for entry of air
in the strut as outlined under step 2 above.
4. Using a coil spring compressor, compress the coil spring.
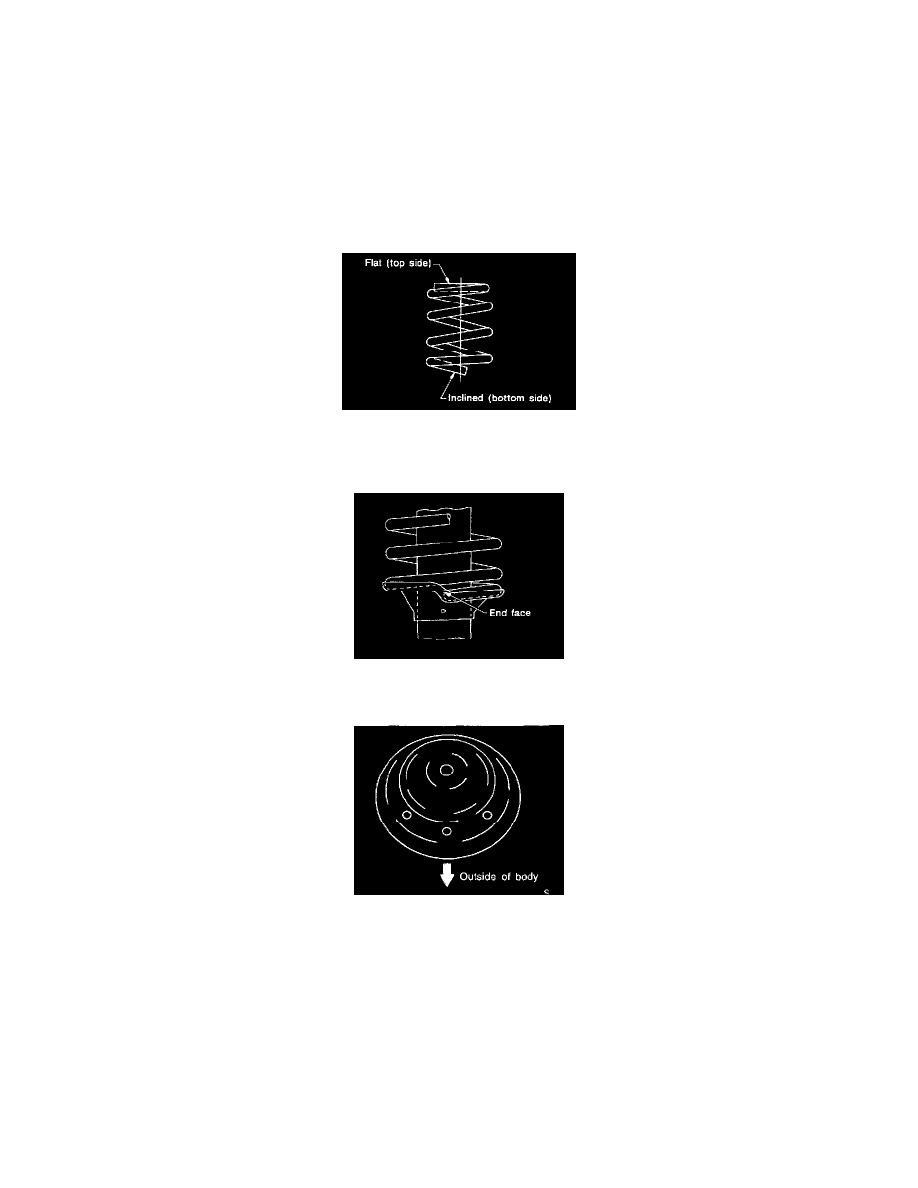
NOTE: Make sure that the vertical installing direction of coil spring is as shown in figure.
5. Set the coil spring correctly so that its end face fits well into the spring seat as shown.
6. Install helper and dust cover to the piston rod.
7. Pull the piston rod fully upward, and install rubber seat and spring seat.
NOTE: Ensure that upper spring seat is positioned with "OUT" mark facing outward.
8. Install strut mount to the piston rod, and tighten the self-locking nut temporarily.
CAUTION: Be sure to use a new self-locking nut.