|
Rear Valve Body, Dismantle and Assemble (AF
13-II)
Note: Individual
parts for the valve body are not available from suppliers; the
complete valve body must be replace in the event of loss or
damage.
 Remove Remove
| 2. |
Remove rear valve body
Note: Carefully remove
covers no. 1 and 2 with gasket. Springs behind them could fall
out.
To prevent confusion lay aside all parts in order to ensure perfect
functioning after assembled is completed.
|
| 3. |
Remove all parts depicted in the survey from the valve body 
|
| 4. |
Clean and dry all the parts
| • |
Remove seal rings of accumulator pistons B2 and C2 for
cleaning
Note: O-rings cannot be
supplied individually.
|
| • |
Oil all the parts lightly
|
|
 Install
| 5. |
Check all removed parts for damage, wear, rust and
deformation
Note: All the pistons
and valves must sit in the valve body with no play.
Replace entire valve body if necessary.
|
| 6. |
Attach O-rings of accumulator pistons B2 and C2 to pistons.
| • |
Install all parts shown or depicted in survey into valve body
|
|
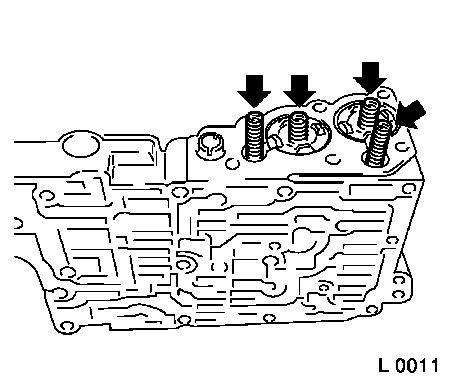
| 7. |
Fit covers no. 1 and 2 to rear valve body
Note: Ensure that
protruding springs (arrows) are correctly seated and do not become
crushed or deformed.
| • |
Tighten cover no. 1 on the rear valve body 7 Nm
|
| • |
Tighten cover no. 2 on the rear valve body 7 Nm
|
|
|
|
| 8. |
Install rear valve body
|
|
