
940 L4-2.3L SOHC VIN 88 B230F (1992)
‹› Illustration shows bleeding of single-piston caliper.
‹› Remove dust cap(s) from bleeding nipple(s).
‹› Connect fluid collector tube to nipple.
‹› Open nipple and close when air bubbles are no longer present in escaping fluid. Tighten nipple to 10 Nm (7.5 ft.lb).
‹› Cars with two-piston calipers:
-
Connect tube to upper nipple and carry out above procedure.
‹› Refit dust cap(s) on bleeding nipples(s).
‹› Bleed other caliper as described above.
A6
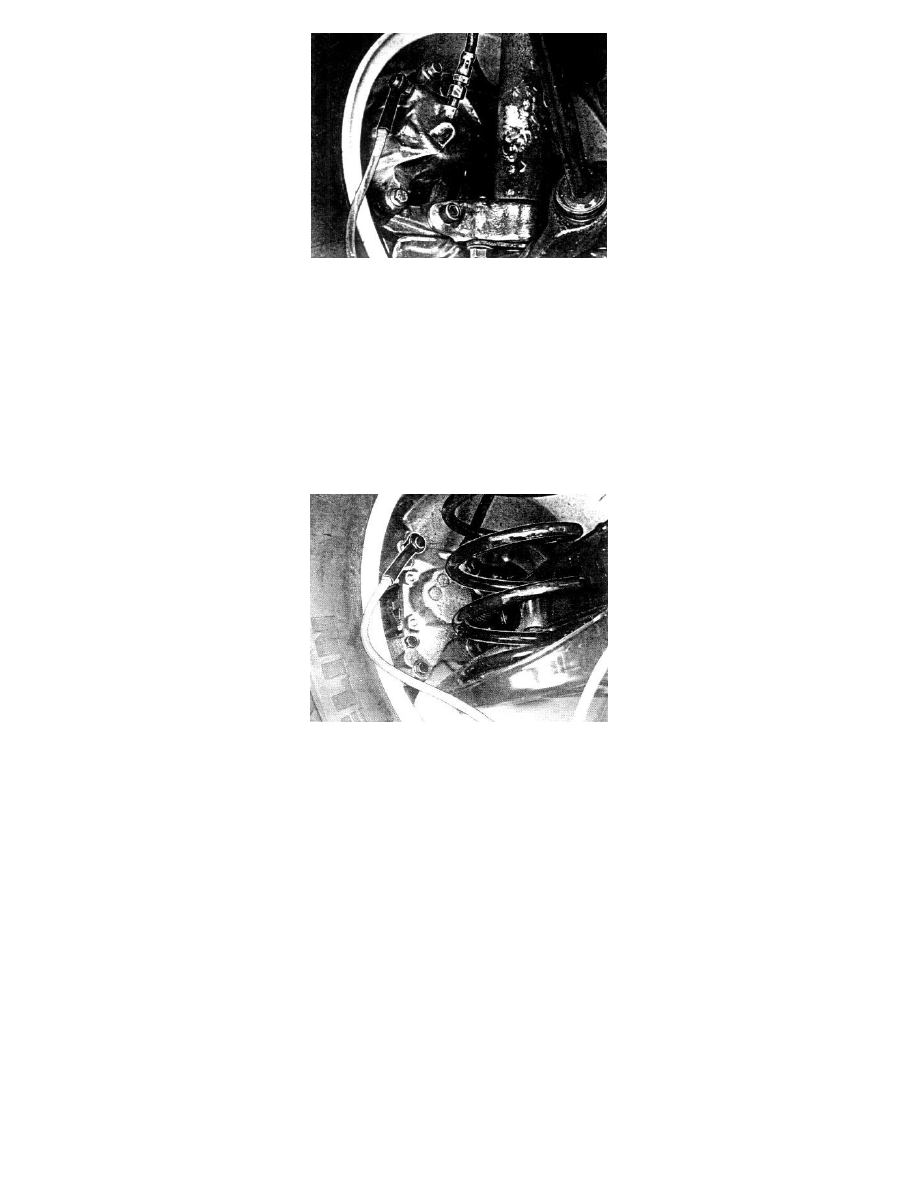
- Bleeding of rear brake calipers:
‹› Picture illustrates bleeding of caliper for live rear axle.
‹› Remove dust cap from bleeding nipple.
Note: Upper bleeding nipple must be used on cars with multilink rear axles.
‹› Open nipple and close when air bubbles are no longer visible in escaping fluid. Tighten nipple to 4.5 Nm (3.3 ft lb).
‹› Refit dust cap on bleeding nipple.
‹› Bleed other caliper as described above.
A7
- Depressurize system:
‹› Check system. Check for air in system by operating brake pedal at force equivalent to hard braking.
‹› Disconnect bleeding unit from brake fluid reservoir.
‹› Check level in reservoir.
‹› Check that vent hole in reservoir cap is free of dirt. Fit cap.
‹› Wash off fluid spillage, if any, with lukewarm water and car shampoo.
‹› Lower car.