V70 2.4 L5-2.4L VIN 61 B5244S (2001)

Note! Ensure that the mating surfaces on the crankshaft and flywheel are completely clean.
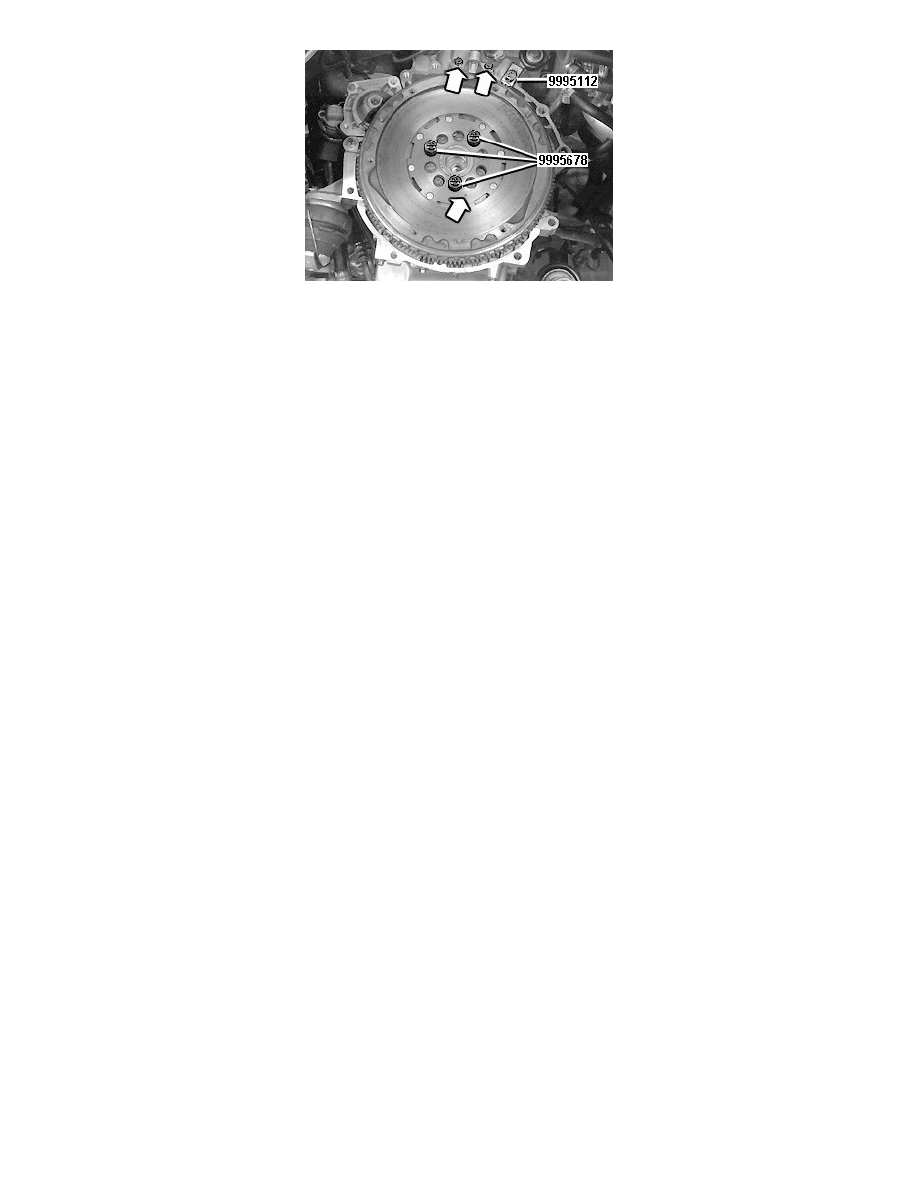
Use tool 999 5678 Special screw See: Tools and Equipment/999 5678 Special Screw , consisting of 3 studs with nuts.
Install:
-
The 3 studs belonging to tool 999 5678 Special screw See: Tools and Equipment/999 5678 Special Screw distributed as illustrated
-
the flywheel.
Note! Check that the locating pin on the crankshaft is positioned opposite the hole in the flywheel.
Note! Only applies to cars with dual mass flywheels: There is a marking in the form of a shallow hole (see the arrow). The marking indicates the
direction to the guide hole on the flywheel.
Fit the gear sector 999 5112 GEAR SECTOR See: Tools and Equipment/999 5112 Gear Sector against the flywheel.
Tighten in the flywheel against the crankshaft, alternate between nuts when tightening. Use the 3 nuts that belong to tool 999 5678 Special screw See:
Tools and Equipment/999 5678 Special Screw.
Caution! The flywheel must lie against the crankshaft flange before the screws are installed. There is a risk that excess locking fluid on the
screws will come between the mating surfaces.
Install 7 new screws. Tighten crosswise with 45 Nm.
Remove the 3 nuts and studs.
Install the remaining 3 new screws for the flywheel and tighten with 45 Nm. Then angle-tighten all 10 screws crosswise 65°.
Install the impulse sensor with bracket. Tighten with 10 Nm.
Finishing
Install:
-
clutch. Refer to: Clutch disc and pressure plate See: Clutch/Clutch Disc/Service and Repair
-
transmission. Refer to: Transmission, installation, B5254T2, M58, B5254T2, M56 See: Manual Transmission/Transaxle/Service and
Repair/Removal and Replacement/Transmission, Installing
