
V90 L6-2.9L VIN 96 B6304S (1998)
-
Clean seat.
-
Install new seal using seal installer tool No. 999 5455, or equivalent.
Grease seal.
-
Press in seal using crankshaft centre nut.
-
Proceed to step 13.
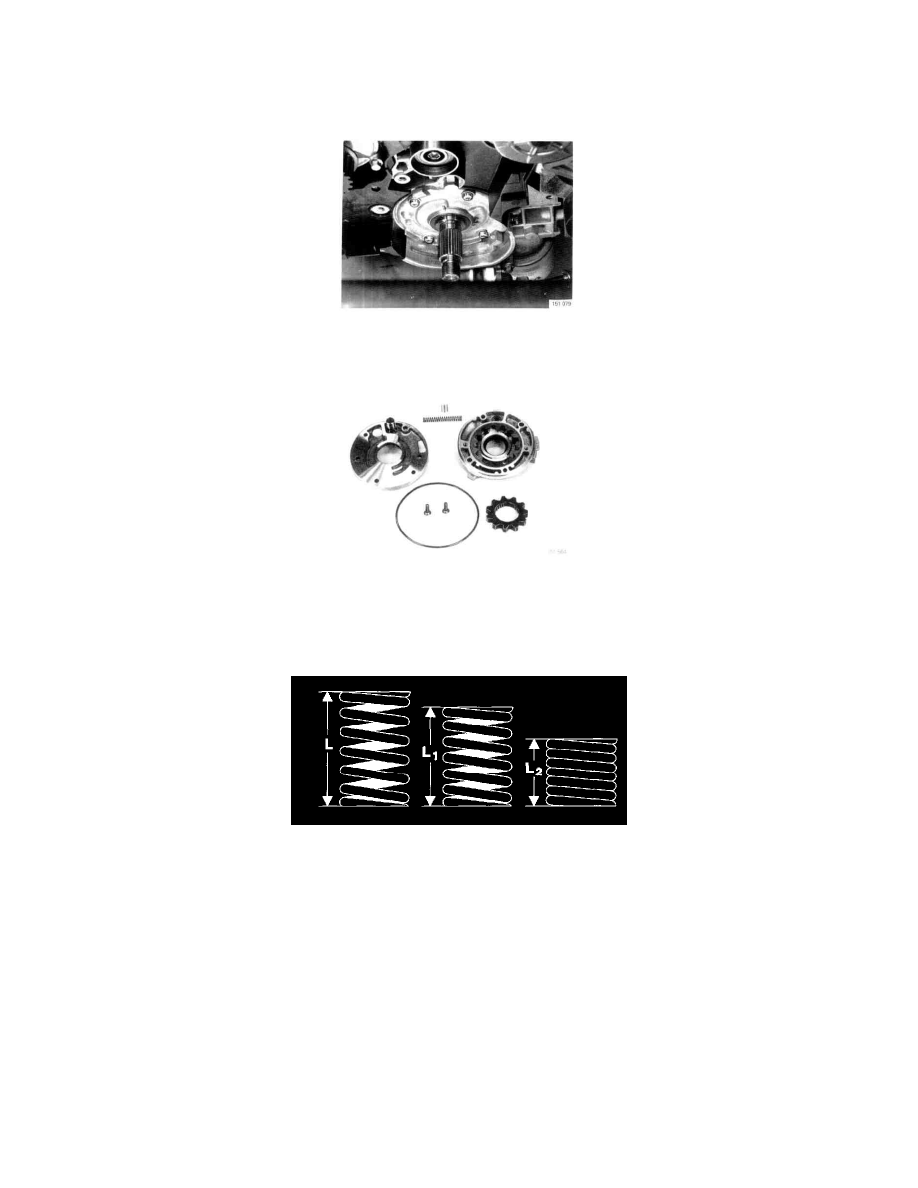
8. Remove oil pump
-
Remove all bolts.
-
Clean joint face and mating surfaces.
9. Dismantle oil pump
-
Clean and inspect all components
-
Inspect for damage and wear, with particular attention to half-moon insert (between suction and delivery sides).
Replace complete pump if faults are found.
-
Separate parts are available for relief valve.
Spring Tension (Part 1 Of 2)
10. Test relief valve springs
Pressure Relief Valve Spring: P/N 1397819 early type 1992 - 1993
Load At Length:
Load = 0 N (no load): Length = 76.22 mm
Load = 52 ± 4 N: Length = 56.10 mm
Load = 85 ± 8 N: Length = 39.90 mm
Pressure Relief Valve Spring: P/N 9135202 late type 1993 - 1998
Load At Length: