
Body System (01.00)
- Make
- Aston Martin
- Model
- DB9 Factory Workshop Manual
- Year
- Issue 2, 2005
- Section
- Bumpers › Body System (01.00)
01 Body systemBody System (01.00)
Body System (01.00)
Bumpers (01.19)
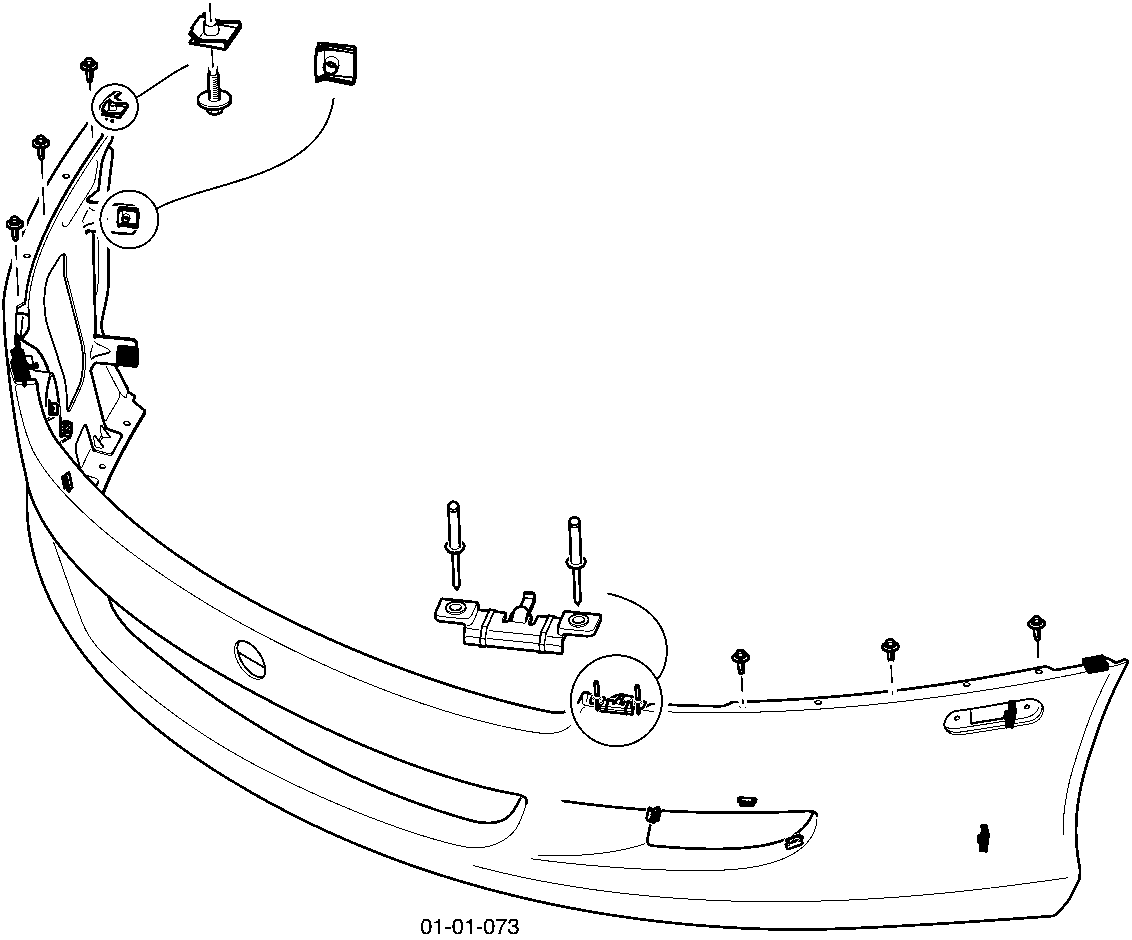
Front Bumper
Specifications
| Torque Figures | ||
|---|---|---|
| Description | Nm | lb. / ft. |
| Bumper to bumper bracket | 4-5 | 3-4 |
Maintenance
| Repair Operation Time (ROT) | |
|---|---|
| Item | Code |
| Bumper Remove / Install | 01.19.AB |
Removal
- Remove the road wheel and arch liner.
- Remove the bolts (x6) that secure the under tray to the bumper.
The air intake for the alternator is located in the front under tray.
- Remove the LH and RH air boxes (Refer to ‘Air Filter Box’, page 3-13-3).
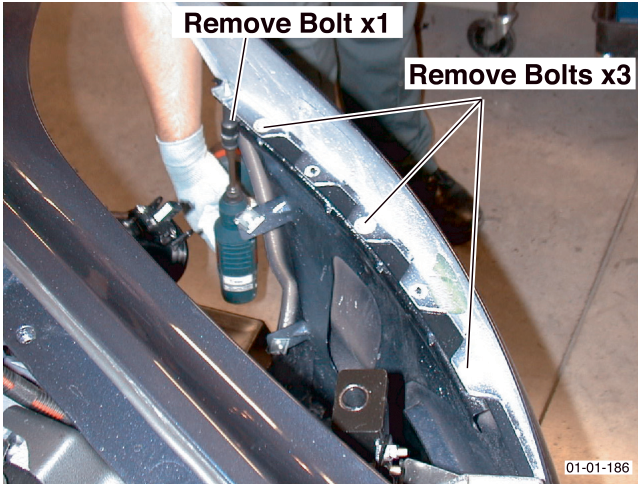
- Remove bolts (x8 (x4 each side)) that secure the bumper.
Parts & tools for this job For 2005 Aston Martin DB9
- TOOLTrim removal tool kitSearch: trim removal tool kit
- PARTTouch-up paintSearch: Aston Martin touch up paint
- PARTPanel clip assortmentSearch: Aston Martin panel clips assortment
Links open Amazon search results in a new tab. As an Amazon Associate I earn from qualifying purchases.