
Installation
- Make
- Aston Martin
- Model
- DB9 Factory Workshop Manual
- Year
- Issue 2, 2005
- Section
- Transmission Cooling › Installation
07 TransmissionInstallation
- Remove bolts (x4) that secure the cooler matrix.
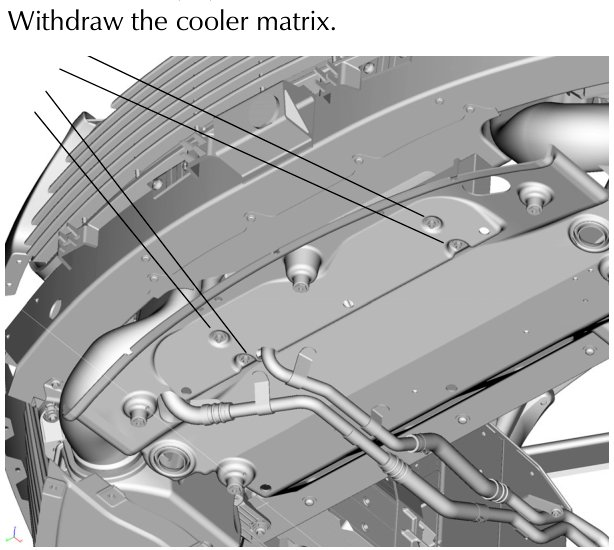
- Withdraw the cooler matrix.
Installation
- Install the cooler matrix. Torque bolts (x4) to 8-10 Nm.
- Connect the cooler matrix pipes (x2).
The air intake pipe will restrict access to the cooler matrix pipes.
Access the top cooler matrix pipe through the grill divider.
- Use new ‘Oetiker’ hose clips when reconnecting hoses.
- Install screws (x4) that secure the top of the grill divider.
- Install the cooler air duct.
- Install the PAS cooler.
- Install the bumper (Refer to ‘Front Bumper’, page 1-13-1).
- Install the undertray.
- Run the engine to prime the cooling circuit.
- Check / Top up the transmission oil with the specified transmission oil (Refer to ‘Transmission Oil Check / Top Up’, page 7-1-4).
Thermostat (Automatic Gearbox)
| Repair Operation Time (ROT) | |
|---|---|
| Item | Code |
| Thermostat (Automatic Gearbox) Renew | TBA |
Remove
⚠ Warning ⚠
Ensure that the transmission oil has cooled before removing the cooler matrix pipes. The transmission oil operates a very high temperatures.
- Remove the cooling pipes clamp.
Some transmission oil will start to drip.
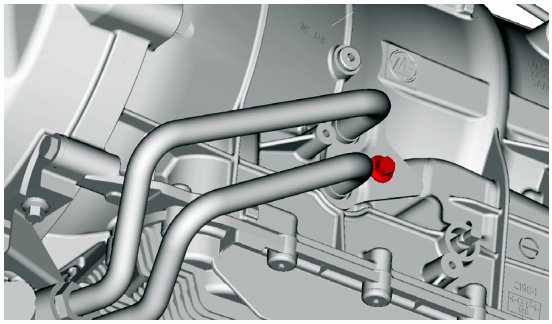
- Remove the gearbox cooling pipes. Plug the open ends.
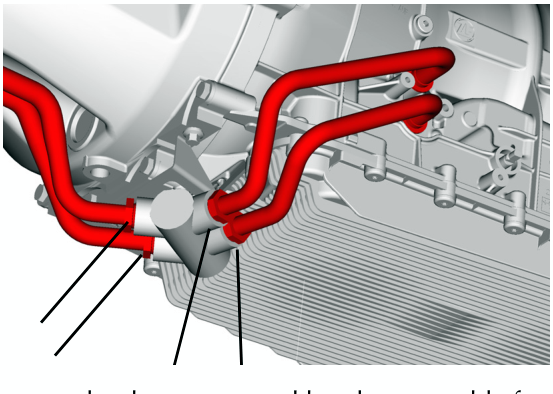
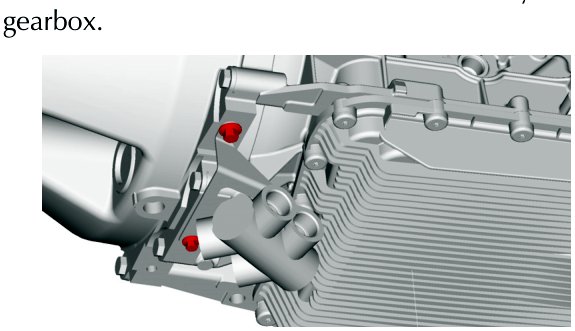
- Remove the thermostat and bracket assembly from the gearbox.
Parts & tools for this job For 2005 Aston Martin DB9
- TOOLTorque wrenchSearch: 3/8 inch torque wrench
- TOOLSocket setSearch: socket set metric
- BOOKHaynes manualSearch: Haynes manual Aston Martin DB9
Links open Amazon search results in a new tab. As an Amazon Associate I earn from qualifying purchases.