
Catera V6-3.0L VIN R (1997)
20. Install the J 42089.
^
Tighten the J 42089.
21. Remove the J 42089.
Important: Use a new self-locking tie rod nut.
22. Install the rear outer tie rod nut.
^
Tighten the rear outer tie rod nut to 60 Nm (44 ft. lbs.).
23. Install the exhaust system at the rubber body mounts.
24. Install the brake backing plate if previously removed.
25. Install the following parts if previously removed:
a. Install the wheel bearing.
b. Install the rear wheel hub.
c. Install the rear wheel hub flange.
26. Route the parking brake cable through the bracket in the rear lower control arm.
27. Install the parking brake cable.
28
Install the rear brake disc rotor.
29. Install the rear brake disc rotor set screw.
^
Tighten the rear brake disc rotor set screw to 4 Nm (35 ft. lbs.).
30. Adjust the parking brake.
31. Install the rear brake caliper.
32. Install the brake pipe to the lower control arm.
33. Install the brake pipe retaining clip to the lower control arm.
34. Place the drive shaft in the proper position.
35. Install the drive shaft bolts.
a. Use the J 42066.
b. Tighten the drive shaft bolts to 50 Nm (37 ft. lbs.) + 70°.
36. Install the tire and wheel assembly.
37. Lower the vehicle.
38. Adjust the rear toe to specifications.
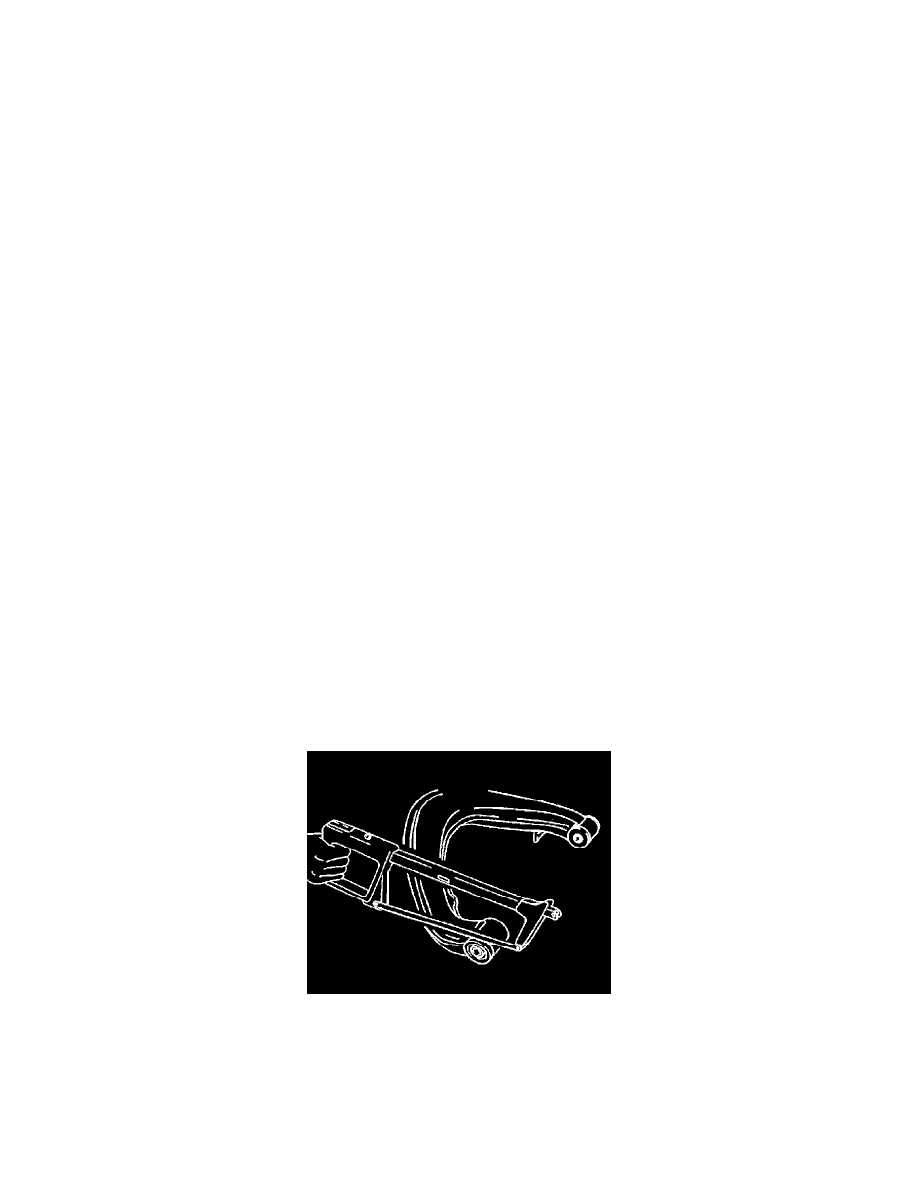
Rear Axle Lower Control Arm Bushings Replace
REMOVAL PROCEDURE
^
Tools Required:
-
J 21474-5 Ball Head
-
J 42200 Rear Bolt Control Arm Bushing
-
Or Equivalents
1. Raise and support the vehicle.
2. Remove the tire and wheel assembly.
3. Remove the rear axle lower control arm.
4. Cut off the collar on the inboard lower control arm bushing.
5. Cut off the rubber collar on the outboard lower control arm.