
SRX AWD V6-3.6L (2008)
8. Remove the right exhaust manifold bolts and nuts. Discard the exhaust manifold bolts.
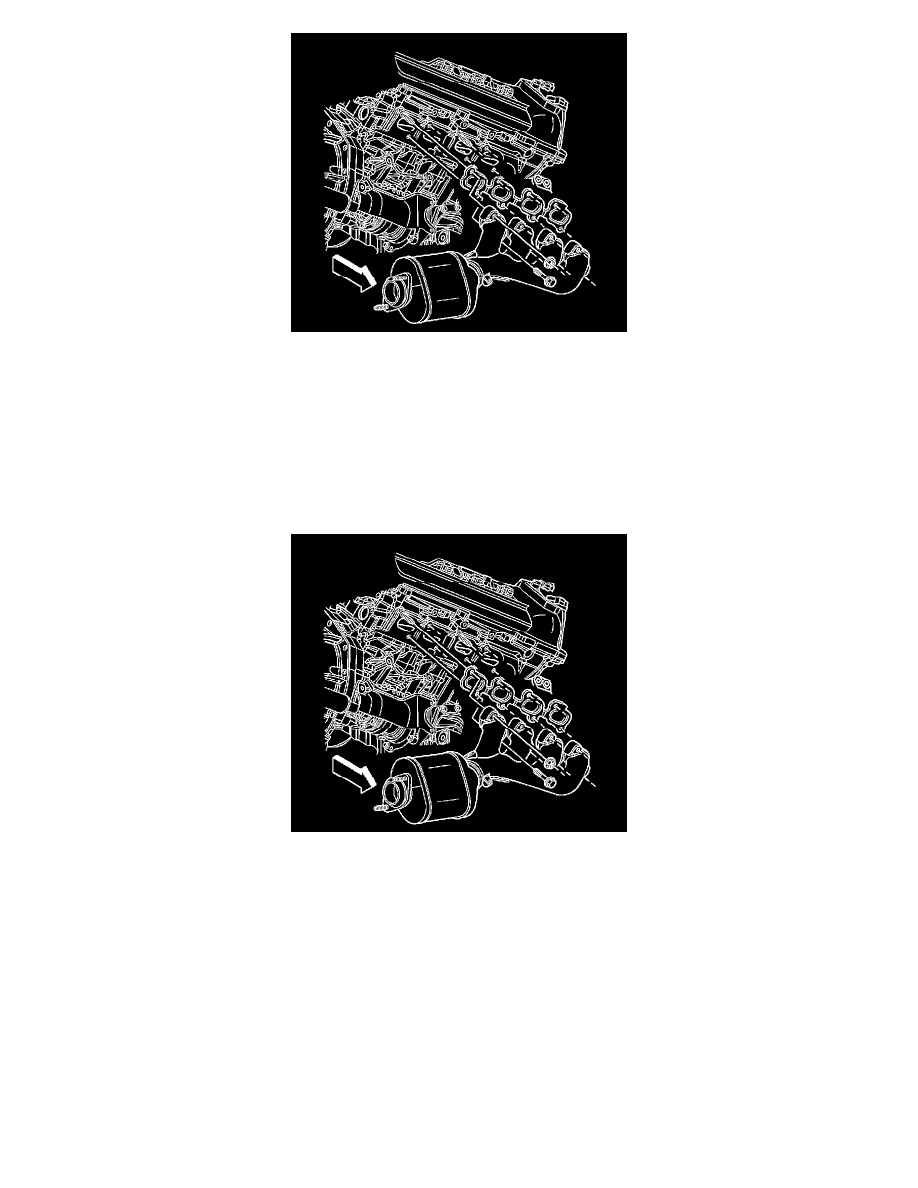
9. Remove the exhaust manifold studs, if necessary.
10. Remove the right exhaust manifold and the gasket from the engine. Do not reuse the gasket.
11. If necessary, remove the exhaust manifold heat shield from the vehicle.
12. Remove the heated oxygen sensor, if necessary, from the exhaust manifold. Refer to Heated Oxygen Sensor Replacement - Bank 1 Sensor 1 (See:
Powertrain Management/Computers and Control Systems/Oxygen Sensor/Service and Repair) for the 4.6L engine.
13. Clean and inspect the right exhaust manifold. Refer to Exhaust Manifold Cleaning and Inspection - Right Side (See: Engine/Service and
Repair/Overhaul) for the 4.6L engine.
Installation Procedure
1. Install the heated oxygen sensor to the exhaust manifold, if previously removed. Refer to Heated Oxygen Sensor Replacement - Bank 1 Sensor 1 (
See: Powertrain Management/Computers and Control Systems/Oxygen Sensor/Service and Repair) for the 4.6L engine.
2. If previously removed, install the exhaust manifold heat shield to the vehicle.
Place the shield forward in vehicle where the generator mounts to allow installation of the exhaust manifold.
3. Install a NEW exhaust manifold gasket over the cylinder head studs.
4. Position the right exhaust manifold and gasket to the right cylinder head.
Notice: Refer to Fastener Notice (See: Service Precautions/Vehicle Damage Warnings/Fastener Notice) .
5. Install the right exhaust manifold studs, nuts and NEW bolts.
*
Tighten the exhaust manifold studs to 6 N.m (53 lb in).
*
Tighten the exhaust manifold nuts to 25 N.m (18 lb ft).
*
Tighten the exhaust manifold bolts to 25 N.m (18 lb ft).