
SRX AWD V6-3.6L (2008)
5. Install the lower left HVAC module mounting nut (1).
Tighten the nut to 9 N.m (80 lb in).
6. Connect the rear heater ducts to the HVAC module.
7. Connect the drain tube to the bottom of the HVAC module.
8. Connect the drain tube (2) to the floor.
9. Connect the HVAC electrical connector.
10. Install the air inlet assembly.
11. Install the I/P carrier. Refer to Instrument Panel Carrier Replacement (Left Hand Drive) (See: Body and Frame/Interior Moulding /
Trim/Dashboard / Instrument Panel/Service and Repair)Instrument Panel Carrier Replacement (Right Hand Drive) (See: Body and Frame/Interior
Moulding / Trim/Dashboard / Instrument Panel/Service and Repair) .
12. Install new O-rings to the suction line. Refer to O-Ring Replacement (See: Coupler HVAC/A/C Coupler O-ring/Service and Repair) .
13. Install the A/C suction line to the evaporator.
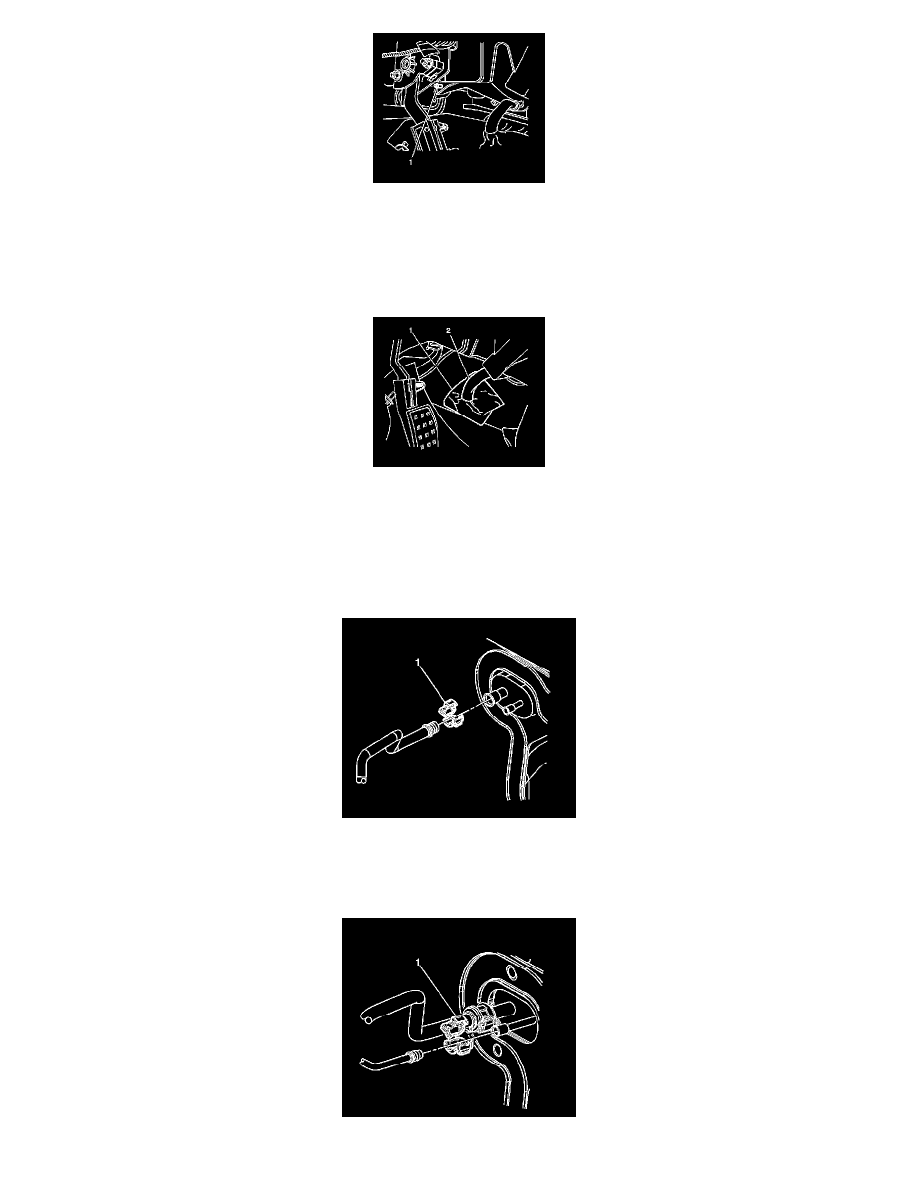
14. Install the quick connect fitting (1) to the suction line. Refer to Air Conditioning Line/Tube Connector Removal/Replacement (See: Hose/Line
HVAC/Service and Repair/Air Conditioning Line/Tube Connector Removal/Replacement) .
15. Install new O-rings to the suction line. Refer to O-Ring Replacement (See: Coupler HVAC/A/C Coupler O-ring/Service and Repair) .
16. Install the A/C liquid line to the evaporator .