
Paaoz1 boy
- Make
- Fiat
- Model
- Bravo /Brava (182) Factory Service Manual
- Year
- 1995–2001
- Section
- Removing-refitting (1747 16v) › Paaoz1 boy
10 EnginePaaoz1 boy · page 1 of 2
PAAOZ1 BOY
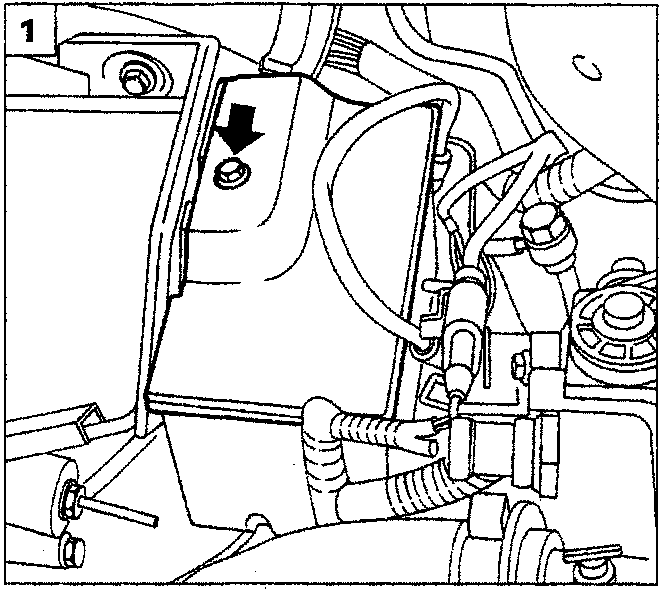
- Remove the air conditioning relay and fuse box cover, acting on the bolt shown.
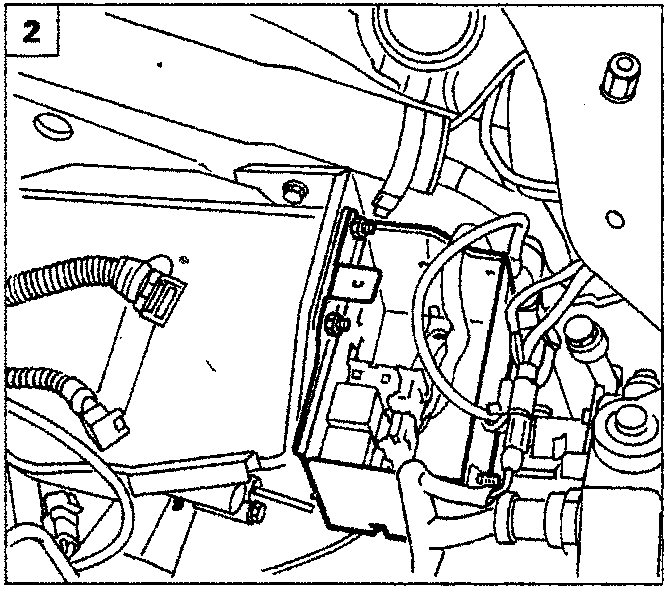
- Remove the nuts fixing the air conditioning relay and fuse box to the battery drip tray, then position the box at the side.
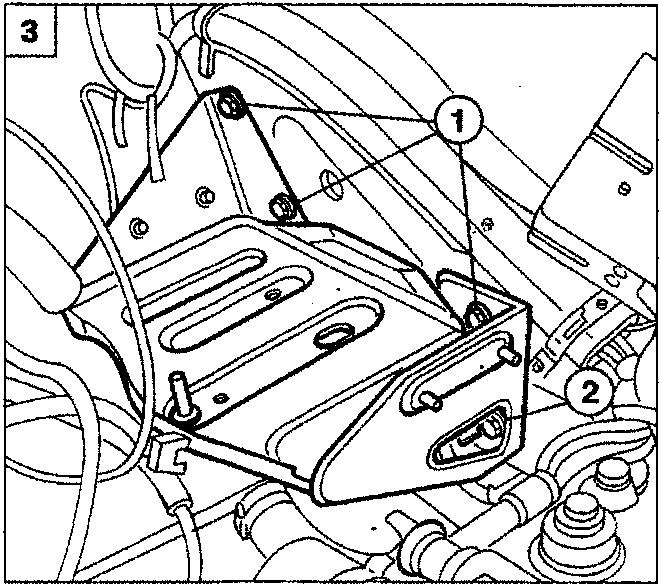
- Remove the bolts (1) and loosen the bolt (2) fixing the battery drip tray to the bodyshell.
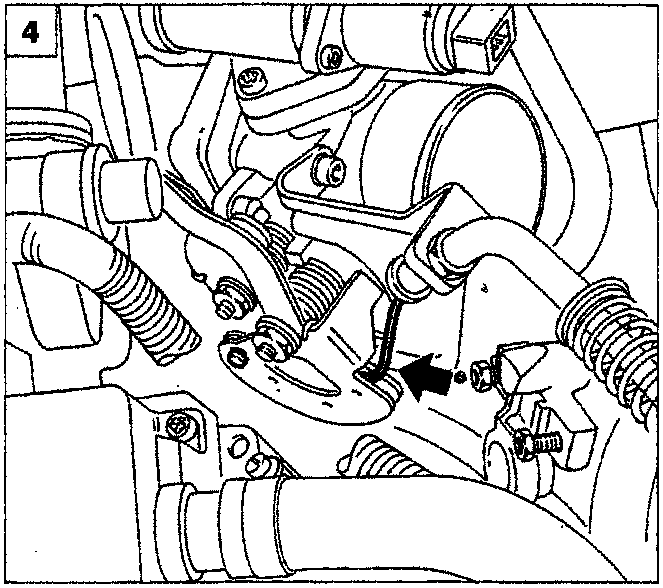
- Disconnect the accelerator control cable.
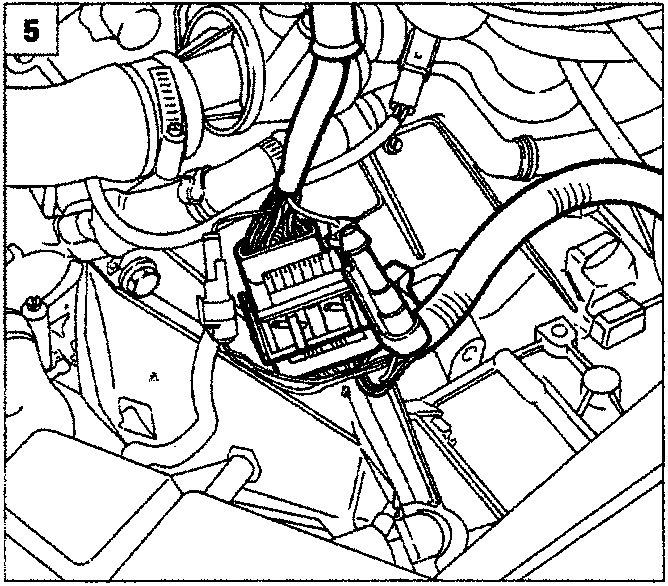
- Disconnect the two couplings for the injection cable/front cable shown in the diagram.
Parts & tools for this job For 1995 Fiat Bravo
- PARTEngine gasket setSearch: Fiat Bravo 1995 engine gasket set
- TOOLTorque wrenchSearch: 3/8 inch torque wrench
- TOOLFeeler gauge setSearch: feeler gauge set
Links open Amazon search results in a new tab. As an Amazon Associate I earn from qualifying purchases.