
Refitting clock spring
- Make
- Fiat
- Model
- Bravo /Brava (182) Factory Service Manual
- Year
- 1995–2001
- Section
- Air bag › Refitting clock spring
55 Electrical systemRefitting clock spring
REFITTING CLOCK SPRING
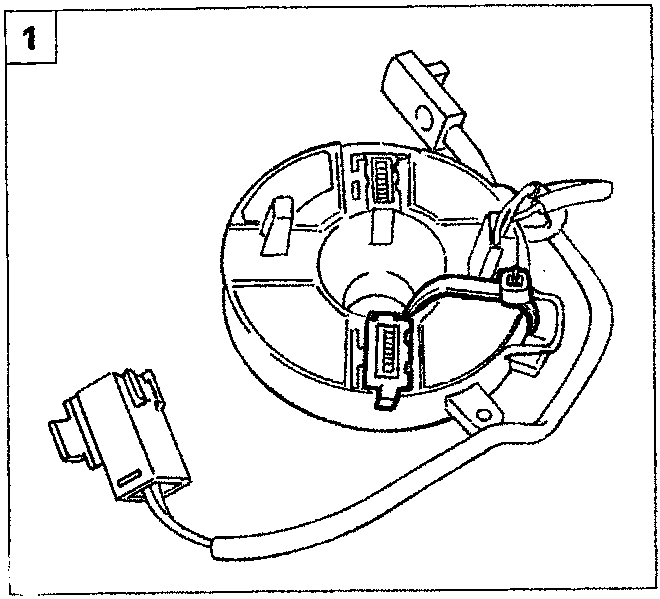
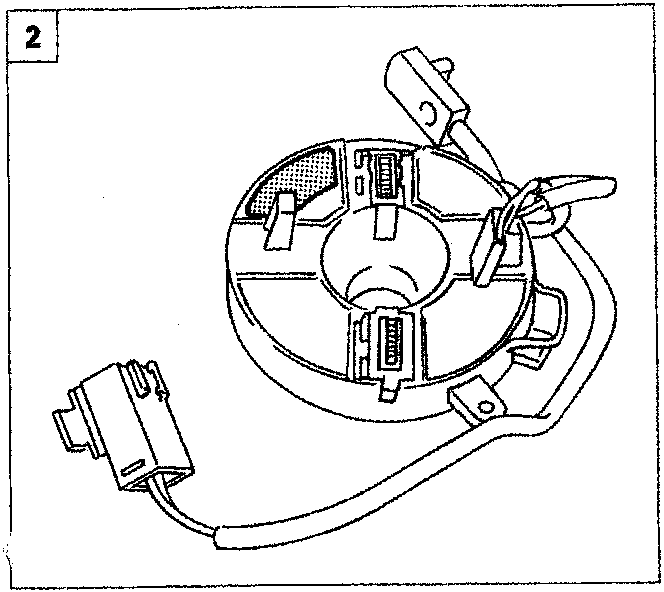
- If the clock spring does not require replacement, remove the adhesive tape or clip fitted previously without turning the upper ring.
- The upper clock spring case is identified by one of two different colours:
-Green for vehicles with power steering.
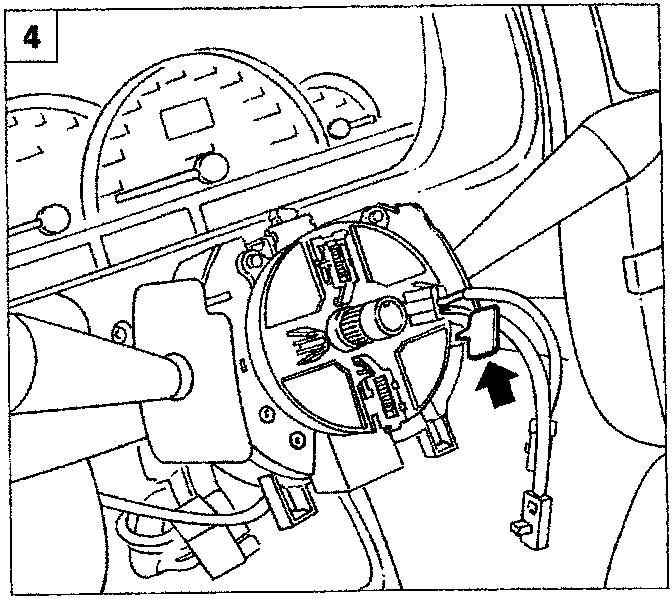
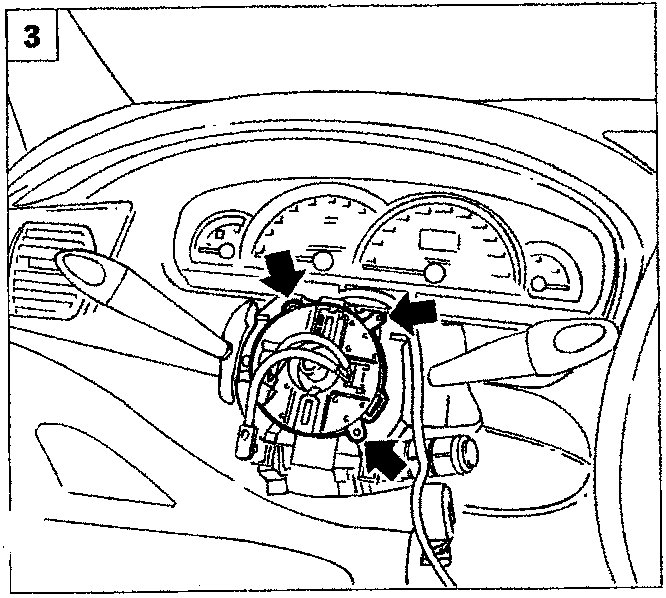
-Red for vehicle without power steering. - Position the clock spring on the stalk unit, then fasten by tightening the three cross--headed screws.
- If a new clock spring is fitted, turn the safety key until it comes completely away after fastening the spring to the stalk unit.
Parts & tools for this job For 1995 Fiat Bravo
- TOOLCoil spring compressorSearch: coil spring compressor
- TOOLBall joint separatorSearch: ball joint separator
- PARTShock absorbersSearch: Fiat Bravo 1995 shock absorbers
Links open Amazon search results in a new tab. As an Amazon Associate I earn from qualifying purchases.