
Removing a non activated pre-tensioner (page 3 of 3)
- Make
- Fiat
- Model
- Punto (176) Factory Service Manual
- Year
- 1993–1999
- Section
- Seats (Cabrio)
70 BodyworkRemoving a non activated pre-tensioner · page 3 of 3
- Before refitting the pre-tensioner, make sure that the (blue) safety clip is properly inserted;
- do not force the fitting if for any reason the device cannot be fitted easily. Do not use hammers or other percussion tools. Do not open or remove.
NOTE The diagram illustrates the left seat.
The following operations should be carried out for the fitting (see diagram above):
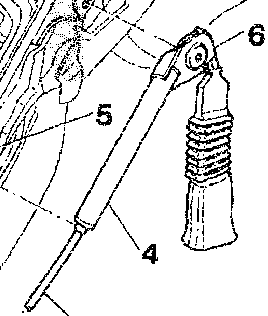
- Position the mounting (1) between the power unit and the bracket on the seat.
- Position the power unit (2) against the front bracket of the seat; align the opening in hte power unit with the one in the bracket, insert the hexagonal head bolt (3) and tighten it to torque (2.16-2.64 daNm).
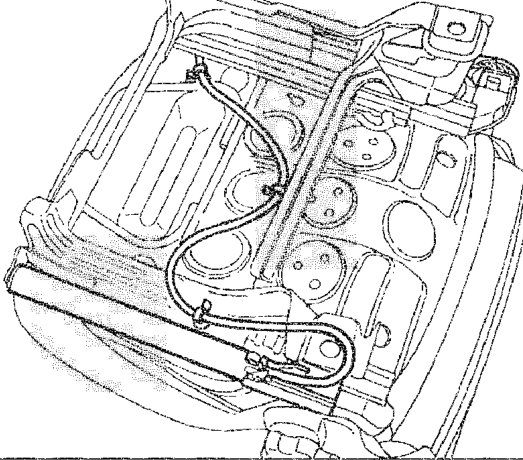
- Pass the locking unit and the seat belt buckle between the cross member and the bottom of the cushion in order to pass the bowden cable through; for the driver's seat, pass the cable between the release lever and the bottom of the cushion and for the passenger seat pass the cable above the release lever, as illustrated in the diagrams underneath.
- Insert the front part of the locking unit (4) in the mounting bracket (5); proceed with fixing the rear part of the actual unit using the appropriate bolt (6) and tighten it (3.6-4.4 daNm).
- Fix the bowden cable (7), using the special bands, introducing them into the openings in the lower side of the seat frame. Move the excess part of the bands aside.
- Restore the seat to its correct position, sliding it along the guides using the control lever. Reposition the seta in the vehicle, taking care to only move it by the sides and make sure that the seat is moving normally.
The safety clip can be extracted at this point, positioning it on the sensor frame cover; the front seat belt pre-tensioner device is operational.
NOTE The cables have three white paint reference marks which indicate the attachment points for the bands to ensure the correct curvature radii.
Diagram showing fitting of left seat
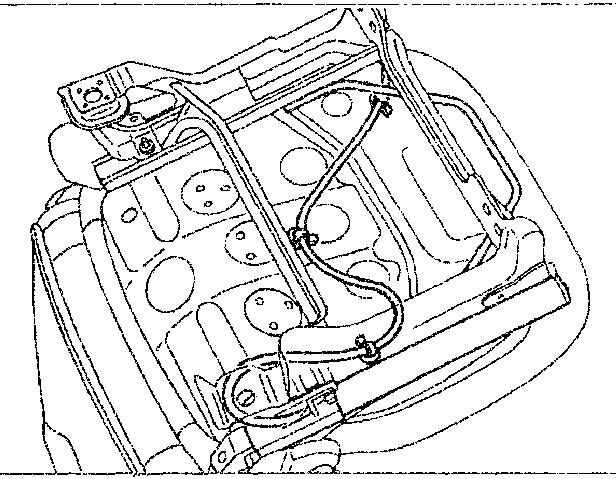
Diagram showing fitting of right seat
Parts & tools for this job For 1993 Fiat Punto
- TOOLTorque wrenchSearch: 3/8 inch torque wrench
- TOOLSocket setSearch: socket set metric
- BOOKHaynes manualSearch: Haynes manual Fiat Punto
Links open Amazon search results in a new tab. As an Amazon Associate I earn from qualifying purchases.