
Hombre XS Space Cab L4-2.2L CPC (1997)
Disassembly Procedure
Before disassembly of the starter motor, refer to Starter Motor Inspection. Normally, the starter motor should be disassembled just enough to make
repairs or to install new parts. Safety glasses should be worn during the disassembly.
NOTE: Do not clean the starter motor parts in a degreasing tank. Soaking parts will dissolve the permanent lubrication and may damage the electrical
insulation. This will shorten starter motor life.
1. Remove the solenoid shield nuts from the solenoid clamp screws, if equipped.
2. Remove the shield from the solenoid, if equipped.
3. Remove the motor lead attaching screw from the solenoid.
4. Remove the solenoid clamp attaching screws.
5. Remove the solenoid clamp.
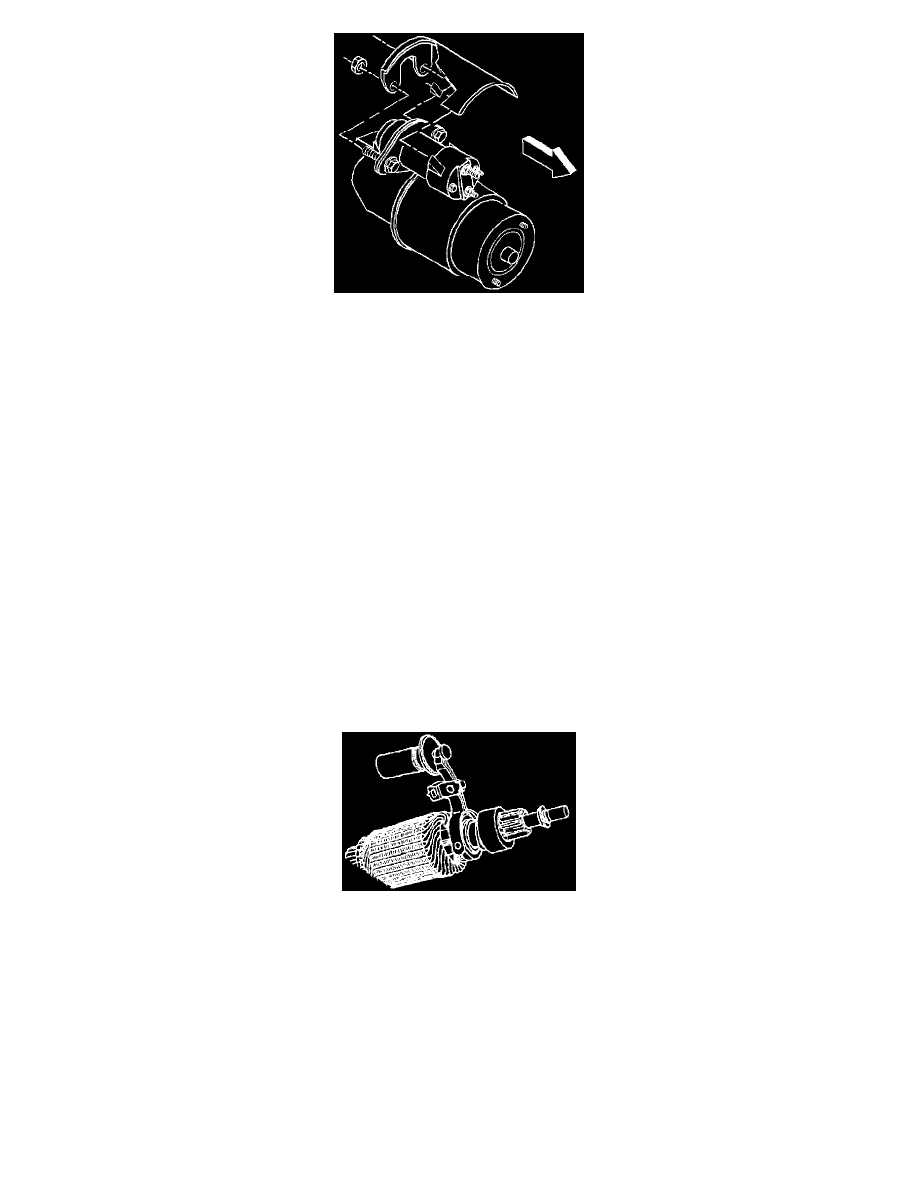
6. Remove the solenoid from the starter motor frame assembly.
Frame and Field Disassembly
1. Make index marks to aid in reassembly of the starter motor.
2. Remove the through-bolts from the end frame. Note the bolts position.
3. Remove the end frame.
4. Remove the brake washer from the armature assembly.
5. Remove the frame and field assembly from the armature with the drive end frame still in place.
Drive End Frame Disassembly
1. Remove the plug from the drive end frame assembly.
2. Remove the armature from the drive end frame. The following components are still attached to the armature.
-
The drive assembly
-
The shift lever
-
The plunger
-
The return spring
3. Remove the return spring from the plunger.
4. Remove the plunger from the shift lever.
5. Remove the shift lever from the drive assembly. Slightly spread the shift lever arms, so the mating buttons will clear the drive collar.