
Timing Belt: Specifications (page 10 of 10)
- Make
- Kia
- Model
- Sedona
- Engine
- V6-3.5L
- Year
- 2003
- Section
- Timing Belt
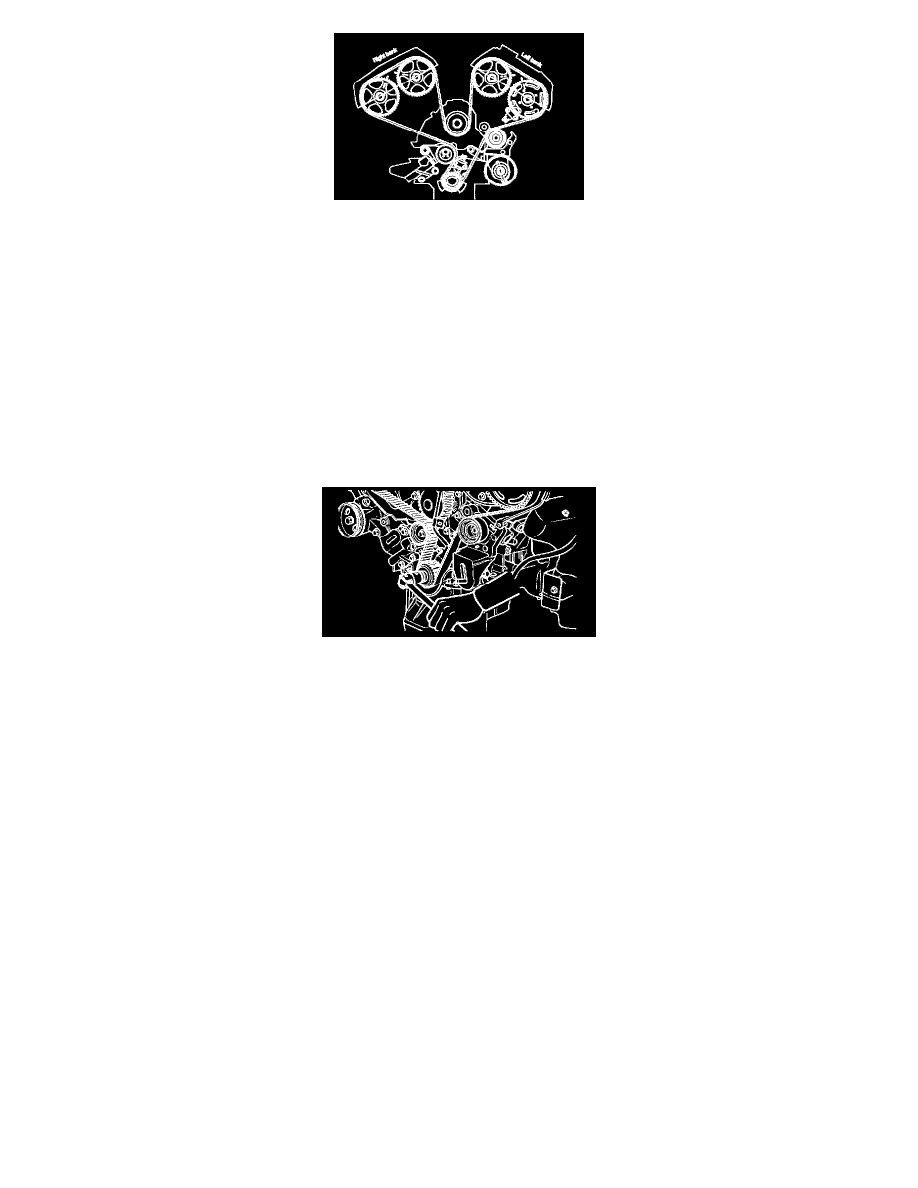
6. Align the timing marks of each sprocket and install the timing belt, maintaining the proper belt tension between each shaft in this order. Crankshaft
sprocket -> Idler pulley -> Left bank exhaust camshaft sprocket -> Left bank intake camshaft sprocket -> Water pump pulley -> Right bank intake
camshaft sprocket -> Right bank exhaust camshaft sprocket -> Tensioner pulley.
Caution:
1
As a result of this, position of No.1 cylinder comes to compression TDC.
2
As each camshaft sprocket tends to rotate by itself, pay attention not to injure fingers or other bodily part. Especially be careful with the right
bank.
3
In case the right bank camshaft sprocket rotates excessively, be cautious not to rotate more than the initial stable position. Always align timing
mark of rotating sprocket by turning it reversely. In this case, pay attention not to rotate It reversely from the initial position. (if, with one
sprocket fixed at No.1 compression TDC position, the other sprocket is rotated one revolution clockwise or counterclockwise, then the intake
and exhaust valve might interfere each other.)
7. After installing the timing belt, exert the reverse directed force to the right bank exhaust camshaft sprocket to give tension on the belt. Holding this
state, recheck it each timing mark is correctly positioned.
8. With tensioner pulley slightly pushing the belt down, tighten the center bolt slightly.
9. Pull out the auto tensioner set pin
Pinch or Ctrl + scroll to zoom. Double-tap to reset.
The same page in: Sedona EX V6-3.5L (2002), Sedona EX V6-3.5L (2002), Sedona V6-3.5L (2003).
Parts & tools for this job For 2003 Kia Sedona 3.5L
- PARTTiming belt kitSearch: Kia Sedona 2003 3.5L timing belt kit
- TOOLEngine timing tool setSearch: Kia engine timing tool set
- TOOLTorque wrenchSearch: 3/8 inch torque wrench
Links open Amazon search results in a new tab. As an Amazon Associate I earn from qualifying purchases.