
Freelander Service Procedures
AIR CONDITIONING
REPAIRS
82-9
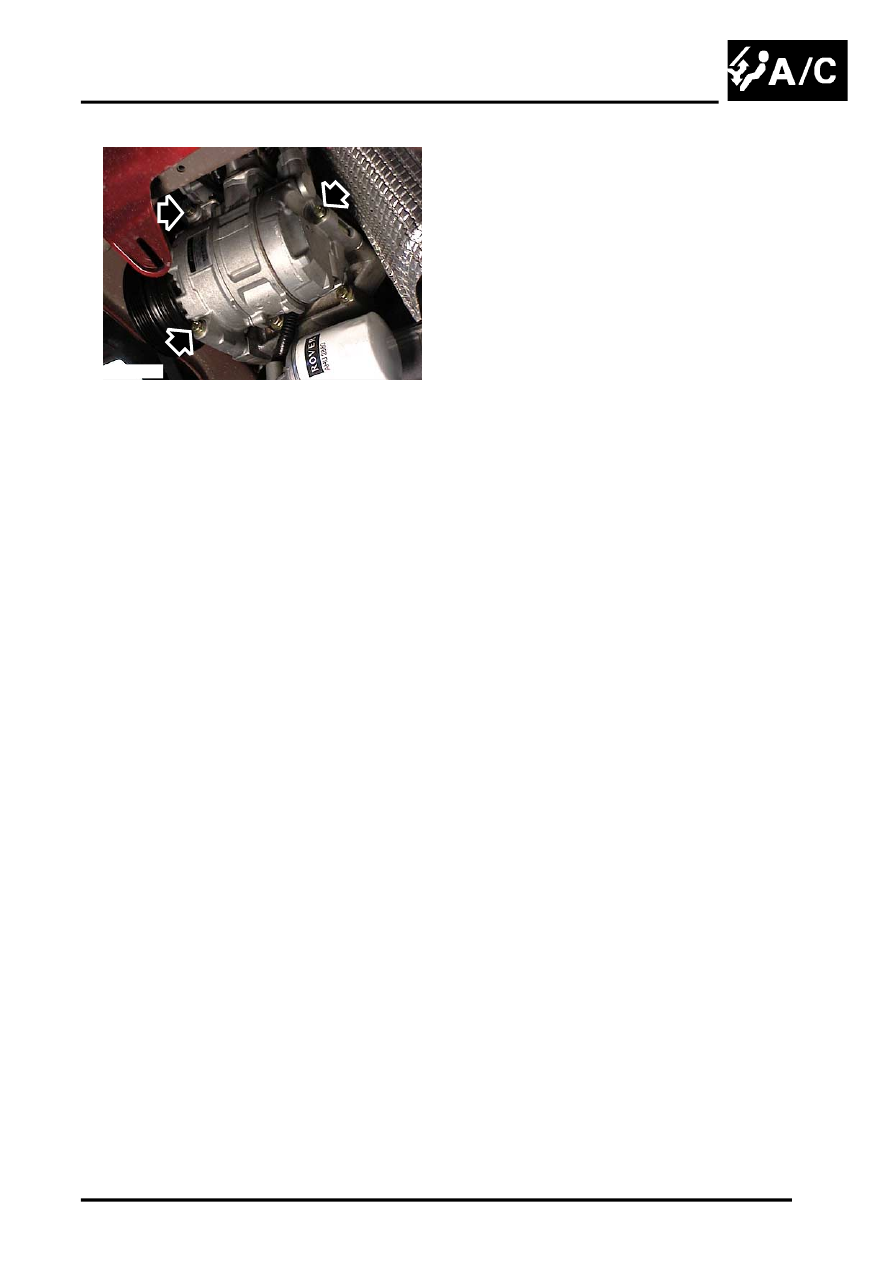
9. Remove 3 bolts securing compressor to
mounting bracket.
10. Release compressor from mounting bracket
and remove from under vehicle.
11. Drain oil from old compressor and record the
amount drained.
Refit
1. If a new compressor is being installed, drain the
required amount of refrigerant oil from the new
compressor.
conditioning compressor replacement.
2. A new compressor is sealed and pressurised
with Nitrogen gas, slowly release the sealing
cap, gas pressure should be heard to release
as the seal is broken.
3. Ensure mating faces of A/C pipes and
compressor are clean.
4. Lubricate new A/C pipe 'O' rings with clean
GENERAL DATA, Air Conditioning.
5. Fit 'O' rings to A/C pipes.
6. Fit A/C compressor to mounting bracket. Fit
and tighten bolts to 25 Nm (18 lbf.ft).
7. Position compressor mounting bracket, fit bolts
and tighten to 25 Nm (18 lbf.ft).
8. Connect A/C compressor multiplug.
9. Fit alternator.
10. Replace receiver drier.
11. Recharge A/C system.
RECOVERY, RECYCLING AND
RECHARGING, Refrigerant recovery -
recycling and recharge.
12. Remove stands and lower vehicle.
13. Connect battery earth lead.
14. Fit underbelly panel.
M82 0731