
Throttle housing - KV6 - Non NAS (page 3 of 3)
- Make
- Land Rover
- Model
- Freelander Service Procedures
- Section
- REPAIRS
FUEL DELIVERY SYSTEM - PETROL
REPAIRS 19-2-21
Refit
1. Clean mating faces of IACV and throttle body.
2. Fit new gasket, position IACV to throttle body,
fit and tighten Allen screws to 6 Nm (4.5 lbf.ft).
3. Clean TP sensor and throttle body mating face.
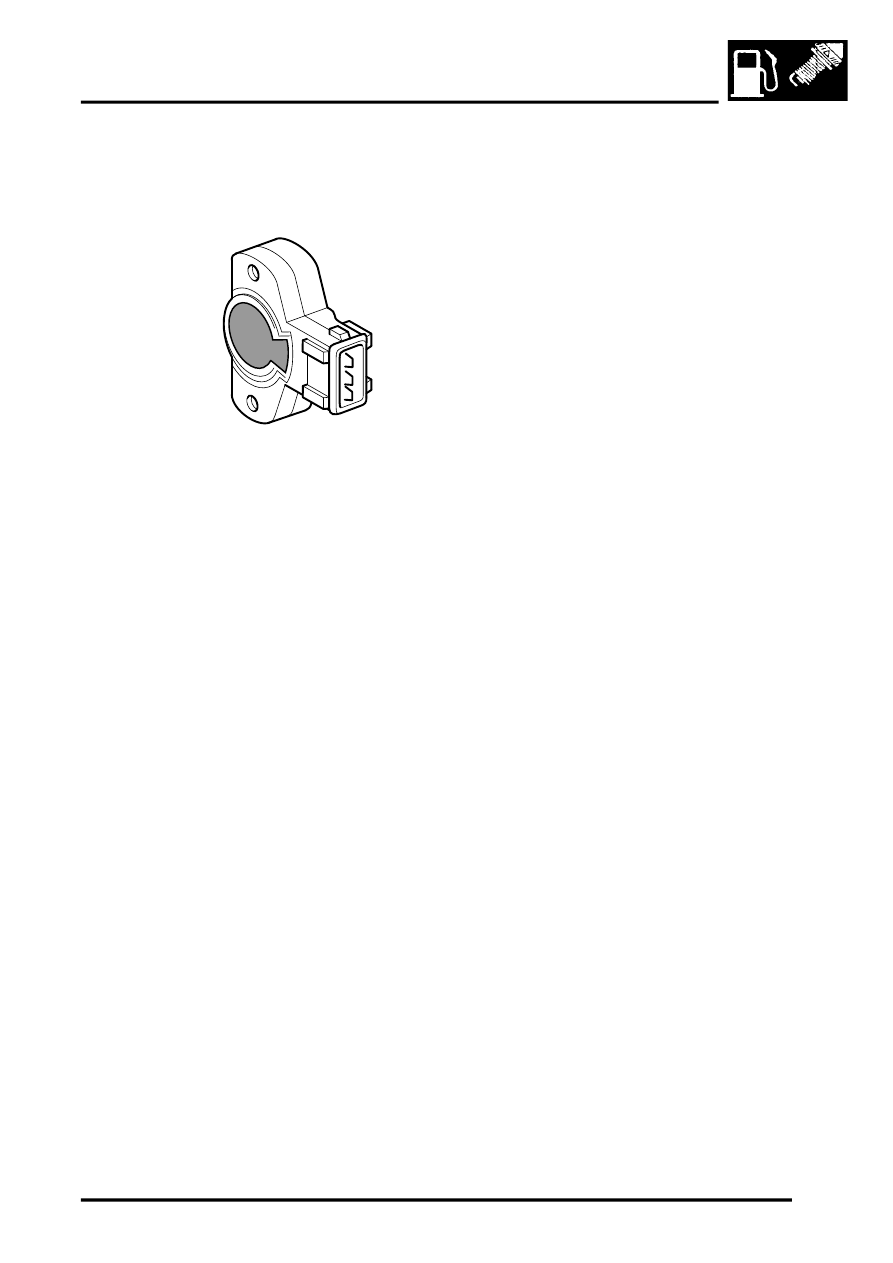
4. Fit TP sensor to throttle spindle. Ensure that
during fitting the machined flat on the throttle
spindle is aligned with the mating portion of the
TP sensor
CAUTION: The throttle position sensor can
be easily damaged during fitting. When
pressing the sensor onto the throttle
spindle, use fingers only, and only apply
pressure to the area shown shaded in the
illustration.
5. Rotate TP sensor in an anti-clockwise direction
to align fixing holes.
CAUTION: Do not rotate throttle position
sensor in a clockwise direction and ensure
that it is not rotated beyond its internal
stops.
6. Fit TP sensor specification plate.
7. Fit new Torx screws and wave washers, tighten
Torx screws to 1.5 Nm _1.0 lbf.ft).
8. Vehicles with cruise control: Position
actuator support bracket to throttle body. Fit
Torx screws and tighten to 9 Nm (7 lbf.ft).
Connect actuator arm to throttle linkage.
9. Clean throttle body and mating face on inlet
manifold chamber.
10. Fit new seal to inlet manifold chamber.
11. Position throttle body to inlet manifold chamber,
fit and tighten Torx screws to 7 Nm ( 5 lbf.ft).
12. Connect multiplugs to TP sensor and IACV.
13. Vehicles with cruise control: Connect cruise
control actuator vacuum hose.
14. Connect primary throttle cable to throttle cam
and abutment bracket.
15. Connect engine breather/vacuum pipes to
throttle body and IACV.
16. Adjust throttle cable.
PETROL, ADJUSTMENTS, Throttle cable -
check and adjust - KV6.
17. Connect battery earth lead.
18. Fit engine acoustic cover.
ENGINE - K SERIES KV6, REPAIRS,
19. Retune using TestBook
M18 0695
Parts & tools for this job For Land Rover Freelander
- PARTFuel filterSearch: Land Rover Freelander fuel filter
- TOOLFuel pressure test kitSearch: fuel pressure test kit
- TOOLFuel line disconnect toolSearch: fuel line disconnect tool
Links open Amazon search results in a new tab. As an Amazon Associate I earn from qualifying purchases.