| –
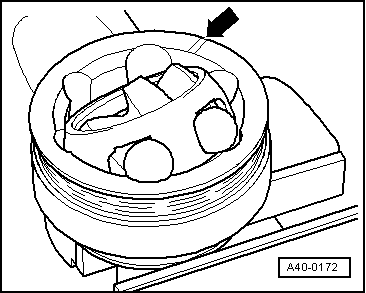
| Turn the hub segment in the rectangular window of the cage. |
| –
| Swivel the hub out of the cage. |

Note | t
| The 6 balls of each joint belong to a tolerance group. Inspect the axle studs, hub, cage and balls for small depressions (pitting = point erosion) and seizing marks. Load alteration shocks indicate too much torsional clearance in the joint, if this is the case replace the joint. Smoothing and bearing marks do not justify a joint replacement. |
| t
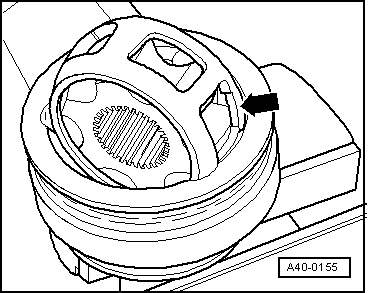
| Inspect the cage for tears. |
| –
| Press the required quantity of grease into the joint part. |
| Grease quality and grease quantity → Anchor. |
| –
| Insert the cage with the hub in the joint part. |
Note | The cage must be inserted in the correct position. |
| –
| Press in opposite balls one after the other, during this process observe the prior position of the ball hub relatively to the ball cage and to the joint part. |
| –
| Insert new circlip in the groove of the shaft. |
| –
| Spread any residual grease in the joint boot → Anchor. |
| –
| Installing the joint boot → Fig.. |
|
|
|