skoda Workshop Repair Guides

Skoda Workshop Service and Repair Manuals

Inspect operation of Haldex coupling > < Removing and installing Haldex coupling (final drive installed)
Refilling oil in Haldex coupling
Special tools and workshop equipment required
t  Filling device for Haldex coupling 2 -VAS 6291- or -VAS 6291A-
t  Catch pan
Oil specification → Electronic Catalogue of Original Parts.
–  Raise vehicle.
–  For topping up, use filling device for Haldex coupling 2, e.g. -VAS 6291- or -VAS 6291A-.
–  Place a catch pan under the rear final drive.
Vehicles Octavia II with aluminium assembly carrier
  Note
   
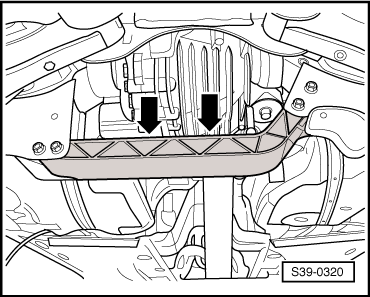
t  Always place a cloth on the cross member -arrows-.
t  If the oil gets onto the cross member or into the recesses at the cross member, the oil must be removed immediately.
t  There is no cross member on vehicles with steel assembly carrier.
Continued for all vehicles
  S39-0320
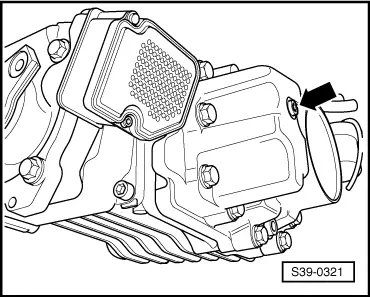
–  Release screw for oil inspection -arrow-. Shown on a removed final drive for purposes of clear presentation.
  S39-0321
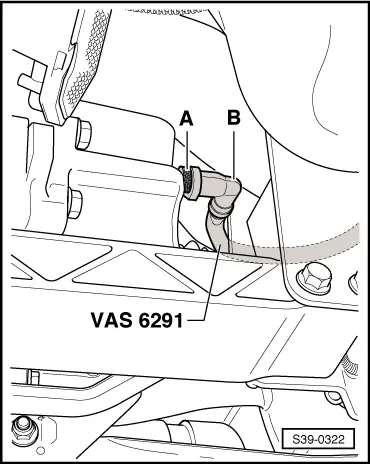
–  Screw in adapter -A- up to the stop into the inspection hole.
–  Lock angular piece -B- with adapter.
–  Pull hose above the drive shaft.
The hose must not sag. It must come out above the left rear wheel.
–  Lower the vehicle.
  S39-0322
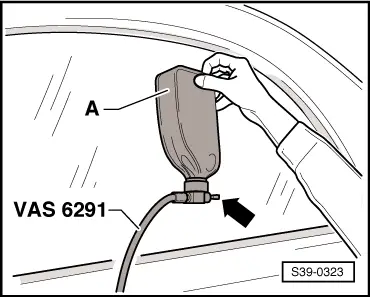
–  Ensure that the the valve -arrow- is closed.
–  Screw oil reservoir -A- onto filling device for Haldex coupling 2, e.g. -VAS 6291- or -VAS 6291A-.
–  Open valve -arrow- and hold oil reservoir as shown.
The Haldex coupilng is now filled with oil.
–  Raise the vehicle after several minutes.
  Note
  S39-0323
t  If the Haldex coupling is correctly filled, oil flows out at the adapter -A-.
t  If no oil flows out, lower the vehicle and continue the filling procedure.
–  Raise vehicle.
–  If oil flows out, place oil reservoir downwards below the level of the Haldex coupling (e.g. on a tool car).
The excessive oil now flows back into the oil reservoir.
–  If no more oil flows back, remove the filling device for Haldex coupling 2.
–  Check oil level in the Haldex coupling.
  S39-0322
–  Screw in new inspection plug -arrow- using a new sealing ring and tighten to 15 Nm.
  S39-0321

Inspect operation of Haldex coupling > < Removing and installing Haldex coupling (final drive installed)