
940 L4-2.3L SOHC VIN 88 B230F (1992)
8. Disconnect blower motor and resistor electrical connections.
9. Remove lower blower housing retaining screws.
NOTE: Two screws are concealed between blower housing and evaporator housing.
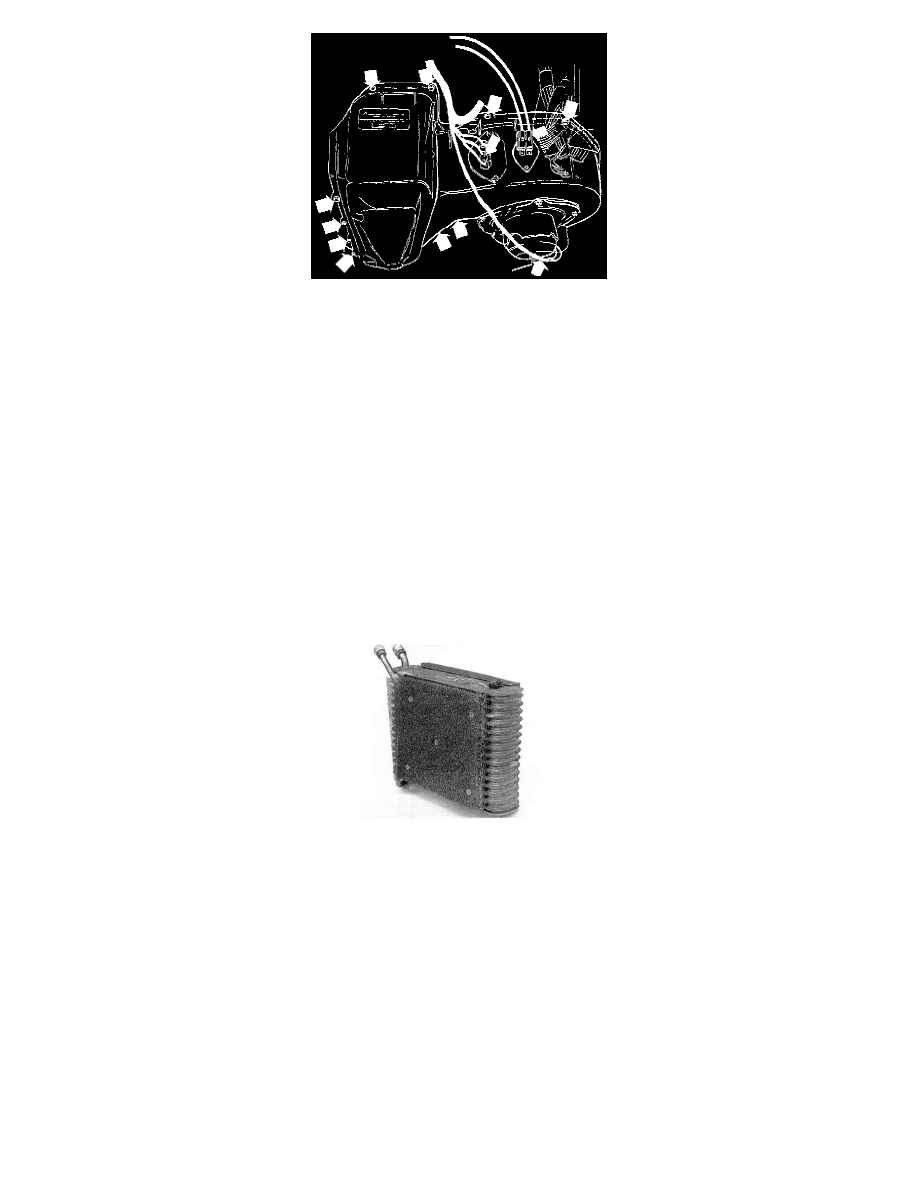
10. Remove complete housing and withdraw evaporator.
11. Drain and measure quantity of oil in original evaporator. Fill new evaporator with same quantity of fresh oil. See specifications for correct quantity
of oil. See: Specifications/Capacity Specifications
12. Remove remains of sealant from housing.
Installation
WARNING: Before commencing work, read and observe "Safety Precautions" when working on A/C systems.
See: Service Precautions/Technician Safety Information
CAUTION: Before commencing work, read and observe general information on repair and replacement of A/C "System Components".
See: Service Precautions/Vehicle Damage Warnings
NOTE: When replacing evaporator become familiar with evaporator cleaning procedure.
See: Evaporator Core Cleaning
1. Transfer rubber seal and filter. Check that filter is clean.
2. Bond rubber seal in position at air inlet side.
3. Install filter using clips on other side.
NOTE: Filter must be clean to permit unobstructed air flow.