
Refitting precautions (page 2 of 3)
- Make
- Alfa Romeo
- Model
- GTV / Spider GTV and Spider (916) Factory Service Manual
- Year
- 1995–2000
- Section
- Operations in vehicle (24V)
Variants – 3.0 V6 24VRefitting precautions · page 2 of 3
NOTE: ASTADUR cylinder head seals are used. The special material the seals are made of polymerises during engine operation and consequently becomes very hard. The following precautions are required to ensure cylinder head seal polymerisation:
- keep the seals closed in their nylon bags;
- take them out of the packaging just before fitting;
- do not lubricate or soil the seals with oil. Make sure the cylinder head and crankcase surface are clean.
- Reverse the removal sequence and refit the right-hand cylinder head camshaft drive pulleys, fastening the screws by hand.
- Use extension no. 1.822.150.000 and tool no. 1.822.146.000 to contrast torque. Loosen the left-hand cylinder head camshaft drive pulley fastening screws.
- Use tool no. 1.860.954.001. Extract the left-hand cylinder head camshaft drive pulleys are reposition them fastening the screws by hand.
- Check whether the 1st cylinder piston is at TDC, firing stroke. If not, move it to this position by slightly turning in both directions the auxiliary unit drive pulley fastening nut.
NOTE: Make sure the last revolution of the crankshaft is in the direction of operation.
- Fit the camshaft drive pulley drive belt.
- Remove the cylinder head alternator bracket upper screw.
- Loosen the lower alternator fastening screw to fit the timing belt tension tool.
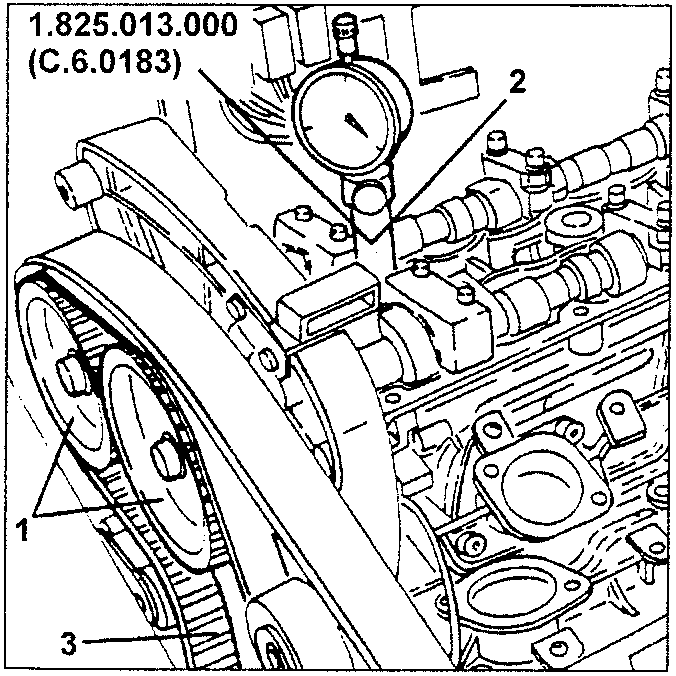
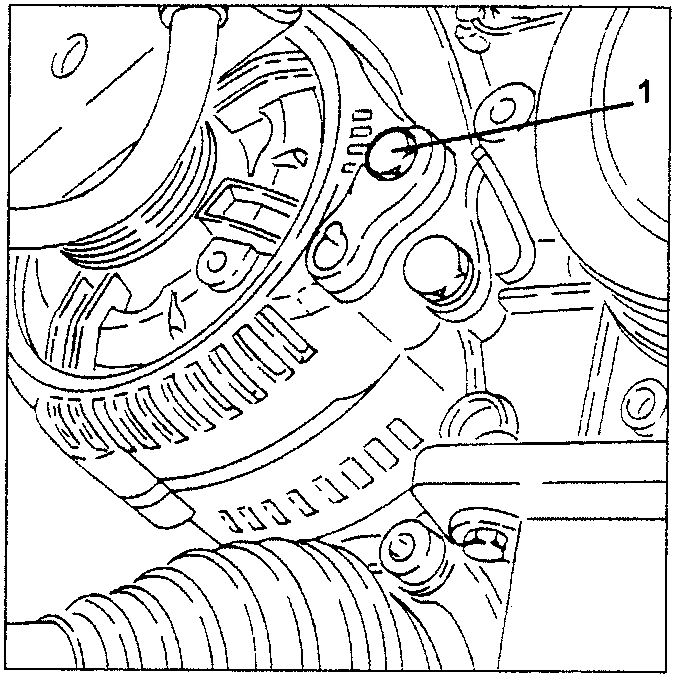
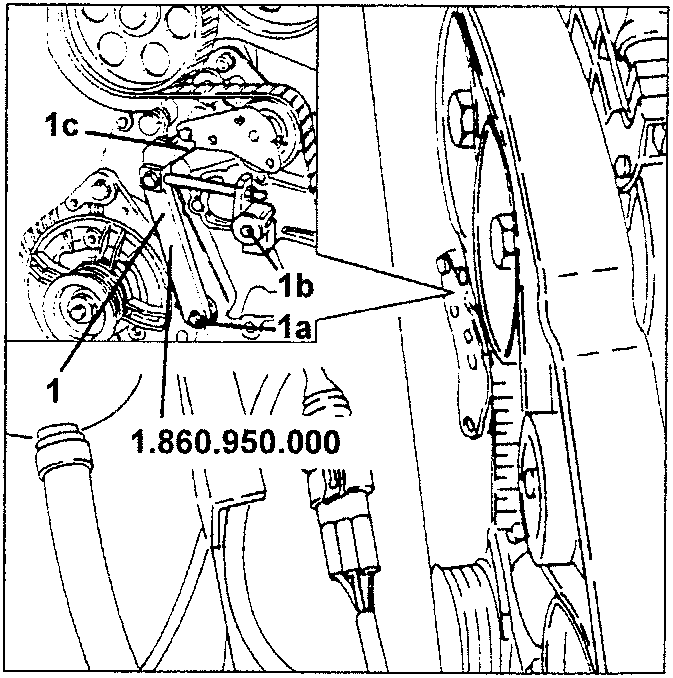
- Fit timing belt tension tool no. 1.860.950.000 and fasten the previously loosened screw (1b) to the coolant pump; tool pin (1c) should contrast the belt take-up device mobile part.
Parts & tools for this job For 1995 Alfa Romeo GTV / Spider
- TOOLTorque wrenchSearch: 3/8 inch torque wrench
- TOOLSocket setSearch: socket set metric
- BOOKHaynes manualSearch: Haynes manual Alfa Romeo GTV / Spider
Links open Amazon search results in a new tab. As an Amazon Associate I earn from qualifying purchases.