
41. Automatic Gearbox Only.
- Make
- Aston Martin
- Model
- DB9 Factory Workshop Manual
- Year
- Issue 2, 2005
- Section
- Engine Assembly › 41. Automatic Gearbox Only.
03 Engine41. Automatic Gearbox Only. · page 1 of 4
- Remove the rear brake pipe brackets.
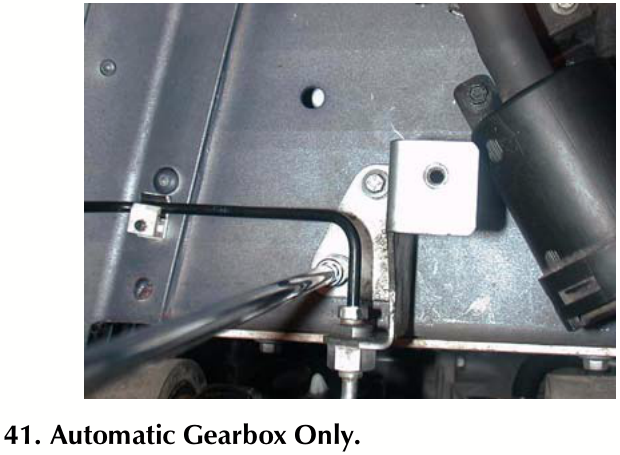
41. Automatic Gearbox Only.
Disconnect the manual override cable.
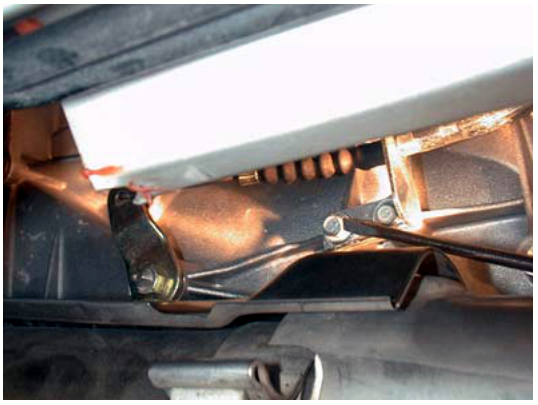
- Position the subframe trolleys, front and rear (Refer to '303-F715 (Multi-purpose Trolley) x2', page 20-1-5) under the subframes. Lower the vehicle until the front and rear subframes rests on the subframe trolleys.
Connect the two trolleys together (Refer to '303-F715-06 (Trolley Brace Bars)', page 20-1-5).
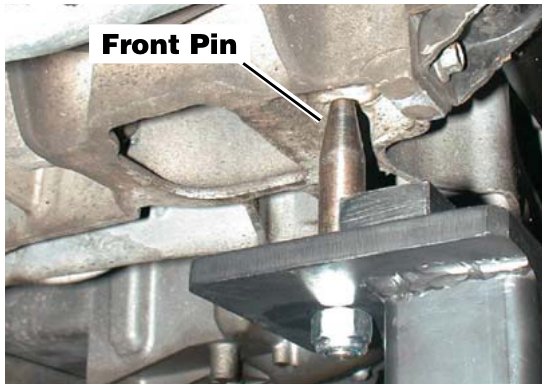
Rear Pin Image
to Follow
- Ensure that the relation of the front subframe / front structure to the vehicle body is marked (scribed), for accurate installation.
- Remove bolts (x12) that secure the front subframe / front structure to the body.
Image to Follow
- Remove the bolts (x3) that secure the emmisions filter unit. This allows access to the spring and damper unit top mount.
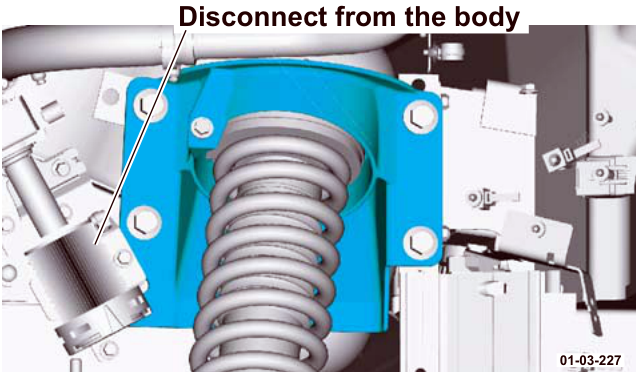
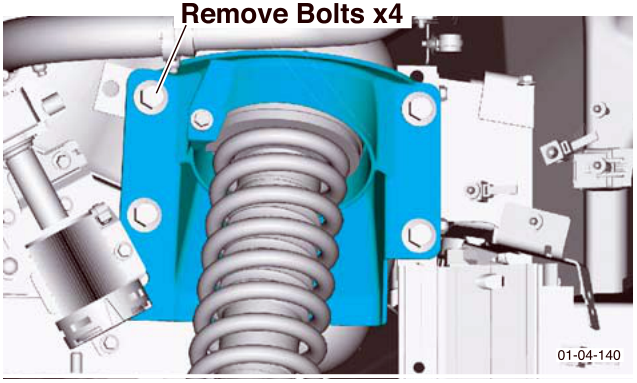
- Remove bolts (x4) that secure the rear spring and
damper units.
Ensure the rear spring and damper assemblies are fully extended to release spring tension. A small amount of tension will remain.
Lever the rear spring and damper mounting turret against spring tension to allow removal of bolts.
Parts & tools for this job For 2005 Aston Martin DB9
- PARTTransmission filter kitSearch: Aston Martin DB9 2005 transmission filter kit
- FLUIDAutomatic transmission fluidSearch: Aston Martin automatic transmission fluid
- TOOLFluid transfer pumpSearch: fluid transfer pump
Links open Amazon search results in a new tab. As an Amazon Associate I earn from qualifying purchases.