
Auto transmission & differential
- Make
- Fiat
- Model
- Bravo /Brava (182) Factory Service Manual
- Year
- 1995–2001
- Section
- Removing-refitting (Automatic) › Auto transmission & differential
21 Gearbox and differentialAuto transmission & differential
Auto transmission & differential
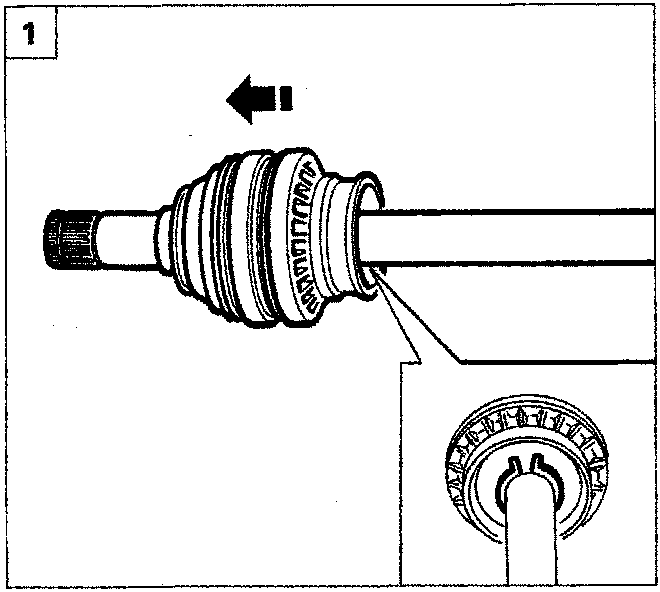
- Remove the circlip retaining the sliding joint (gearbox side), then remove the joint by withdrawing it from the drive shaft.
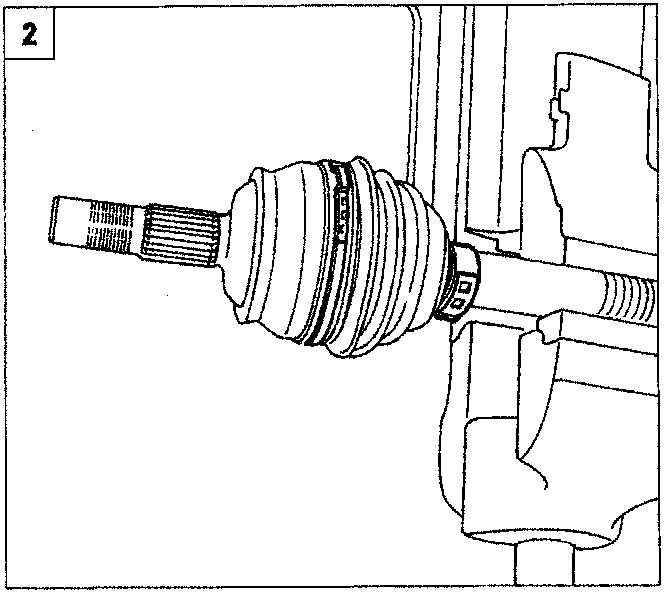
- Undo the clips retaining the protective gaiter on the constant velocity joint on the wheel side, then remove the gaiter from the side opposite the drive shaft.
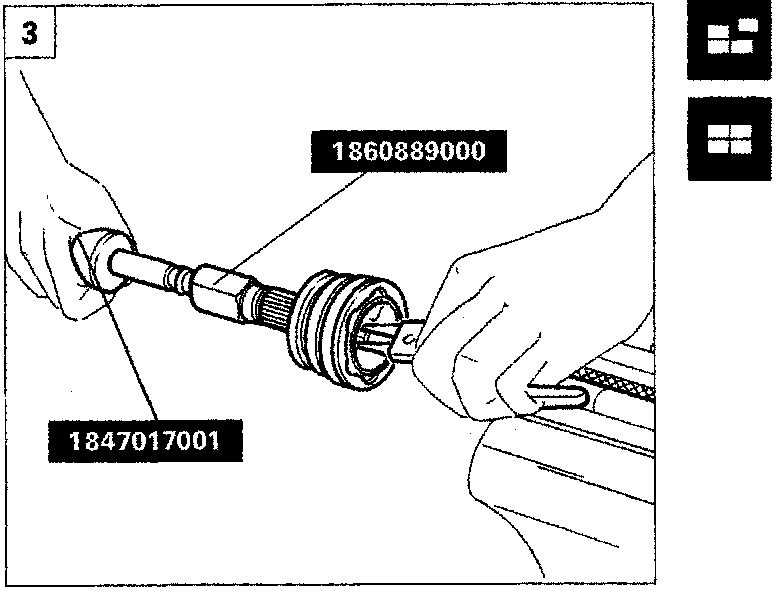
- Degrease the inside of the constant velocity joint. Using tools 1847017001 and 1860889000, and holding the circlip inside the joint at the same time, remove the joint from the drive shaft.
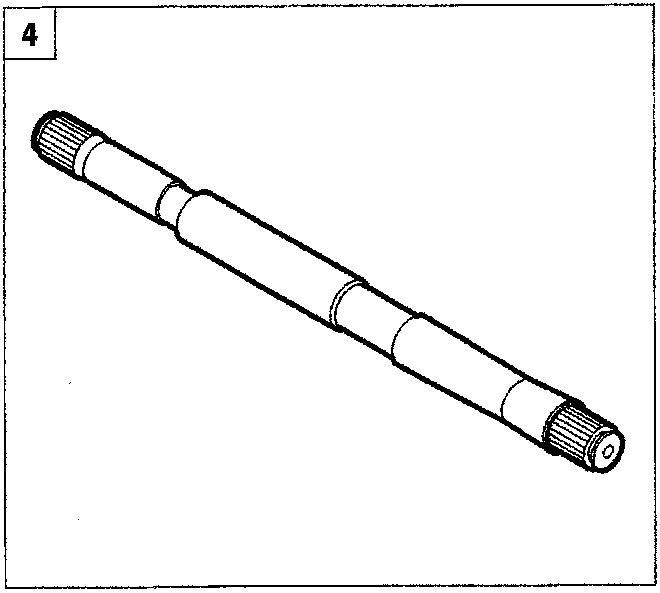
- Check that the drive shaft is not deformed or out of true, and that the surface in contact with the seal is not worn.
REFITTING
When refitting, reverse the procedure described for removal.
Whenever a gaiter is removed, it is advisable to replace it, and it is important to fill both the constant velocity joint or sliding joint and the gaiter with TUTELA MRM2 grease.
Parts & tools for this job For 1995 Fiat Bravo
- TOOLTorque wrenchSearch: 3/8 inch torque wrench
- TOOLSocket setSearch: socket set metric
- BOOKHaynes manualSearch: Haynes manual Fiat Bravo
Links open Amazon search results in a new tab. As an Amazon Associate I earn from qualifying purchases.