
Recharging
- Make
- Fiat
- Model
- Bravo /Brava (182) Factory Service Manual
- Year
- 1995–2001
- Section
- Recharging › Recharging
Recharging
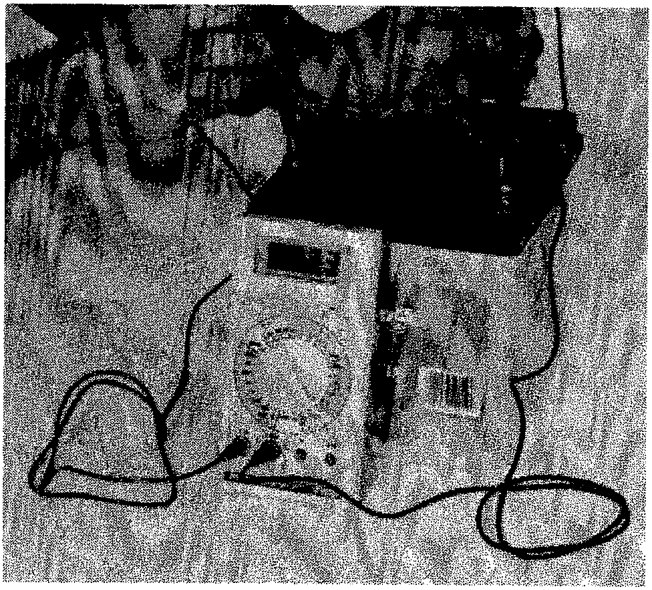
BATTERY
The batteries fitted on all versions of this vehicle are the ES type (Energia Sigillata - Sealed Energy) and are maintenance-free. These type of battery have the following advantages compared with conventional ones:
- reduced electrolyte consumption due to the use of a new type of alloy in the construction of the grilles and the plates;
- reduced self-discharge which improves starting for a period of 7 months and therefore these batteries lend themselves to prolonged storage (at temperatures below 28°C);
- a reduced volume of gases developed during charging which are the ones which cause corrosion and consequent poor contact at the terminal poles.
If the battery appears to be discharged, after having left it with an open circuit for at least two hours, measure the voltage with no load, connecting a digital voltmeter to the terminals: if it is less than 12.30 V it is 50% charged; if it reaches 12.48 V it is 75% charged; if it reaches 12.66 V it is 100% charged.
If the level of the electrolyte in one or more of the battery cells is lower than the minimum level line on the plastic container, open the cover on the series of caps and add distilled, de-ionized water (as for ordinary batteries).
NOTE Never subject the battery to rapid recharging at voltages in excess of 15.5 V, nor high currents or high recharging amperages.
ALTERNATOR
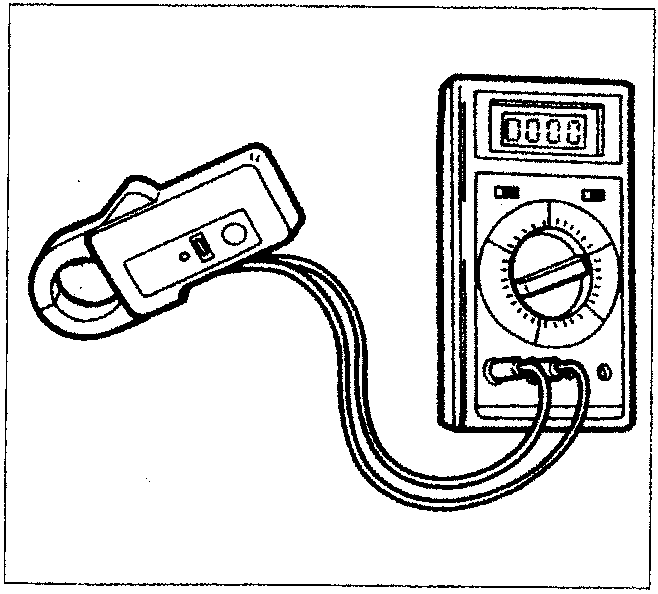
Check the voltage and the maximum current intensity supplied by the alternator using a digital multimeter and a HALL effect ammeter pliers.
Description and use of ammeter pliers
These are pliers connected to a multimeter which make it possible to measure: the battery charge and discharge current, the current controlled by the SCR (silicon controlled diode), current absorbed by starter motors, from 10 to 600A without having to interrupt the circuit. Before starting the measurements it is necessary to:
- place the 'LO-HI' high switch on "LO" for measurements of up to 200A or on "HI" for measurements of between 200 and 600A.
The reading is obtained in both positions for any value, but the change in position is necessary to ensure greater precision of the display reading.
- With the pliers connected to the multimeter it is necessary to set the multimeter at the range 200mV or 2V, alternating or direct according to the current to be measured.
If the range selected is 200mV then the reading will be in Ampere, if the range is 2V then the reading will be multiplied by a thousand. - At this point it is necessary to zero the reading acting on the "ZERO ADJUST" knob. When there is reason to suspect the existence of magnetic fields it is advisable to adjust the zeroing knob with the pliers between 5 and 10 cm from the conductor.
In the case of direct current measurements, the phenomenon of hysteresis make make it impossible to zero the device. In such a case, open and close the pliers several times and then carry out the zeroing.
Parts & tools for this job For 1995 Fiat Bravo
- TOOLDigital multimeterSearch: automotive digital multimeter
- PARTAssorted fuse kitSearch: car fuse assortment kit
- TOOLWire crimper and connector kitSearch: wire crimper connector kit
Links open Amazon search results in a new tab. As an Amazon Associate I earn from qualifying purchases.