
Recharging
- Make
- Fiat
- Model
- Bravo /Brava (182) Factory Service Manual
- Year
- 1995–2001
- Section
- Recharging › Recharging
55 Electrical systemRecharging · page 1 of 2
Recharging
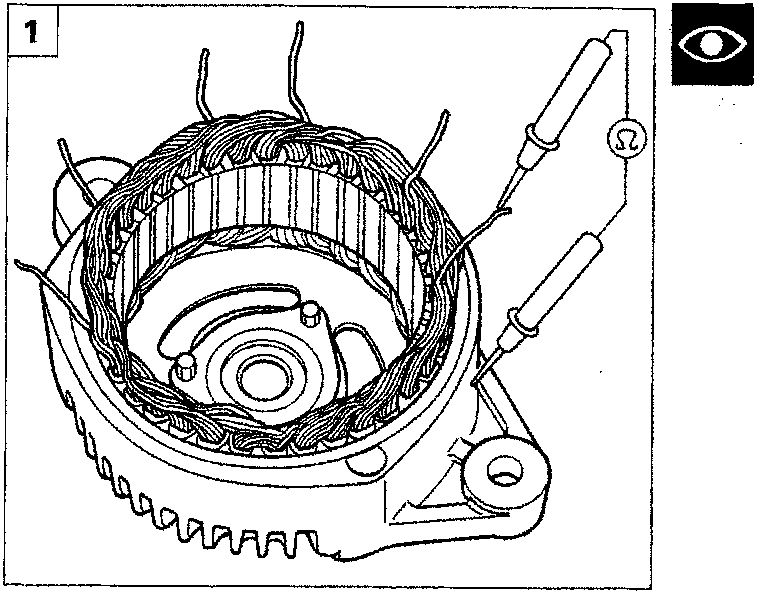
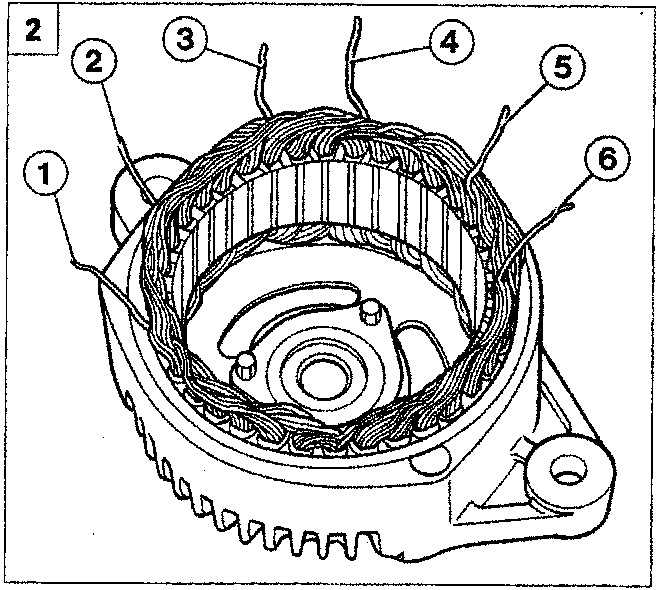
If the resistance value does not move from the start of the scale (infinite resistance) or reaches the end of the scale (nil resistance) then this means that the phase being measured is broken or short circuited and that the stator must be replaced.
MARELLI A115I 14V 40/75A ALTERNATOR
(versions with 1580 16V; 1747 16V engines)
Removing-refitting (1580 16V version)
Position the vehicle on a lift and remove the right wheel. 3. Undo the upper bolt fixing the alternator. 4. Raise the vehicle and remove the wheel arch liner after having undone the fixing bolts.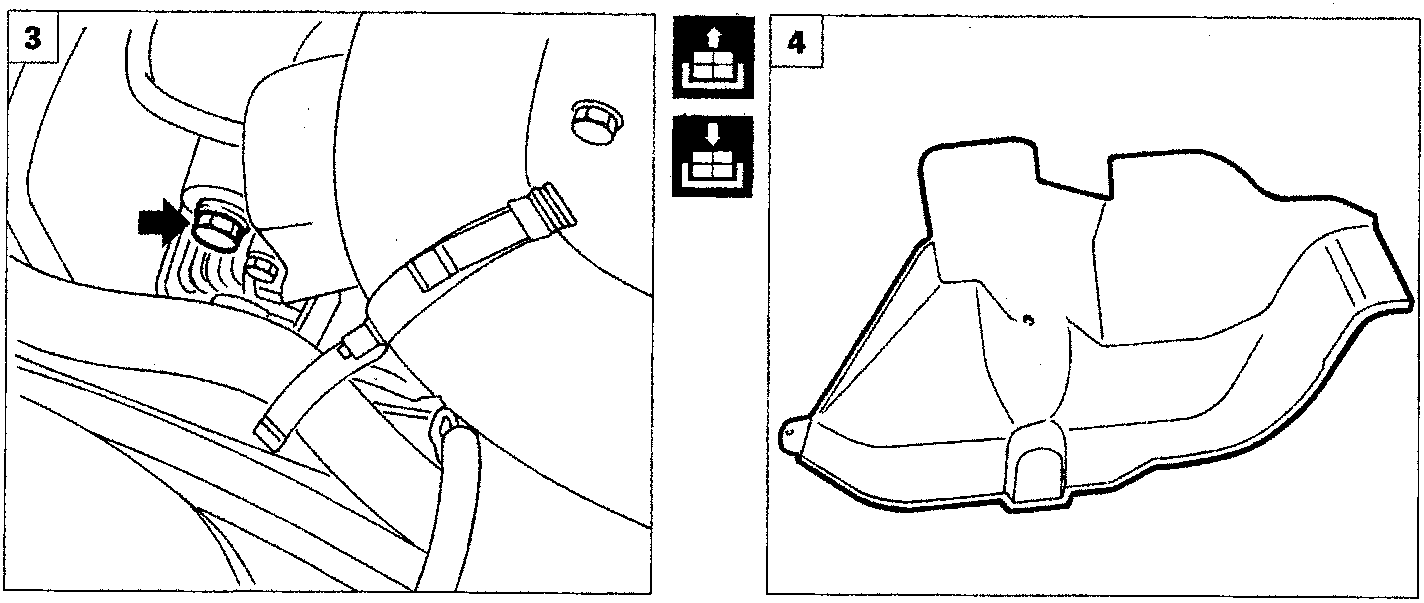
Parts & tools for this job For 1995 Fiat Bravo
- TOOLDigital multimeterSearch: automotive digital multimeter
- PARTAssorted fuse kitSearch: car fuse assortment kit
- TOOLWire crimper and connector kitSearch: wire crimper connector kit
Links open Amazon search results in a new tab. As an Amazon Associate I earn from qualifying purchases.