
Preparing the replacement parts
- Make
- Fiat
- Model
- Bravo /Brava (182) Factory Service Manual
- Year
- 1995–2001
- Section
- Replacing structural body panels › Preparing the replacement parts
70 BodyworkPreparing the replacement parts
Preparing the replacement parts
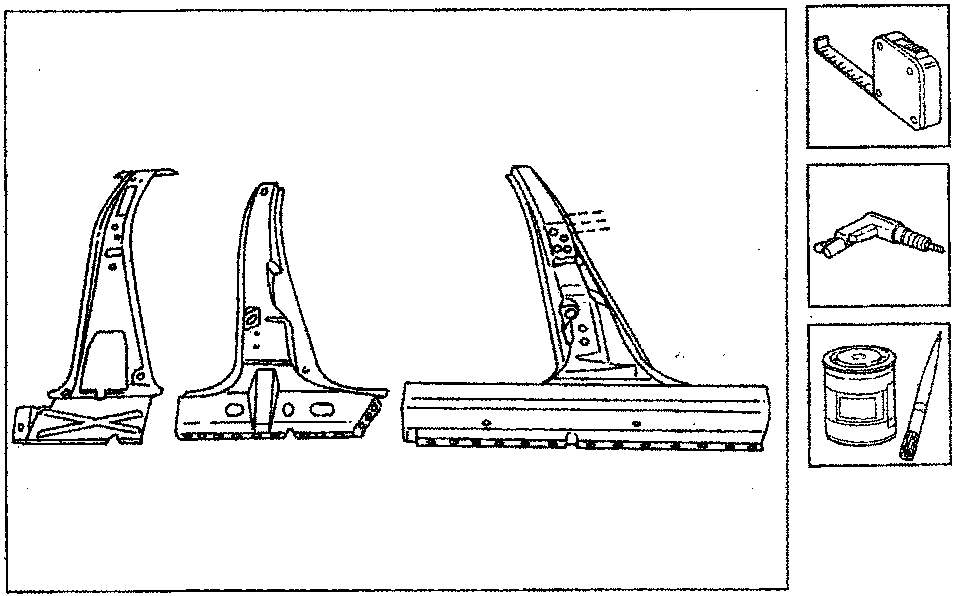
- Make equidistant holes in the replacement parts as shown in the diagram.
- Remove the anti-corrosion treatment from the entire perimeter of the outside of the replacement part using a disc grinder.
- Use the electro-galvanizing paint on the edges treated previously.
Welding replacement parts
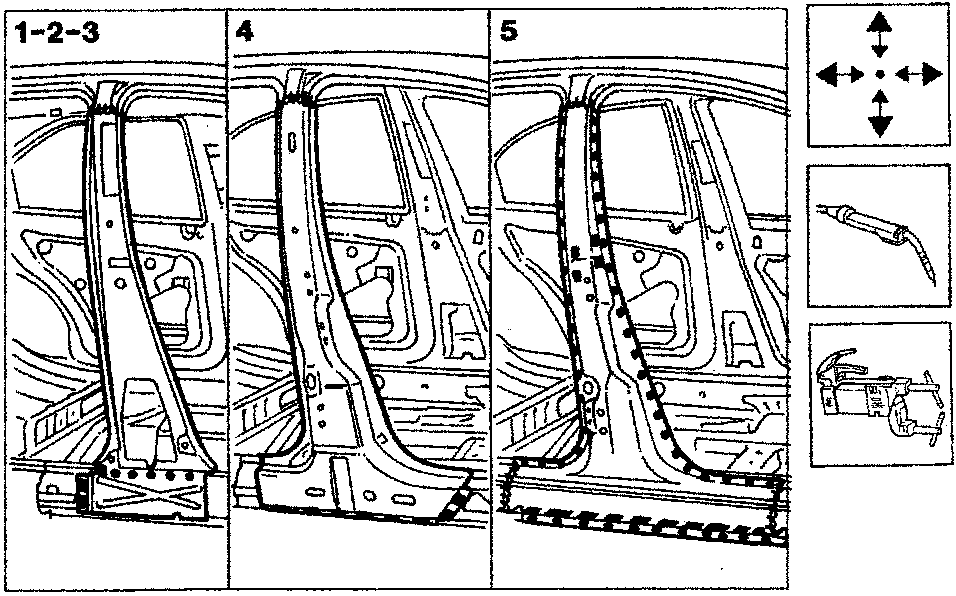
- Position the inner pillar and carry out continuous welding on the upper edge.
- Continue the welding filling the holes made previously in the underdoor side member reinforcement.
- Carry out spot welding on the underdoor side member edges.
- Position the intermediate pillar inserting it inside the remains of the upper bodyshell, carry out continuous welding on the upper edge and fill the holes made previously.
- Position the outer centre pillar and carry out continuous welding on the outer edges, filling the holes made previously in the replacement part and spot welding along the entire perimeter of the replacement part.
Parts & tools for this job For 1995 Fiat Bravo
- TOOLTrim removal tool kitSearch: trim removal tool kit
- PARTTouch-up paintSearch: Fiat touch up paint
- PARTPanel clip assortmentSearch: Fiat panel clips assortment
Links open Amazon search results in a new tab. As an Amazon Associate I earn from qualifying purchases.