
Refitting
- Make
- Fiat
- Model
- Bravo /Brava (182) Factory Service Manual
- Year
- 1995–2001
- Section
- Window glasses › Refitting
70 BodyworkRefitting · page 1 of 2
Refitting
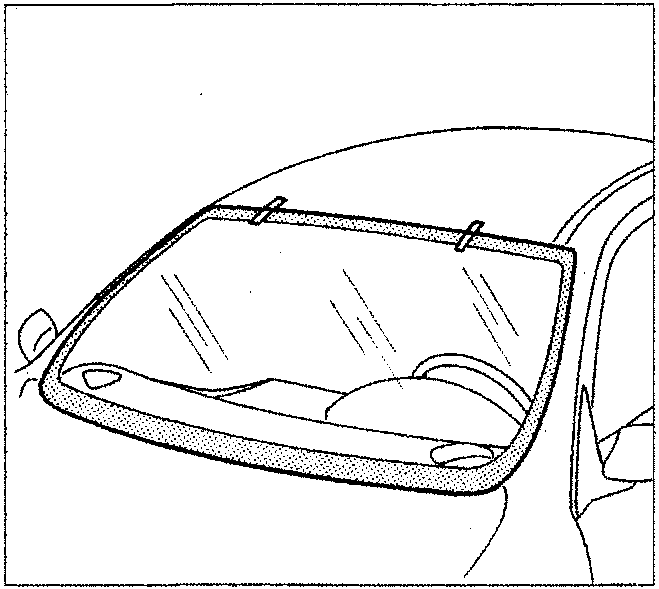
- Fit the trim on the windscreen avoiding touching the area where the adhesion promoter (primer) has been applied with your fingers.
- Carry out a test fitting to centre the windscreen perfectly and make reference marks.
The sliding retaining mountings located in the lower part should support the windscreen towards the top and keep it aligned with the roof.
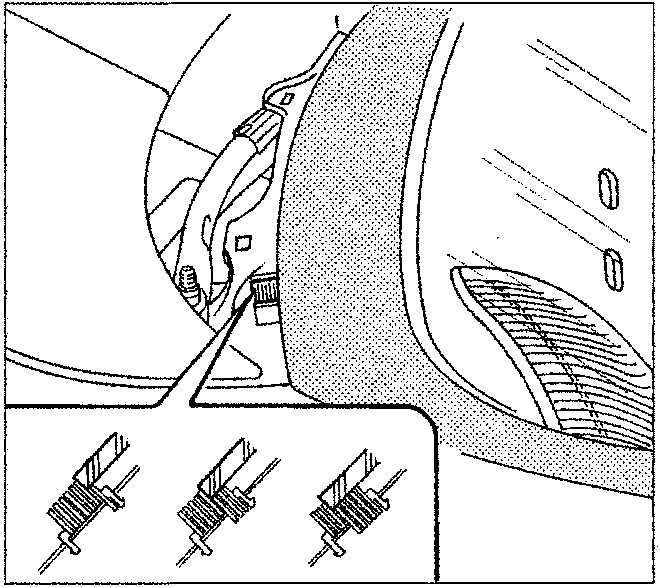
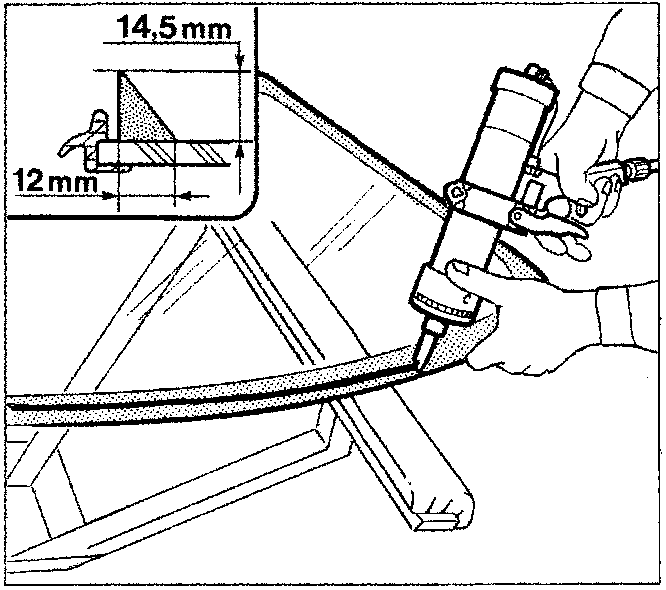
- Using a pneumatic gun, extrude a bead of sealant along the perimeter of the windscreen as evenly as possible (if there is excess, level the bead using a slice of potato).
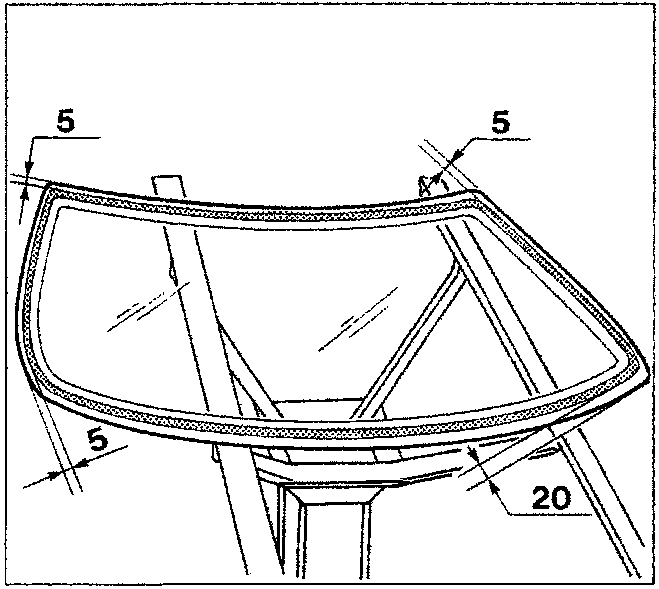
In the lower part of the windscreen apply the sealant scrupulously following the figures given in the diagram to prevent it ending up on the retaining mountings.
Parts & tools for this job For 1995 Fiat Bravo
- TOOLTrim removal tool kitSearch: trim removal tool kit
- PARTTouch-up paintSearch: Fiat touch up paint
- PARTPanel clip assortmentSearch: Fiat panel clips assortment
Links open Amazon search results in a new tab. As an Amazon Associate I earn from qualifying purchases.