
Checking pressures in vehicle system
- Make
- Fiat
- Model
- Punto (176) Factory Service Manual
- Year
- 1993–1999
- Section
- Heating/ventilation › Checking pressures in vehicle system
NOTE The charging operation may stop if more coolant than required is inadvertently added to the vehicle system.
CHECKING PRESSURES IN VEHICLE SYSTEM
To check pressure levels set up in the vehicle air conditioning system during operation, after connecting the quick-release fittings of the two device hoses to the system valves (as described on page 24) simply open cocks (if present) on hoses and read off pressures shown on the two pressure gauges (blue low pressure side and red high pressure side)
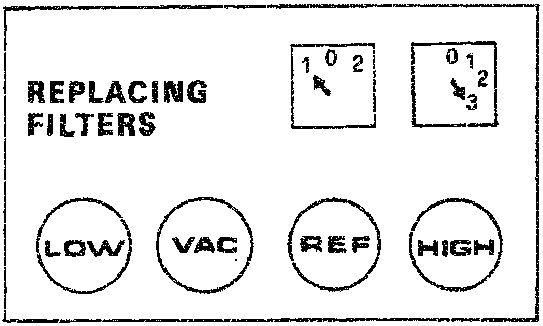
All cocks must remain closed
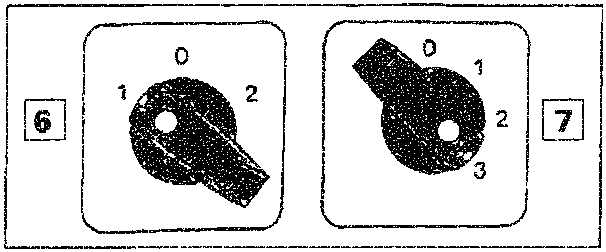
- - return knobs of switch (7) and selector (6) to position 0;
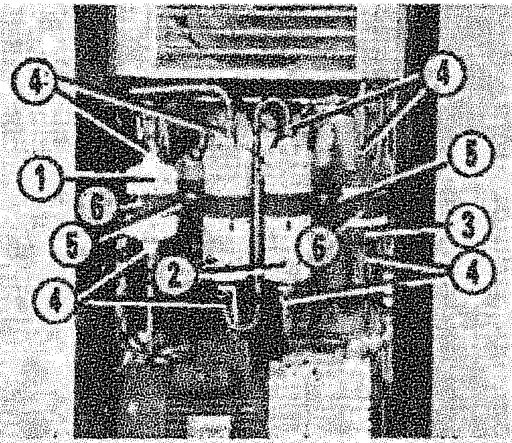
CHANGING FILTERS
To change the filters (anti-acid 1, main 2 and safety 3) proceed as follows::
- - connect device to a 220 V 50 HZ mains supply and turn master switch to ON;
- - check that all device pressure gauge cocks are closed;
- - turn knob of function switch (7 central figure on page 16) to position 3 and knob of selector (6) to position 1;
- - the device automatically creates a vacuum in the part of the system connected to the filters to be changed. When a vacuum of - 0.2 bar is set up in the inlet pipe of the compressor, a pressure switch stops the compressor and simultaneously lights up «LOCK» warning light and turns on an acoustic signal;
- - turn knob of master switch to OFF;
- - remove device rear left side panel (after unscrewing the two screws that retain it at the bottom to the frame);
- - unscrew fittings (4) and nuts (5) and after removing brackets (6) replace filters (1 - 2 - 3) with new units, making sure the arrow on each one faces downward;
- - before screwing fittings (4) back onto the new filters, check these contain O-rings. These must be undamaged and lubricated with vaseline or antifreeze fluid for compressors.
NOTE When the above filters are removed from their housings for replacement, check that they are under a slight vacuum. If not, the device could be malfunctioning. Consult page 22 in this case.
After replacing the filters mentioned previously and securing them to the device frame, connect device to a canister of R134 A or to a vehicle air conditioning system and carry out a cycle of absorption and cleaning (in order to remove air and moisture from device);
- - when the operation is complete, close the various cocks and turn switch and selector knobs to 0. Turn master switch knob to OFF;
Parts & tools for this job For 1993 Fiat Punto
- TOOLA/C manifold gauge setSearch: AC manifold gauge set
- TOOLUV leak detection kitSearch: AC UV leak detection kit
- PARTCabin filterSearch: Fiat Punto 1993 cabin filter
Links open Amazon search results in a new tab. As an Amazon Associate I earn from qualifying purchases.