
Timing Belt: Diagrams (page 11 of 19)
- Make
- Hyundai
- Model
- Elantra
- Engine
- L4-2.0L
- Year
- 2004
- Section
- Timing Belt
MaintenanceDiagrams · page 11 of 19
NOTE: If the timing belt is reused, make an arrow indicating the turning direction to make sure that the belt is reinstalled in the same direction as
before.
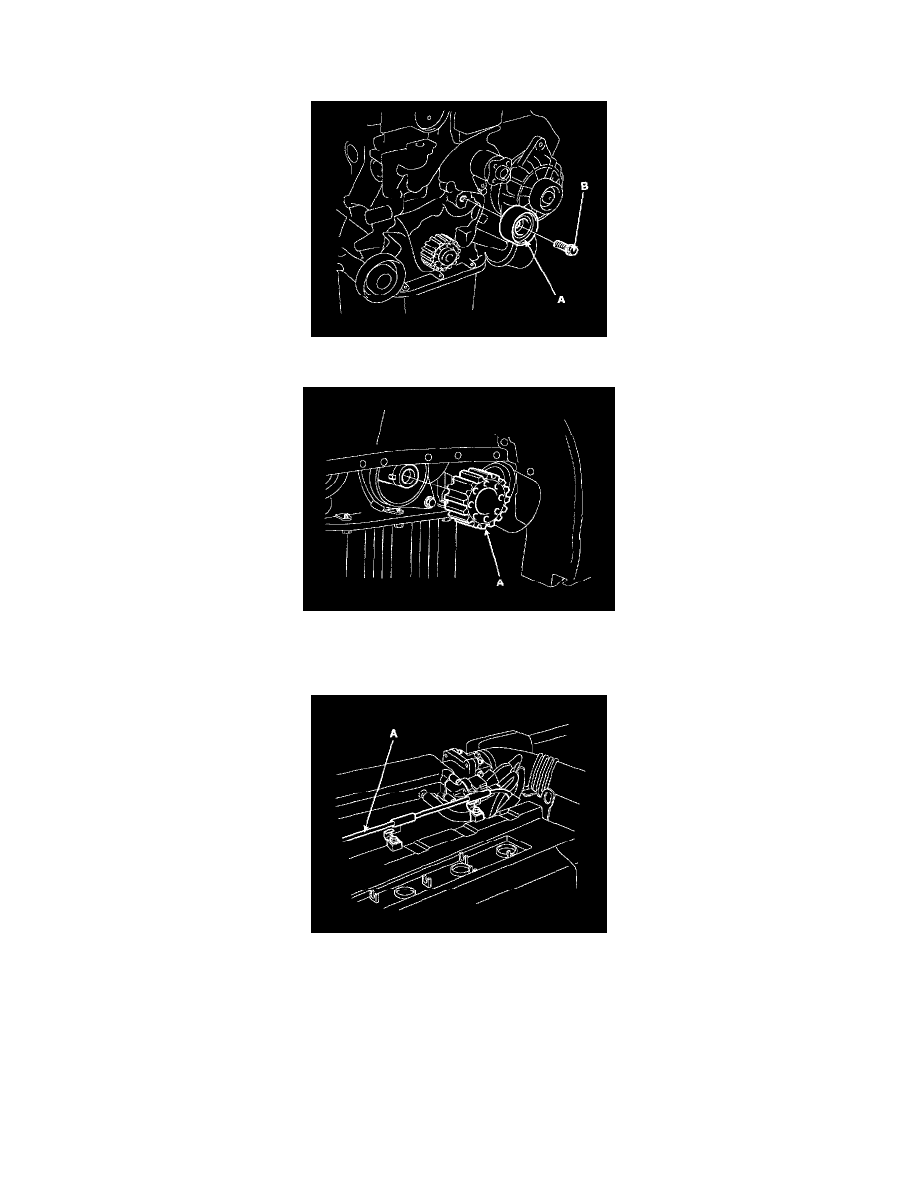
16. Remove the bolt (B) and timing belt idler (A).
17. Remove the crankshaft sprocket (A).
18. Remove the cylinder head cover.
1. Remove the spark plug cable.
2. Remove the accelerator cable (A) from the cylinder head cover.
Pinch or Ctrl + scroll to zoom. Double-tap to reset.
The same page in: Elantra L4-2.0L (2004).
Parts & tools for this job For 2004 Hyundai Elantra 2.0L
- PARTTiming belt kitSearch: Hyundai Elantra 2004 2.0L timing belt kit
- TOOLEngine timing tool setSearch: Hyundai engine timing tool set
- TOOLTorque wrenchSearch: 3/8 inch torque wrench
Links open Amazon search results in a new tab. As an Amazon Associate I earn from qualifying purchases.