
Clutch assembly and release bearing (page 2 of 2)
- Make
- Mini
- Model
- Mini Workshop Manual
- Year
- 1996–2000
- Section
- Repairs
ClutchClutch assembly and release bearing · page 2 of 2
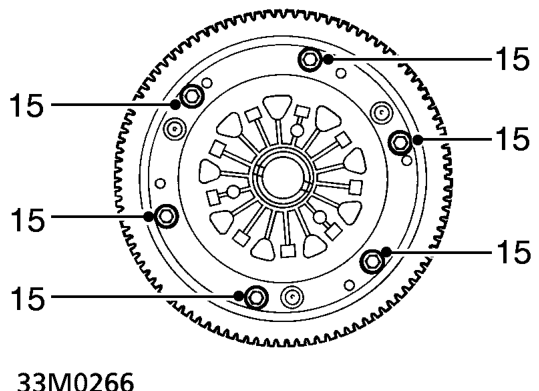
- Remove 6 bolts securing pressure plate to flywheel.
- Remove pressure plate assembly.
- Remove drive plate from flywheel.
Refit
- Clean flywheel and pressure plate. Check diaphragm spring for wear and fractures. Renew flywheel and pressure plate as an assembly if either component shows signs of wear or damage.
- Clean crankshaft and pressure plate hub.
- Clean inside of flywheel housing.
- Position drive plate on flywheel.
- Fit pressure plate and align to flywheel, fit bolts but DO NOT tighten.
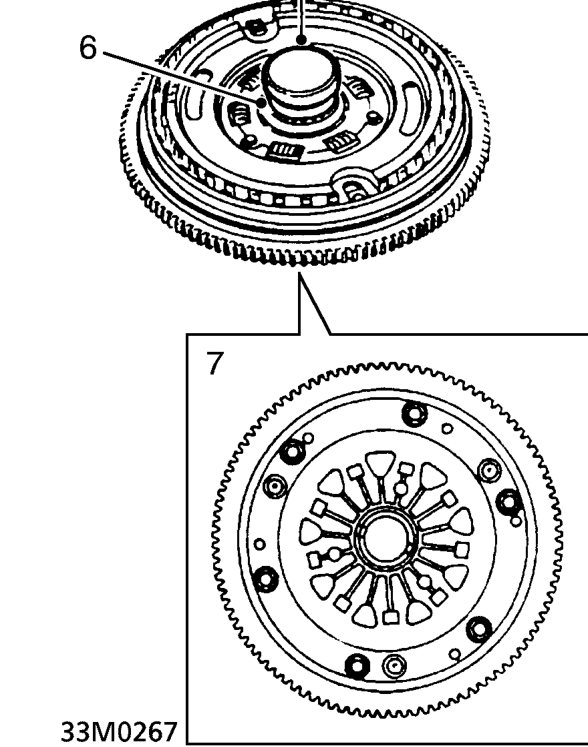
- Fit clutch aligning tool 18G 684.
- Tighten pressure plate to flywheel bolts to 25 Nm.
- Remove clutch aligning tool.
- Check crankshaft primary gear end-float. See ENGINE, Adjustments.
- Grease splines of crankshaft primary gear.
- Fit flywheel and clutch assembly to crankshaft.
- Fit keyplate and NEW flywheel retaining bolt.
- Tighten flywheel retaining bolt to 150 Nm.
- Stake lock washer into slots on clutch hub.
- Remove bolts securing flywheel locking tool to flywheel housing.
- Remove flywheel locking tool.
- Clean thrust bearing sleeve.
- Fit thrust bearing sleeve to clutch hub.
- Fit clutch release bearing. See this section.
- Fit CKP sensor. See ENGINE MANAGEMENT SYSTEM - MEMS, Repairs.
Parts & tools for this job For 1996 Mini Mini
- PARTClutch kitSearch: Mini Mini 1996 clutch kit
- TOOLClutch alignment toolSearch: clutch alignment tool
- FLUIDGear oilSearch: Mini Mini manual gearbox oil
Links open Amazon search results in a new tab. As an Amazon Associate I earn from qualifying purchases.